

About Beth
Beth created one of the first gluten-free companies in the US, wrote books, and now shares 40 years of living well without gluten in her latest book, The Complete Guide to Living Well Gluten Free. She believes no one should go without because of gluten. Through her cookbooks, lifestyle book and essays, she shows us how. Travel, restaurant dining, parties, dating, raising kids – she’s been there and takes celiac disease and the gluten free diet along for the ride. Join her as she answers all your baking and lifestyle questions.Recipe From Beth Hillson
Makes one 9-inch springform pie or two 9-inch pies
What’s easy as pie and three times more decadent? How about a Cherry Chocolate Hot Fudge Sundae Pie nestled in a chocolate macaroon crust? I drool just thinking about this incredible treat. Besides, the preparation is quick. Just assemble and freeze until about 20 minutes before serving. Your guests will be impressed!
I’ve made this as a dairy-free ice cream pie (yup, dairy-free) by using Coconut Bliss Cherry Amaretto Frozen Dessert. However, I’ve also made it with Ben & Jerry’s Cherry Garcia ice cream or frozen yogurt. The results are always amazing. Perfect for all the summer picnics at hand or make this for a festive winter party, too. Cut the crust into biscuit-size circles and layer with ice cream and hot fudge sauce in pretty glasses, too.
Macaroon Crust 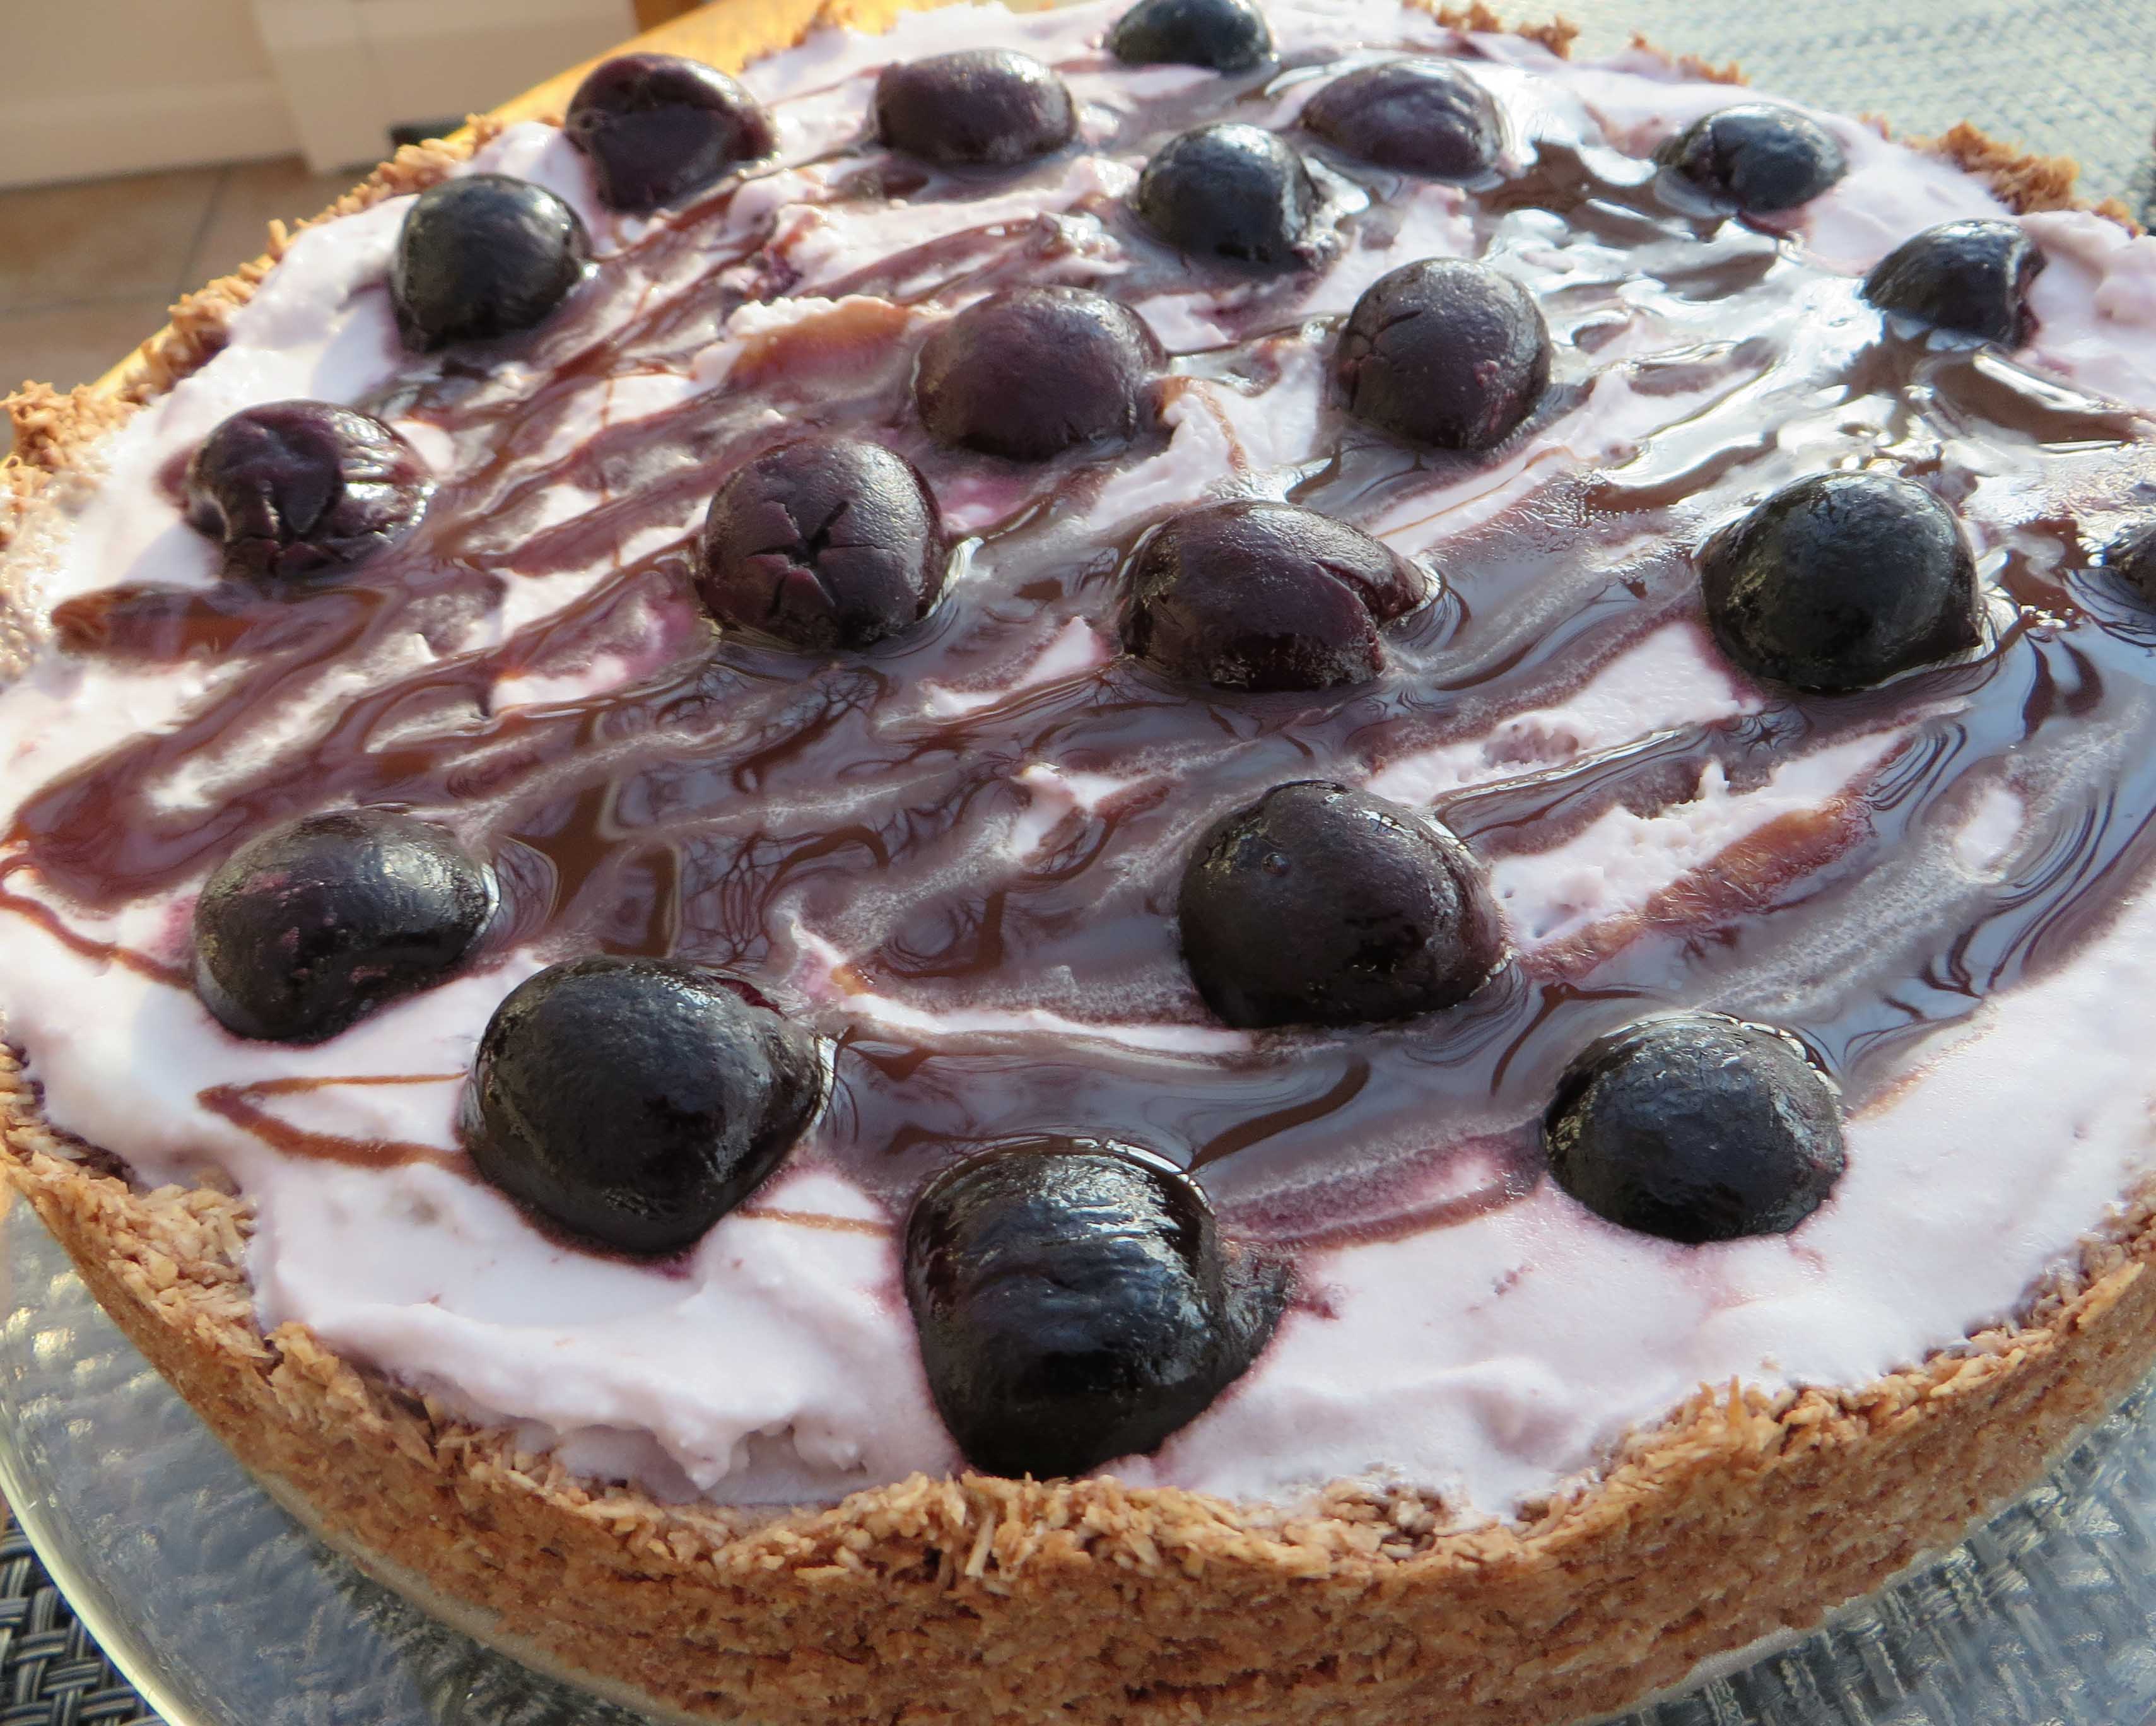
1 tablespoon safflower or coconut oil
1/3 cup chocolate chips, melted
3 1/4 cups unsweetened, shredded coconut
1/3 cup sugar
2 large egg whites
1/4 teaspoon salt
To Make the Crust
Preheat the oven to 325 degrees F. In a microwavable bowl, combine oil and chocolate chips. Microwave on medium power for 30 second intervals until chips are just melted. Set aside.
In a large bowl, combine the coconut, sugar, egg whites, and salt, mixing until all of the coconut is moistened. Fold in the melted chocolate mixture. Press the mixture into a 9-inch springform pan pressing evenly over the bottom of the pan and up the sides. Alternatively, press into the bottom of 2, 9-inch pie pans. Place the pan (s) on a baking sheet and bake for 20-25 minutes, or until golden and slightly crispy. Let cool completely.
To Make the Filling
2 pints Coconut Bliss Cherry Amaretto Frozen Dessert or use your favorite ice cream
Gluten-free hot chocolate fudge sauce, warmed or Hershey’s Chocolate Sauce
Pitted dark cherries, frozen or fresh, for topping
While preparing the crust, set the ice cream on the counter to soften slightly. Spread one pint of ice cream over the cooled crust. Smooth the top. Spread the second pint over the first layer. Spread evenly on top. (You may not need all of the second pint.) Freeze until the ice cream is totally frozen, about 4 to 6 hours or overnight. Right before serving, drizzle with warm hot fudge sauce. Top with cherries, if desired.
To slice, let sit at room temperature for a few minutes. Use a large knife dipped in warm water to cut the slices. Serve immediately with extra chocolate fudge sauce and cherries.

Categories: Recipes | Tags: dairy free dessert, easy quick gluten-free dessert, gluten free, gluten free ice cream pie, gluten free picnic foods | No Comments »
From Beth Hillson
When I was diagnosed with celiac disease in 1976, I lived in Europe. Glorious food was everywhere, but I didn’t know what I could and couldn’t eat. Sure, I stayed away from the obvious like brioche, croissant and pizza. (It brings tears to my eyes to think about all the goodies I missed.) But the subtle hidden sources of gluten were a problem and for that I went to culinary school – Cordon Bleu and Dieppe Cooking School for starters – to better understand the important components of baking and cooking. Along with learning important questions to ask (Is the fish dusted in flour? Is the sauce thickened?), I also learned to bake flaky crusts and brioche that, of course, I couldn’t eat.
Being a pioneering woman, I started to make over those recipes, maintaining the ratios but replacing the flour with rice flour and cornstarch, the only two ingredients I had in my pantry at the time. The results were decent enough to keep me returning to my mixing bowls. But I knew there was room for improvement – sometimes those crusts were more crumbly than flaky and rolls often bounced or served as doorstops. I shudder to think of how many gluten free sandwiches have fallen apart in my hands depositing mayonnaise, cold cuts and chunks of dry bread in my lap.
I knew I had a long way to go to replicate those rich baked goods that Chef La Court had taught us to make in France. But I was willing to try. After all, I reaped the benefits!
Admittedly, my Gluten-Free Pantry (GFP) mixes were light years ahead of anything else available in the eighties and nineties – revolutionary, almost. They provided many, many celiac patients with delicious homemade breads, muffins, brownies and such, and raised the standard we came to expect of our gluten free baked goods.
Since creating GFP in 1993, each iteration of gluten free baking has come closer to perfect. Don’t get me wrong. I’ve consumed my share of gritty, crumbly and dry food in my quest for excellent products. I’ve also tasted some amazing food along the way.
So, when RYZE Gluten Free asked me to try their new products (think, baking blends), I didn’t know what to expect – more gritty muffins and cookies or a product that might raise the bar once again.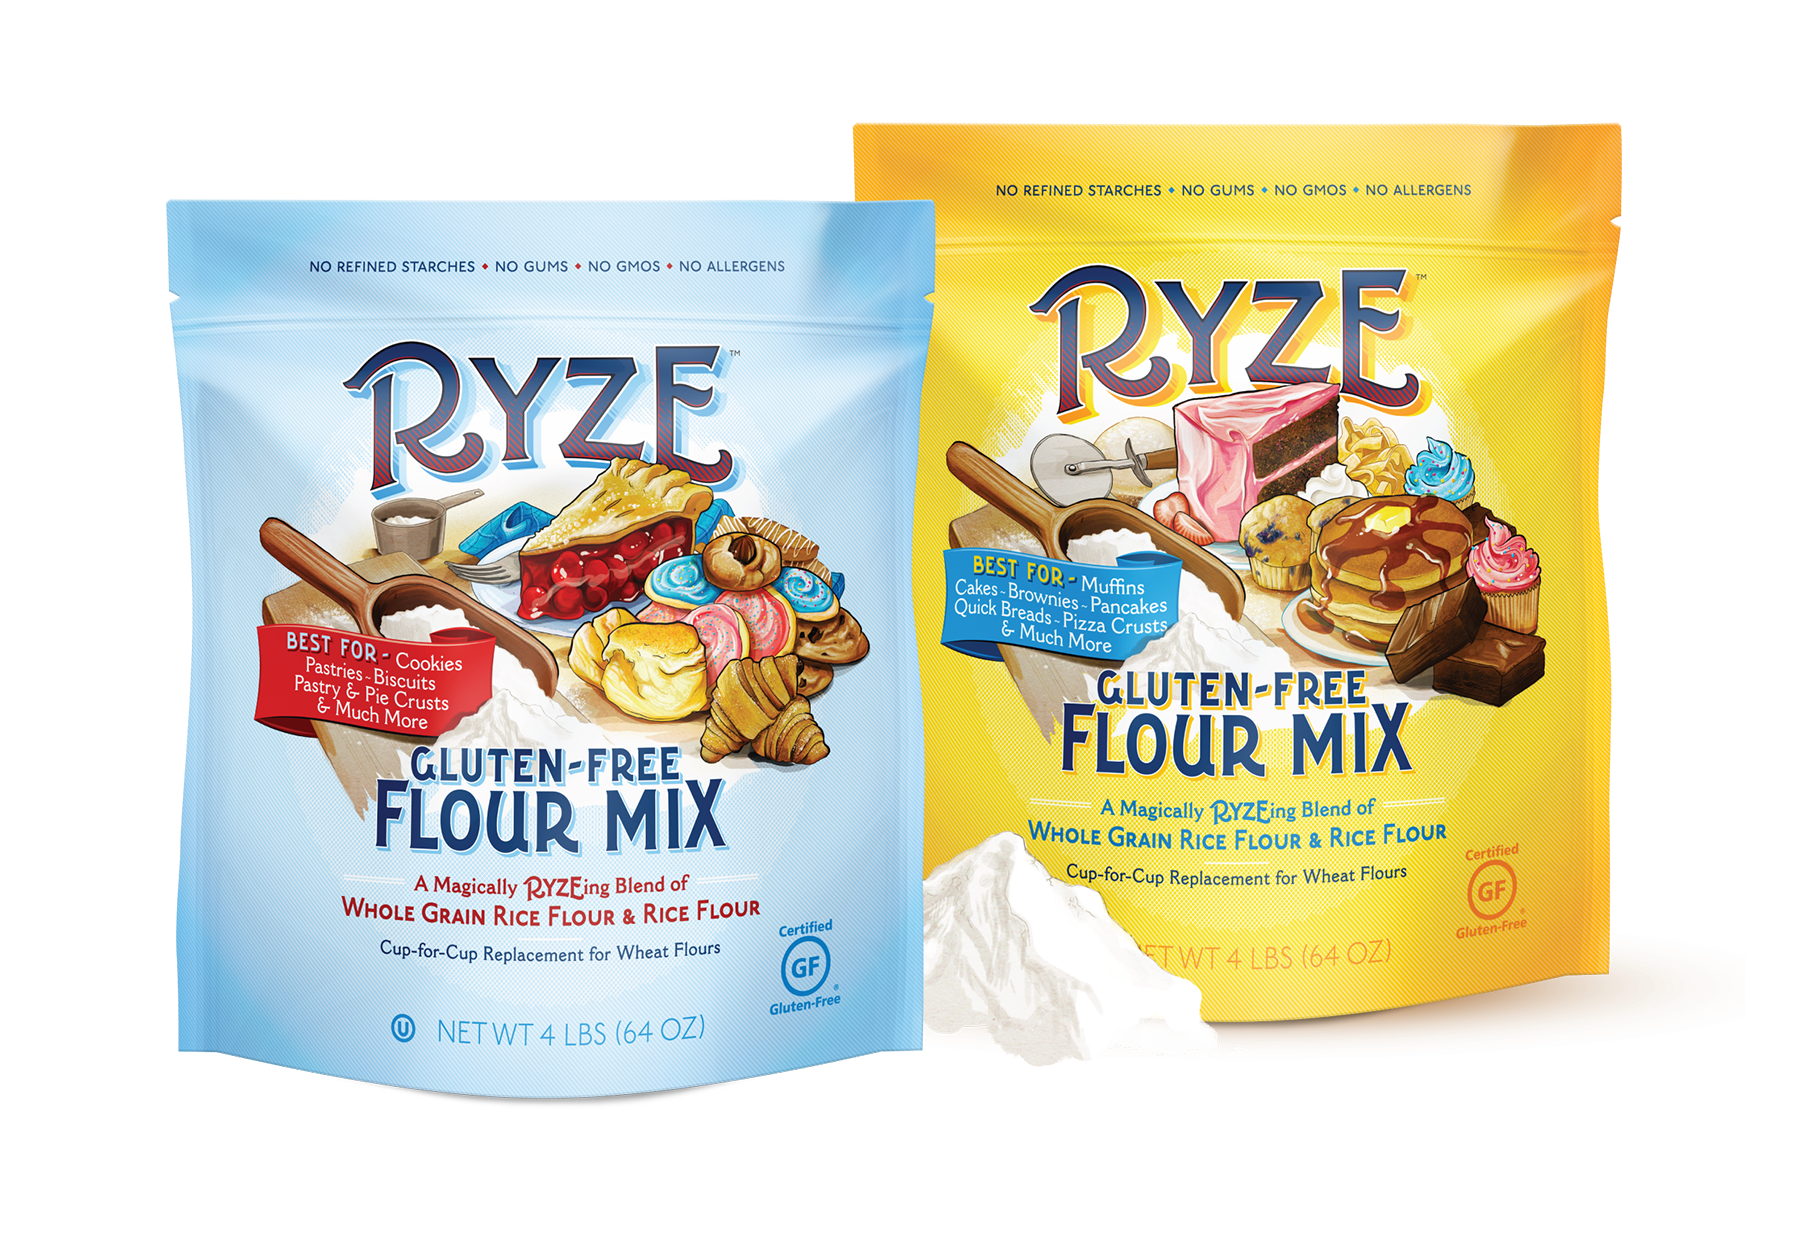
I tried their flour in my favorite biscotti recipe – chocolate pistachio biscotti, a recipe I know is already great. It seemed like that would be a good benchmark, a great way to compare something new with something tried and true.
I replaced my complicated flour blend with an equal amount of RYZE flour. Yup, just one ingredient (well, actually two- whole grain brown rice and white rice), no gums, no starches. Without starches and gums, RYZE also has a better nutritional profile than most flour blends.
I wondered how RYZE would stand up to a pantry-full of flours. I mixed up the recipe and formed it into a log. Then I popped it into the oven for the first baking. Here comes the tricky part. Gluten free biscotti is difficult to cut. I always lose some slices to breakage and crumbling. I cooled the log, transferred it to a cutting board and began to slice. The first slice came away whole – no breakage; no crumbled edges. The second was the same. I was able to cut the third, fourth, and fifth without losing a single slice. Hmmm. Pretty amazing.
When I finished cutting the biscotti, I baked them again, cooled them and stored them. I brought some to my sister who is also a gluten free baker. The biscotti recipe is really hers. Her first question was, what did you do to keep them from crumbling?
I knew then that I was on to something– something revolutionary.
I’ve since made focaccia, biscuits, cookies and much more. All are moist, light and have a delicate crumb. I’ll share more recipes another time. For now, I have to say that RYZE Gluten Free raises the bar … and lucky for all of us gluten free bakers.
Here’s my recipe to Chocolate Pistachio Biscotti and a picture of the RYZE packages.
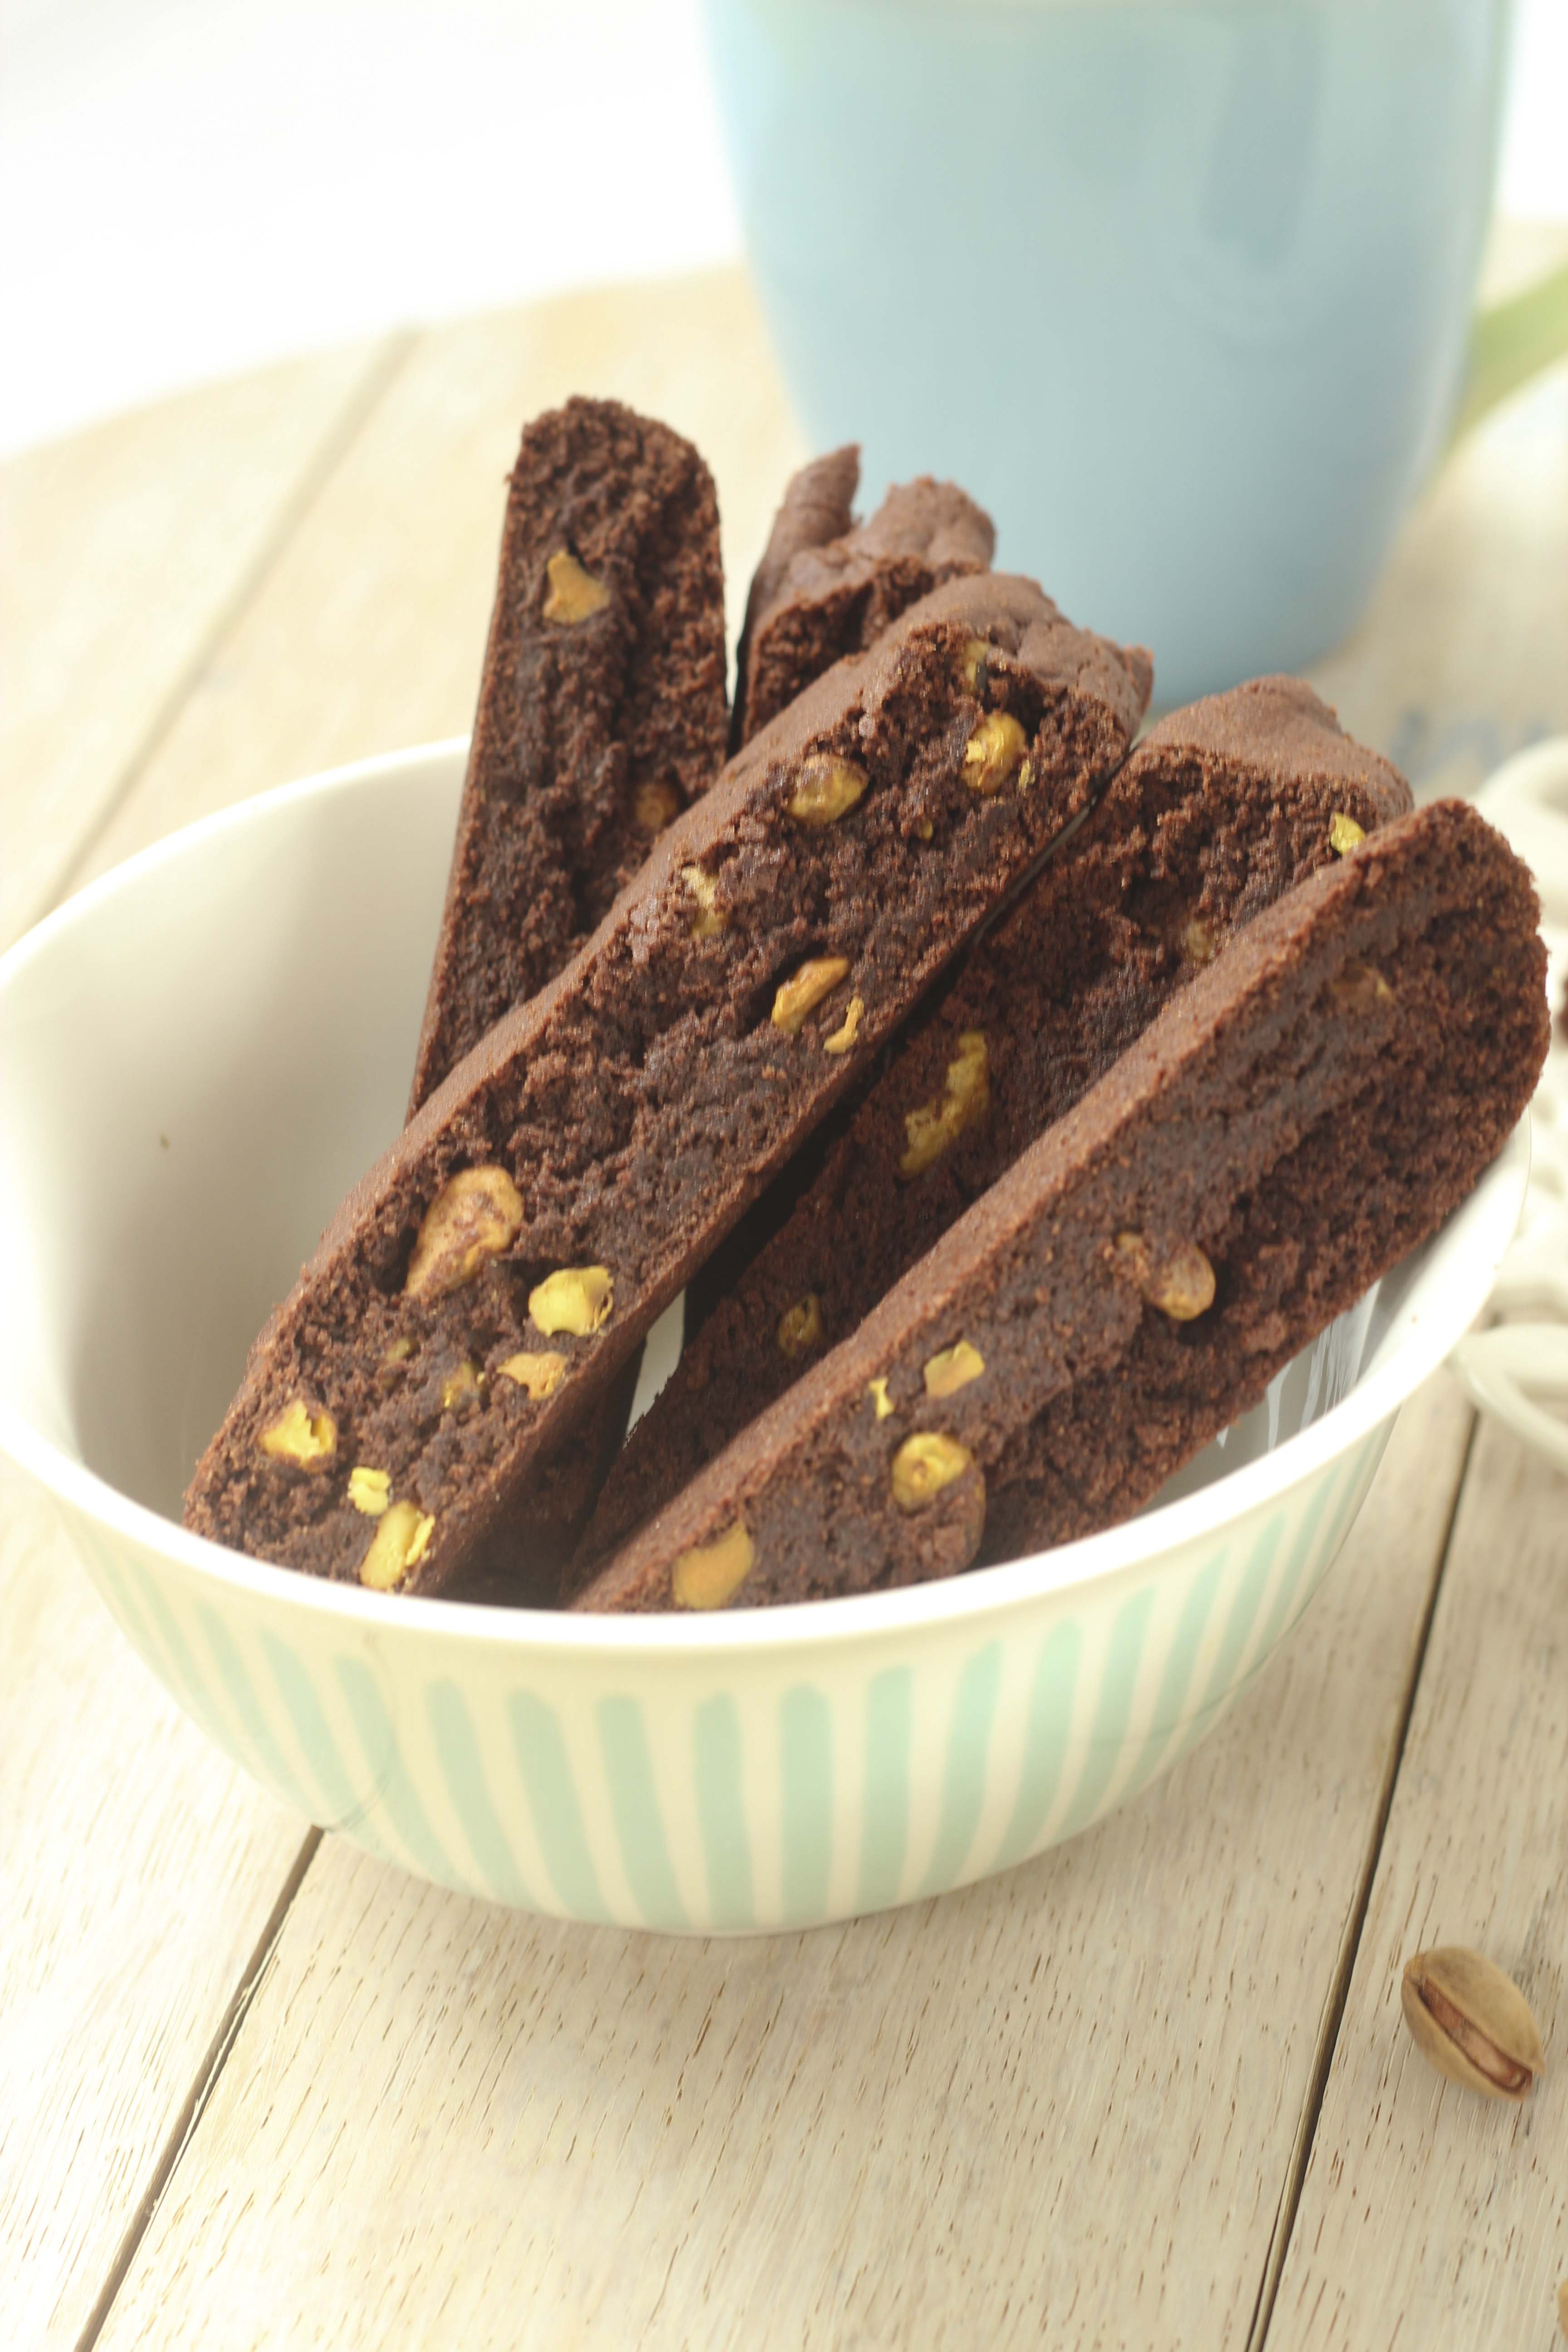
Chocolate Pistachio Biscotti
Makes 20 Biscotti
I’ve made the biscotti with pistachios and with hazelnuts. Both are equally tasty.
1 ½ cups RYZE Blue Blend
¾ cup unsweetened cocoa powder
1 teaspoon baking powder
½ teaspoon baking soda
1/4 teaspoon salt
½ cup unsalted butter (1 stick) softened
1 cup sugar
2 large eggs
1 teaspoon pure vanilla extract
¾ cup shelled pistachios or chopped toasted hazelnuts
Preheat the oven to 350 degrees F. Line a shallow baking sheet with parchment paper.
Whisk together the dry ingredients: RYZE Blend, cocoa powder, baking powder, baking soda, and salt.
In a medium bowl, beat the butter with the sugar until light and fluffy (about 3 minutes).
Add the eggs and vanilla to the butter mixture and beat until blended. Add the dry ingredients and beat until incorporated.
Fold in the nuts. Knead mixture with your hands until smooth and nuts are well incorporated.
On prepared baking sheet, form the mixture into a log that is about 16 inches long and about 5 inches wide.
Bake 30 minutes. Remove from the oven to cool for 10 minutes. Maintain the oven temperature.
When cool enough to touch, gently transfer the log to a cutting board. Cut into about 20 slices of even thickness. Turn the biscotti on their sides on the baking sheet and bake 20 minutes.
Cool and store in an airtight container for several days or in the freezer for up to 3 months.
RYZE has two formulas – blue and yellow. Both are simply whole grain brown rice and white rice – no gums, no starches. They are designed for specific types of baking, spelled out on each package. The web site, just launched, has lots more recipes to try. In addition, you’ll have good luck replacing your flour blend with one of the RYZE blends in a 1 to 1 replacement for all your favorite recipes. RYZE products will be available at Amazon.com beginning in May.
Categories: Recipes | Tags: gluten free baking, gluten-free recipes, RYZE Gluten Free | 1 Comment »
From Beth Hillson
Makes 1 loaf (14 servings)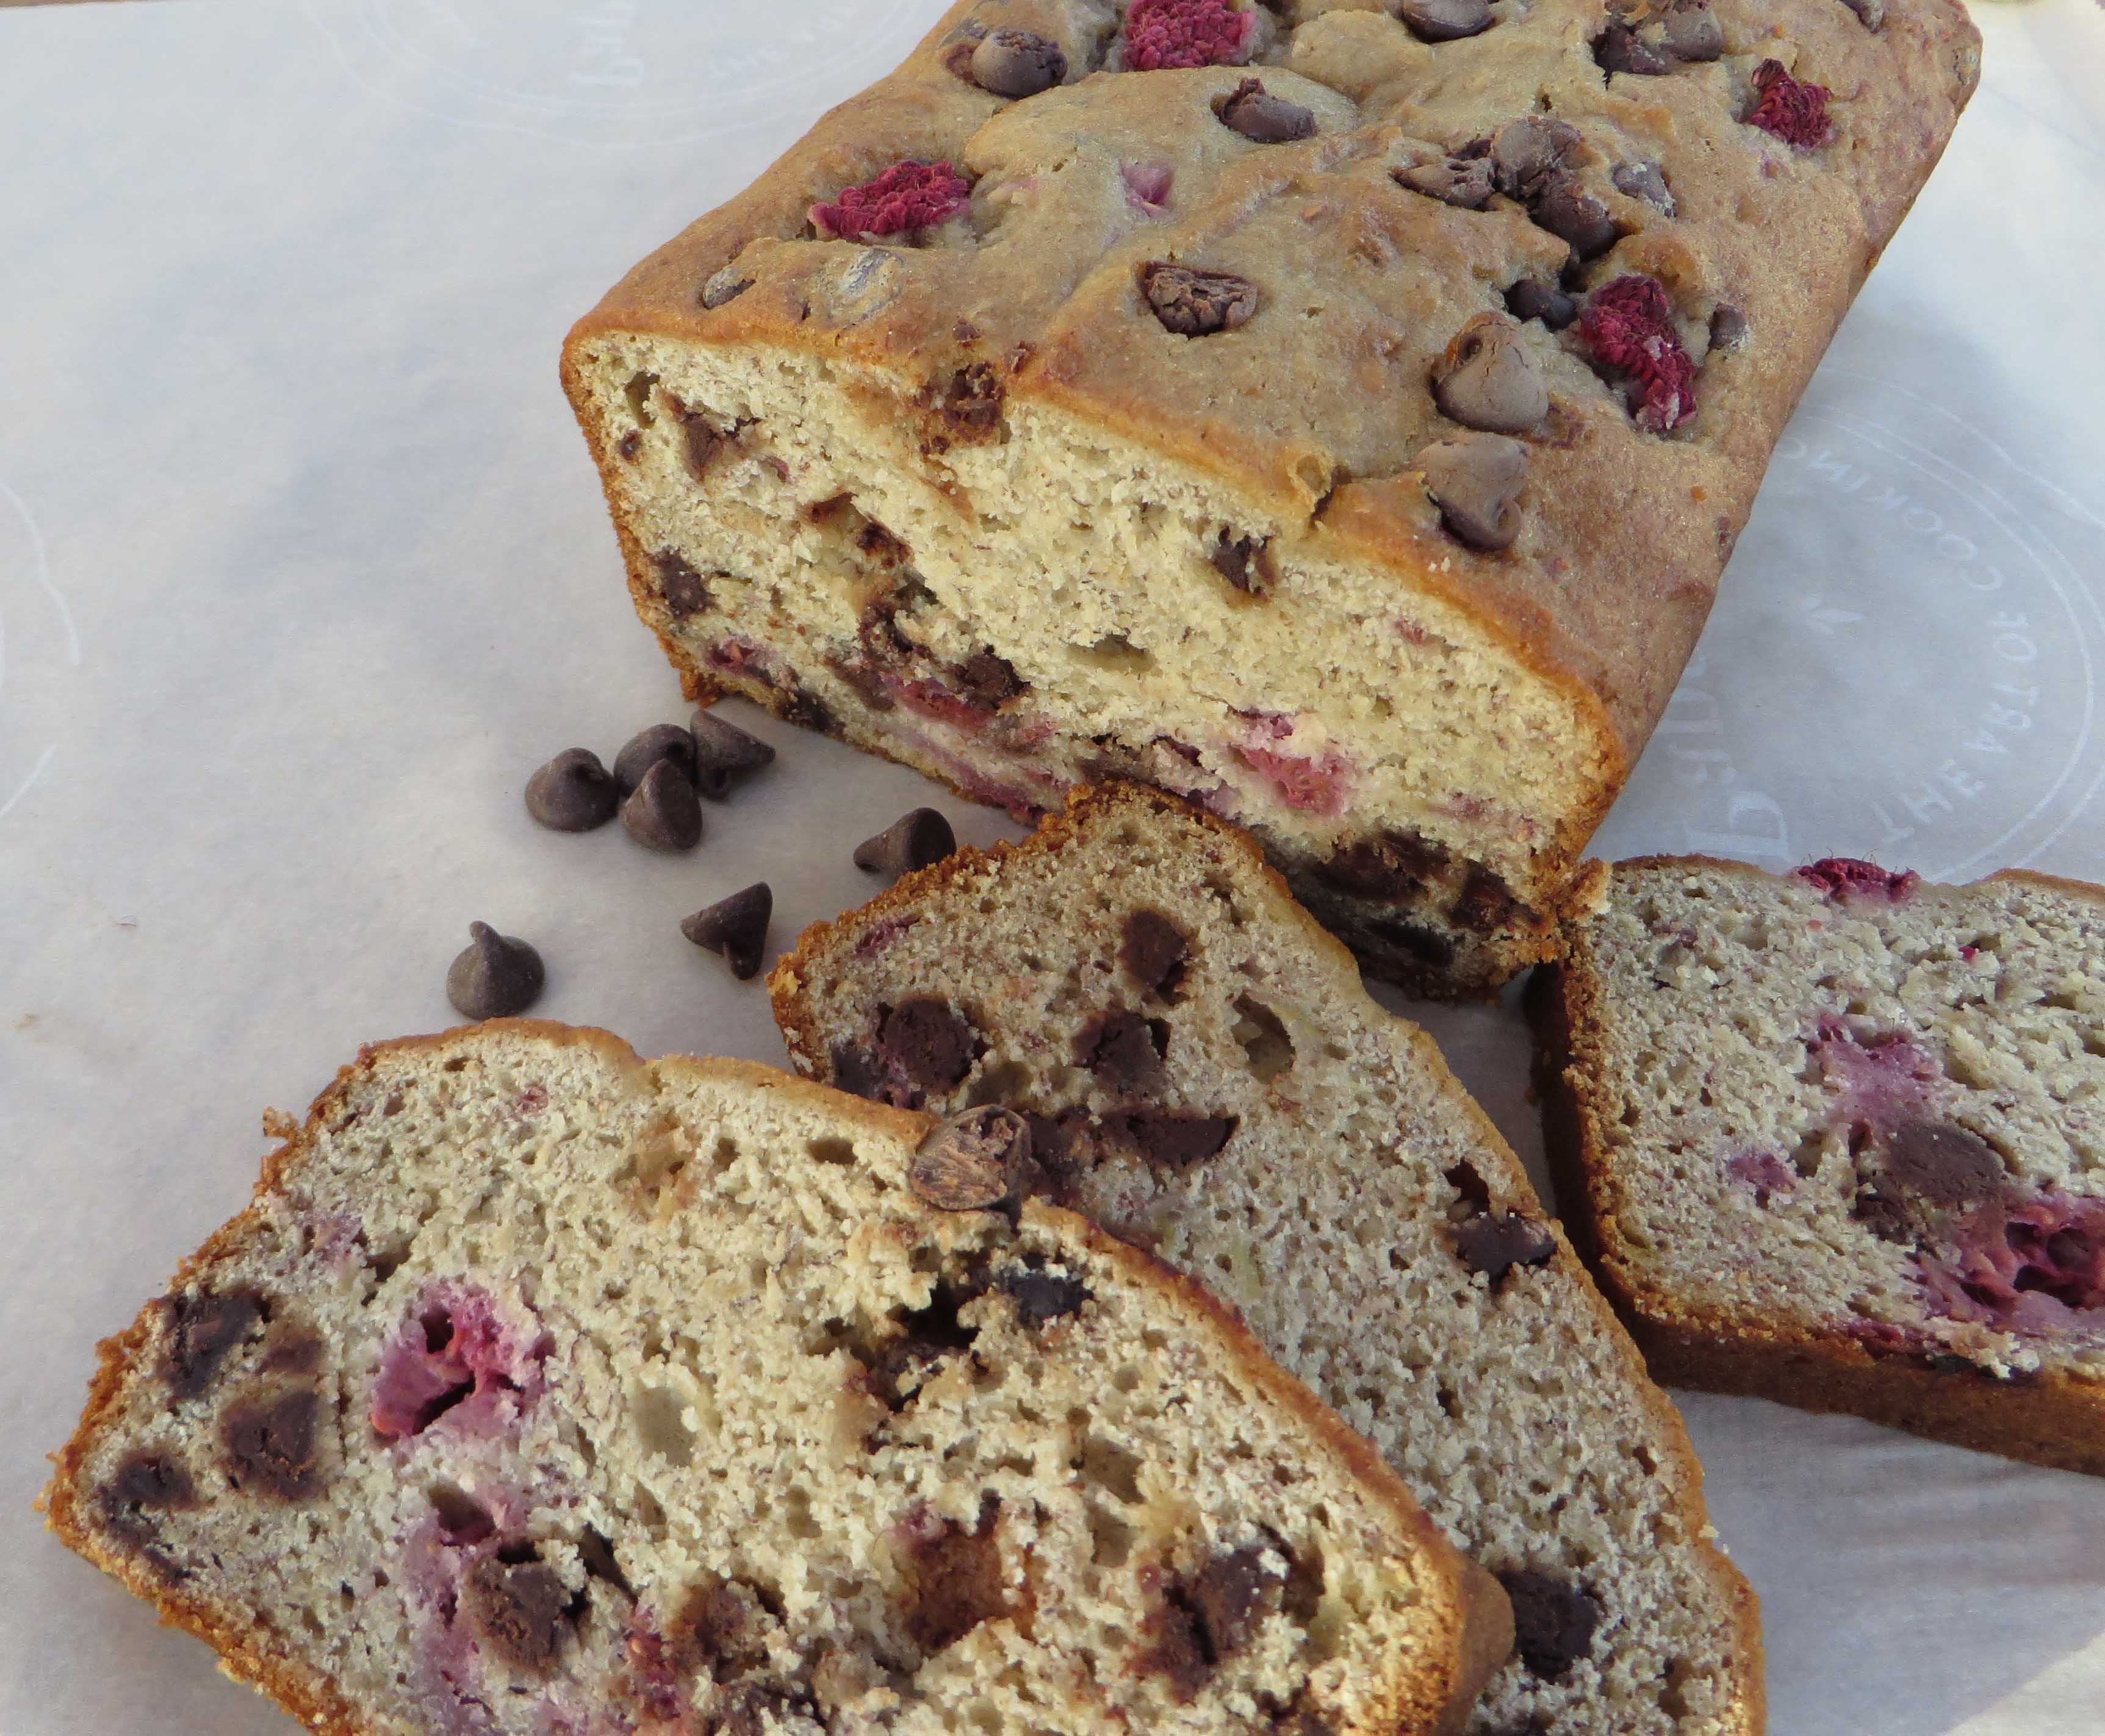
Could anything be better than having three favorite flavors packed into one recipe? In this loaf, raspberries, banana and chocolate blend together to make a slightly sweet loaf that is as pretty as it is delicious. Leftovers can be sliced and frozen. Thaw and reheat in a 350 degree oven for 10 minutes.
2 cups Beth’s Gluten-Free Quick Bread Flour Blend + 1 tablespoon (next)
3/4 teaspoon baking soda
1 cup granulated white sugar
4 tablespoons (1/2 stick) unsalted butter, at room temperature
2 large eggs
1 1/4 cups mashed ripe banana (about 3 medium bananas)
1/3 cup plain low fat yogurt
1 teaspoon vanilla extract
1 cup dark or semisweet chocolate chips
1 cup halved raspberries
Additional raspberries and chocolate chips for topping, optional
Preheat oven to 350°F. Spray a 9×5-inch loaf pan with cooking spray. In a medium bowl, whisk together the 2 cups of flour blend and baking soda.
In a separate large bowl, beat the sugar and butter with an electric mixer at medium speed until well blended (about 1 minute). Add the eggs one at a time, beating well after each addition. Add the banana, yogurt, and vanilla; beat until blended. Stir in the flour mixture. Mix just until moist. Fold in the chocolate chips. Gently toss the raspberries with the remaining 1 tablespoon of flour blend and fold into batter.
Spoon the batter into the prepared pan. Top with a few additional chocolate chips and raspberries, if desired.
Bake for 60 to 65 minutes or until a wooden pick inserted in center comes out clean and the top feels firm to the touch.
Cool 15 minutes in the pan on a wire rack. Remove from pan and cool completely on the wire rack.
Beth’s Gluten-Free Quick Bread Flour Blend
Several flours are interchangeable in this flour blend. You’ll see them noted here. I prefer using cornstarch as it produces a lighter quick bread loaf. However, potato starch produces a chewier texture in the beer bread. Take your pick according to preference and food sensitivities.
Combine these ingredients. Blend well, then scoop out the amount needed for your recipe.
1 cup sorghum flour (or corn or brown rice flour)
¾ cup rice flour (or buckwheat flour)
¾ cup cornstarch (or potato starch or tapioca starch flour)
½ cup amaranth flour (or quinoa, buckwheat, or millet flour)
2 ½ teaspoons xanthan gum
1 ¼ teaspoons salt
Categories: Recipes | Tags: gluten free, gluten free baking, gluten free quick breads, gluten free quick recipes, yeast free breads | No Comments »
From Beth Hillson
The best thing about quick breads is suggested in the name. With no yeast to coax into rising and no long waits or kneading, quick breads reach lofty limits via fast-acting baking powder or baking soda or both. Once liquids and leavening touch, the action begins; quick bread goes right into the oven to maximize the chemical reaction that is beginning. Best yet, quick breads can be enjoyed by those who are gluten free and yeast free and miss their bread. Owing to the light texture and sumptuous flavor of this bread, no one misses out!
Honey Beer Bread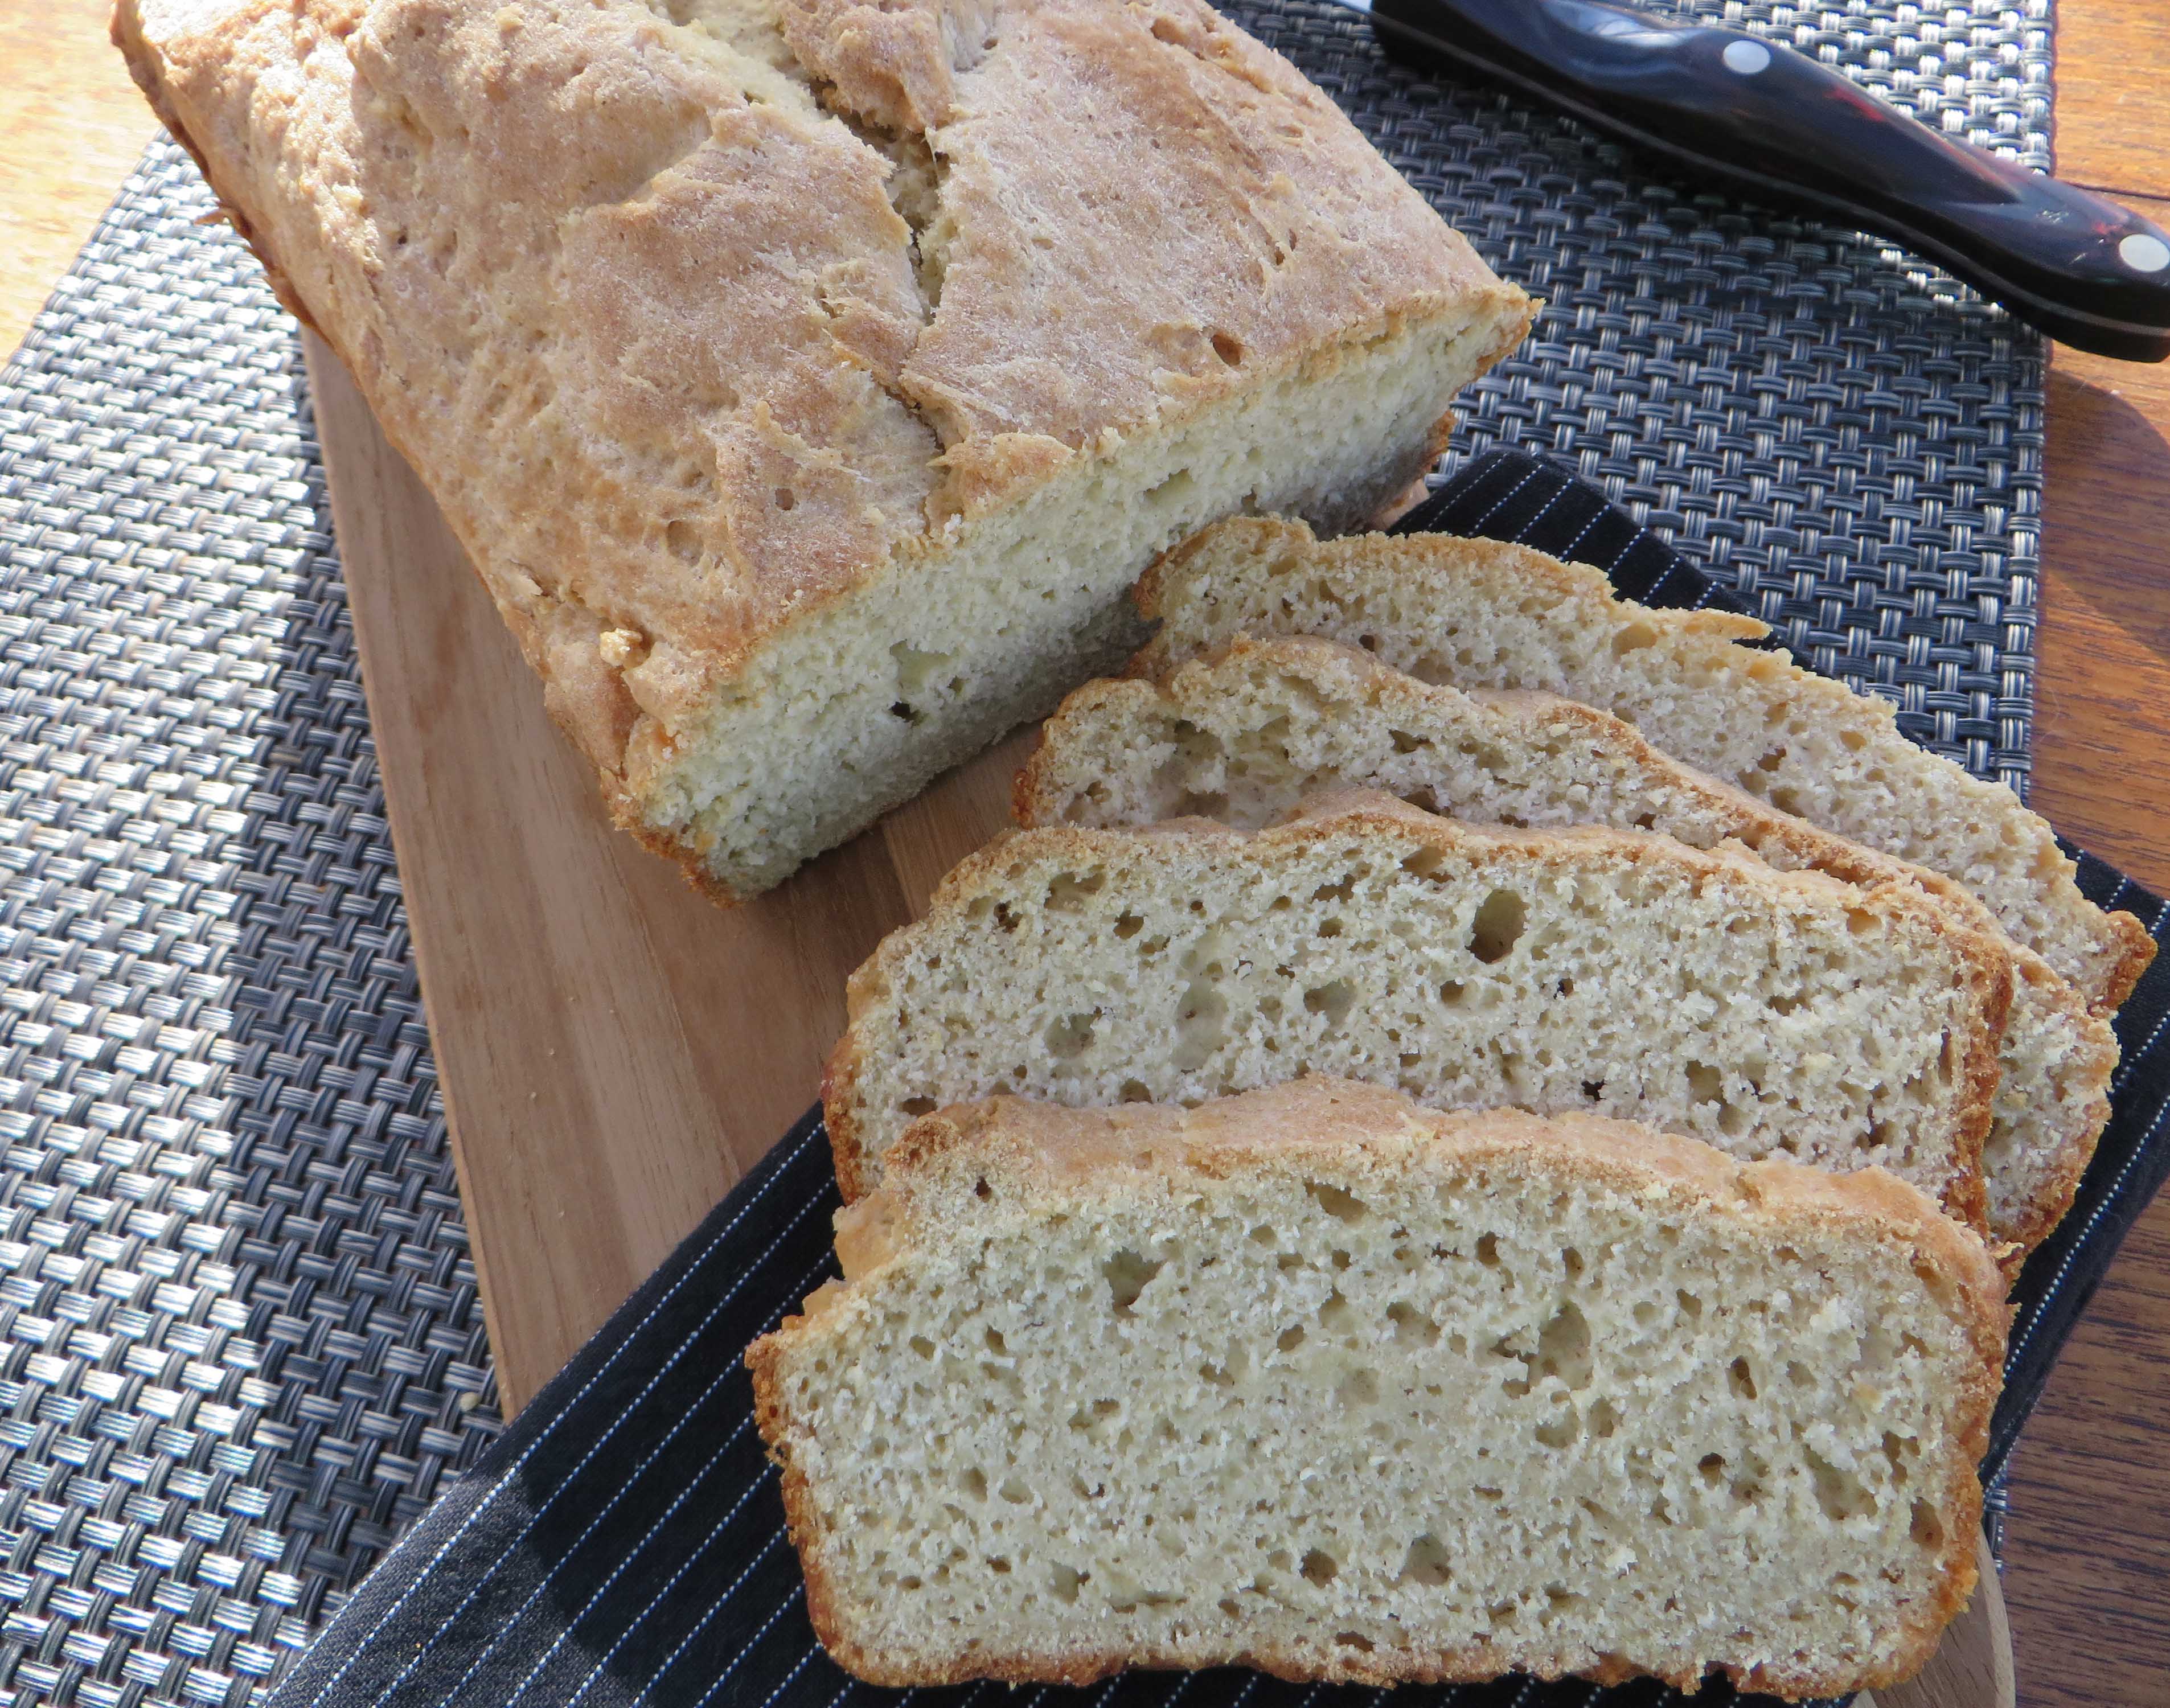
Makes 1 loaf (14 servings)
This recipe produces a light and moist loaf. You can replace the beer with an equal amount of seltzer water to turn this into a wonderful, yeast-free sandwich bread.
3 cups Beth’s Gluten-Free Quick Bread Flour Blend (next)
1 tablespoon baking powder
1 tablespoon white sugar, optional
3 large eggs at room temperature
3 tablespoons olive oil
3 tablespoons honey
1 1/3 cups gluten-free beer or seltzer water at room temperature
2 teaspoons melted butter or dairy-free buttery spread for topping
Preheat oven to 375 degrees F (190 degrees C). Grease a 9x5x3-inch loaf pan.
Mix flour blend, baking powder, and sugar, if used, together in a bowl.
Beat eggs, olive oil, and honey together in a separate large bowl; add flour mixture and beat with an electric mixer until you get a smooth batter. Stir beer into the batter and beat batter until smooth. Transfer to prepared loaf pan. Brush the top of the loaf with melted butter.
Bake in preheated oven until cake tester comes out clean, about 45 to 50 minutes.
Cool in pan on a wire rack for 10 minutes. Turn bread out onto wire rack to cool completely before slicing.
Beth’s Gluten-Free Quick Bread Flour Blend
Several flours are interchangeable in a flour blend. You’ll see them noted here. I prefer using cornstarch as it produces a lighter quick bread loaf. However, potato starch produces a chewier texture in the beer bread. Take your pick according to preference and food sensitivities.
Combine these ingredients. Blend well, then scoop out the amount needed for your recipe.
1 cup sorghum flour (or corn or brown rice flour)
¾ cup rice flour (or buckwheat flour)
¾ cup cornstarch (or potato starch or tapioca starch flour)
½ cup amaranth flour (or quinoa, buckwheat, or millet flour)
2 ½ teaspoons xanthan gum
1 ¼ teaspoons salt
Categories: Recipes | Tags: easy gluten free recipes, gluten free, yeast free bread | No Comments »
Recipe from Beth Hillson
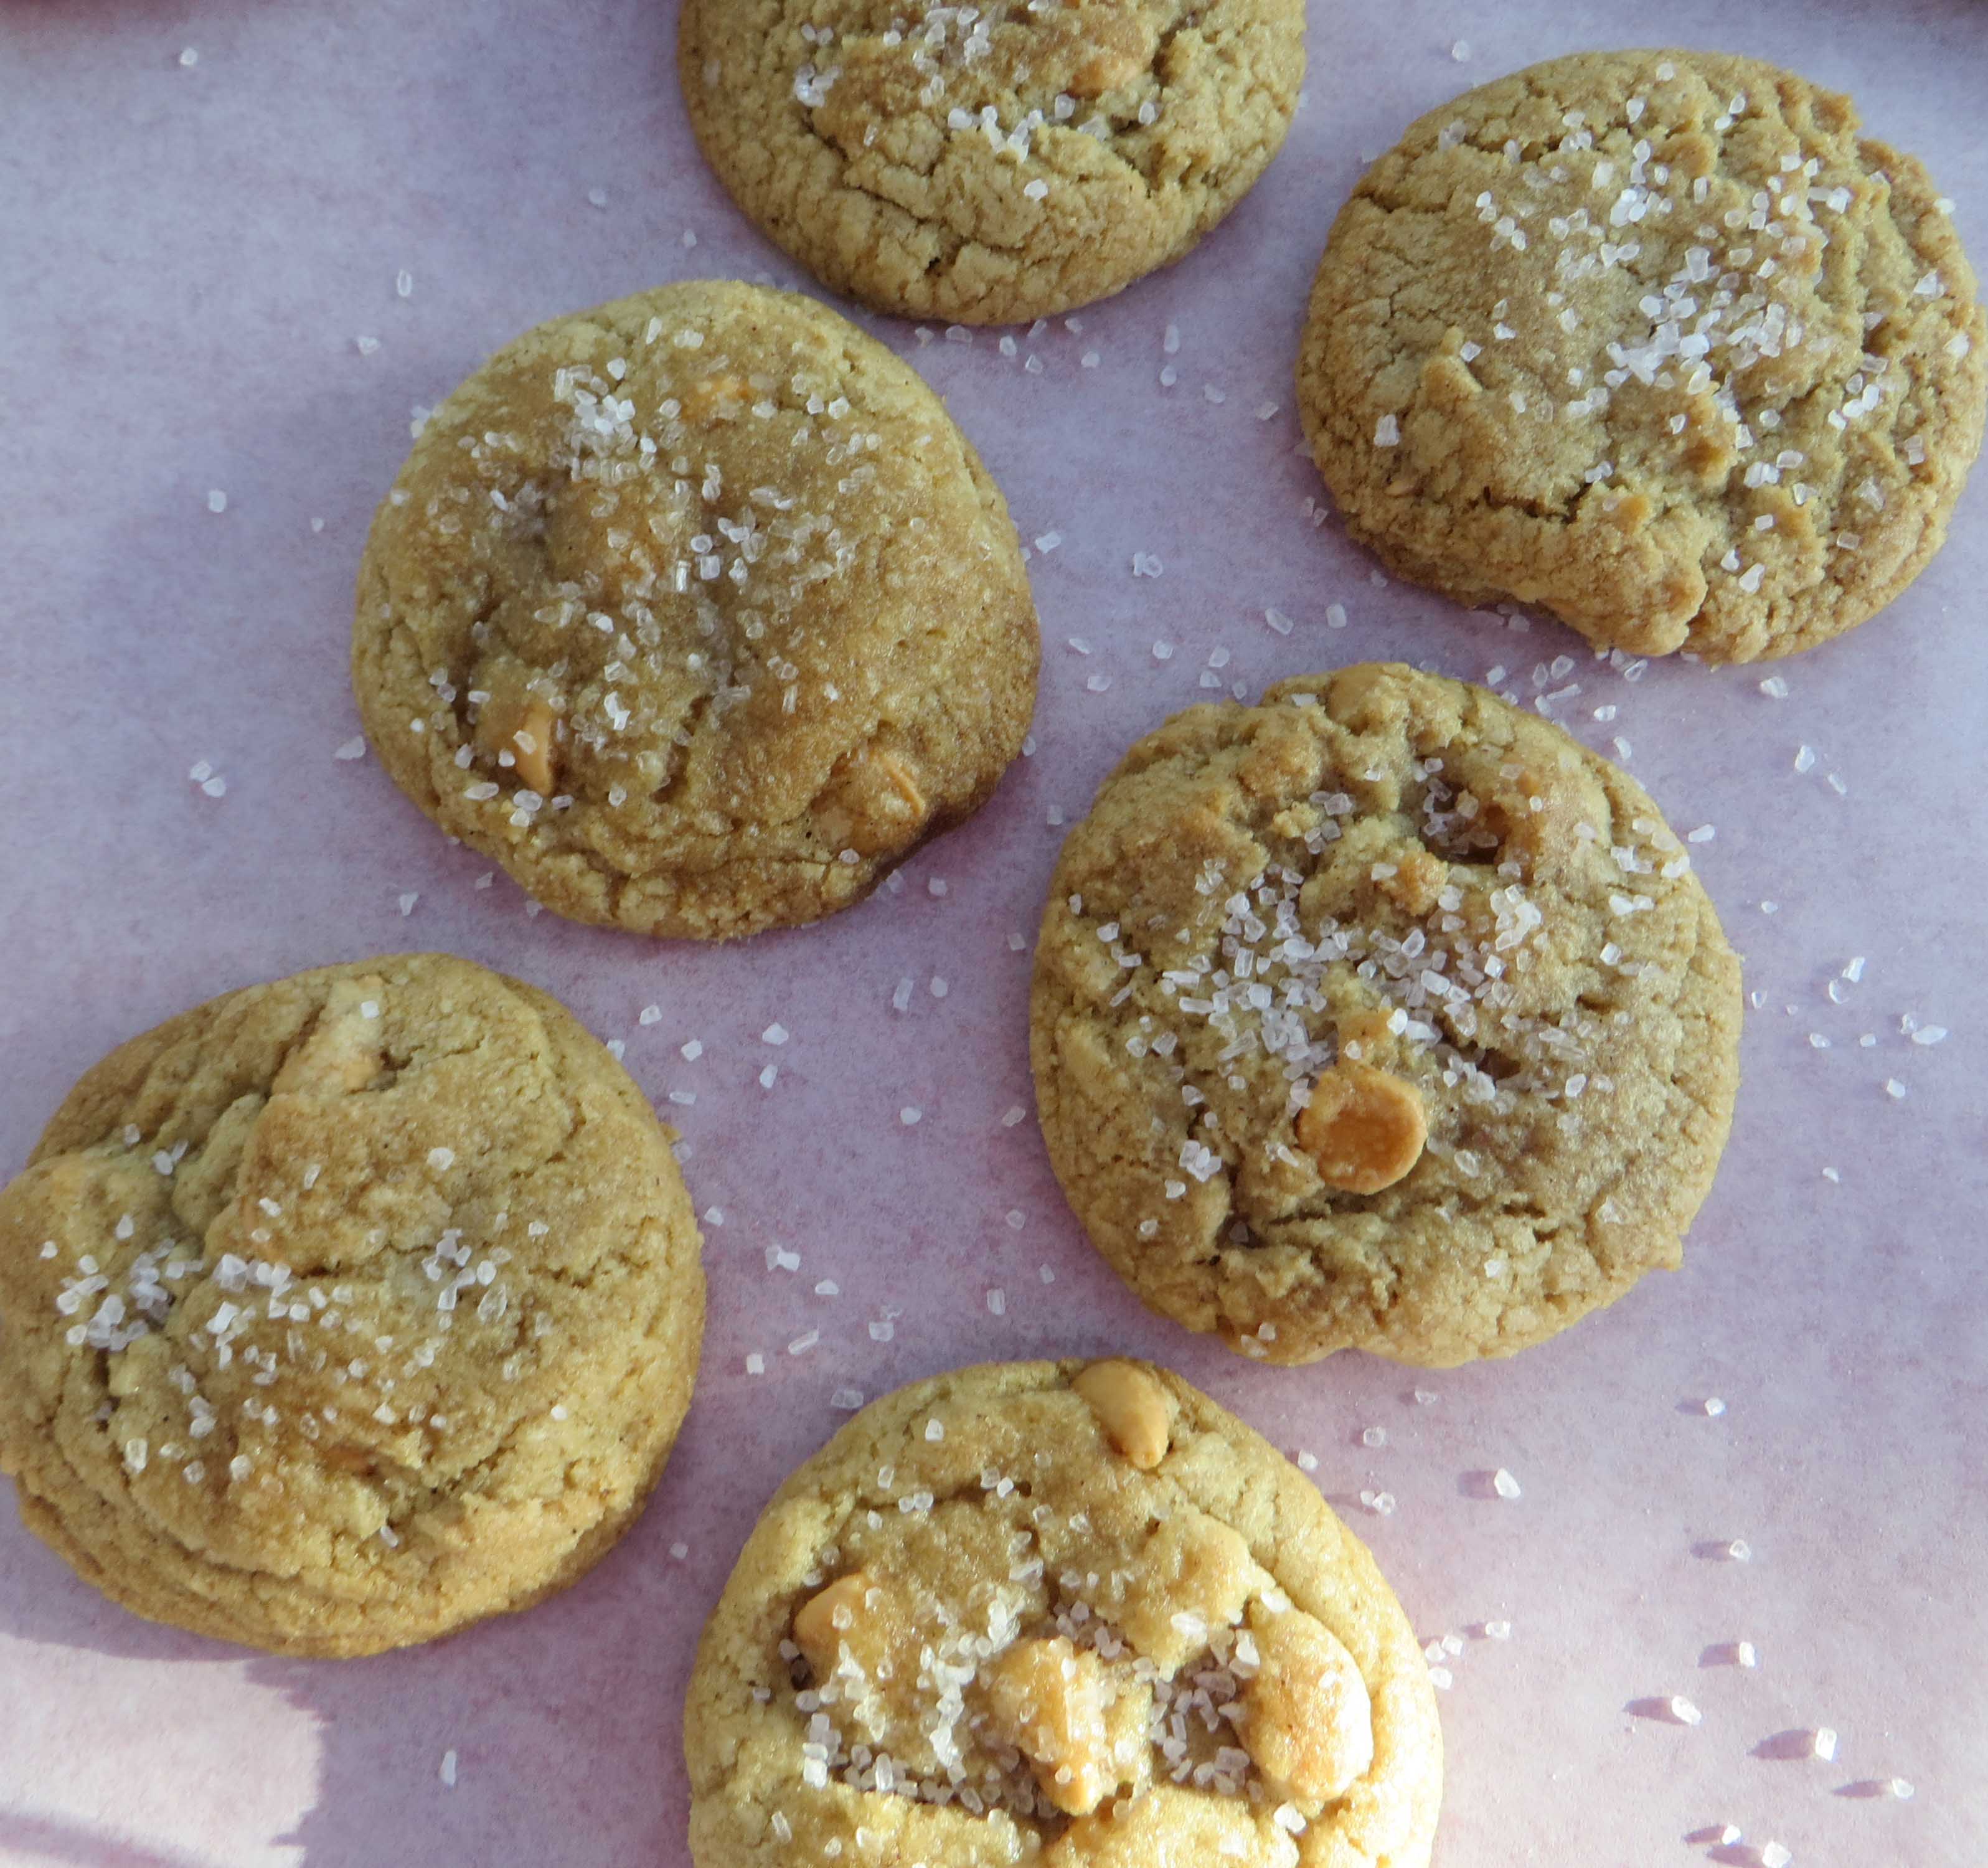
Makes 36 cookies
These chewy cookies are laced with brown sugar and sweet butterscotch chips. Adding a sea salt topping creates an explosion of flavors. Easy to make, these are perfect for holiday cookie swaps and gifting but you’ll want these on your table for every occasion.
2 cups gluten free cake and cookie blend (below)
2 teaspoons baking soda
1/2 teaspoon ground cinnamon
3/4 cup unsalted butter, at room temperature
1 1/4 cups light brown sugar
1 large egg
1 teaspoon vanilla extract
3/4 cup gluten free butterscotch chips such as Hershey or Guittard brand
Sea salt, for garnish, optional
Preheat oven to 350 degrees F. Line 2 cookie sheets with parchment paper. Set aside.
In a medium bowl, whisk together flour blend, baking soda, and cinnamon. Set aside.
Place butter and brown sugar in the large mixing bowl. Beat on medium speed until light and fluffy, about 3 minutes. Scrape down the sides of the bowl with a spatula. Add the egg and vanilla. Beat on medium speed until combined.
Add the dry ingredients. Mix until the just combined. Stir in the butterscotch chips.
Using a spoon or cookie scoop, form tablespoons size balls of cookie dough. Top with a sprinkle of sea salt. Press into the dough. Place on balls on prepared baking sheet, about 2 inches apart. Bake cookies for 10 to 12 minutes, or until lightly browned around the edges. Do not over bake. Cool on the pan for 5 minutes. Transfer cookies to a wire cooling rack and cool completely. Store in an air-tight container for up to 4 days or freeze for up to 3 months.
Cake and Cookie Flour Blend
This makes enough flour blend for several of your favorite holiday cookie recipes.
2 cup sweet white sorghum flour
2 cup white rice flour
1 ½ cups cornstarch
3 teaspoons xanthan gum (or guar gum)
1 teaspoon salt
Mix to combine. Store leftover blend in a zip-lock bag in the refrigerator.
Recipe by Beth Hillson
Makes 30 to 32 cookies
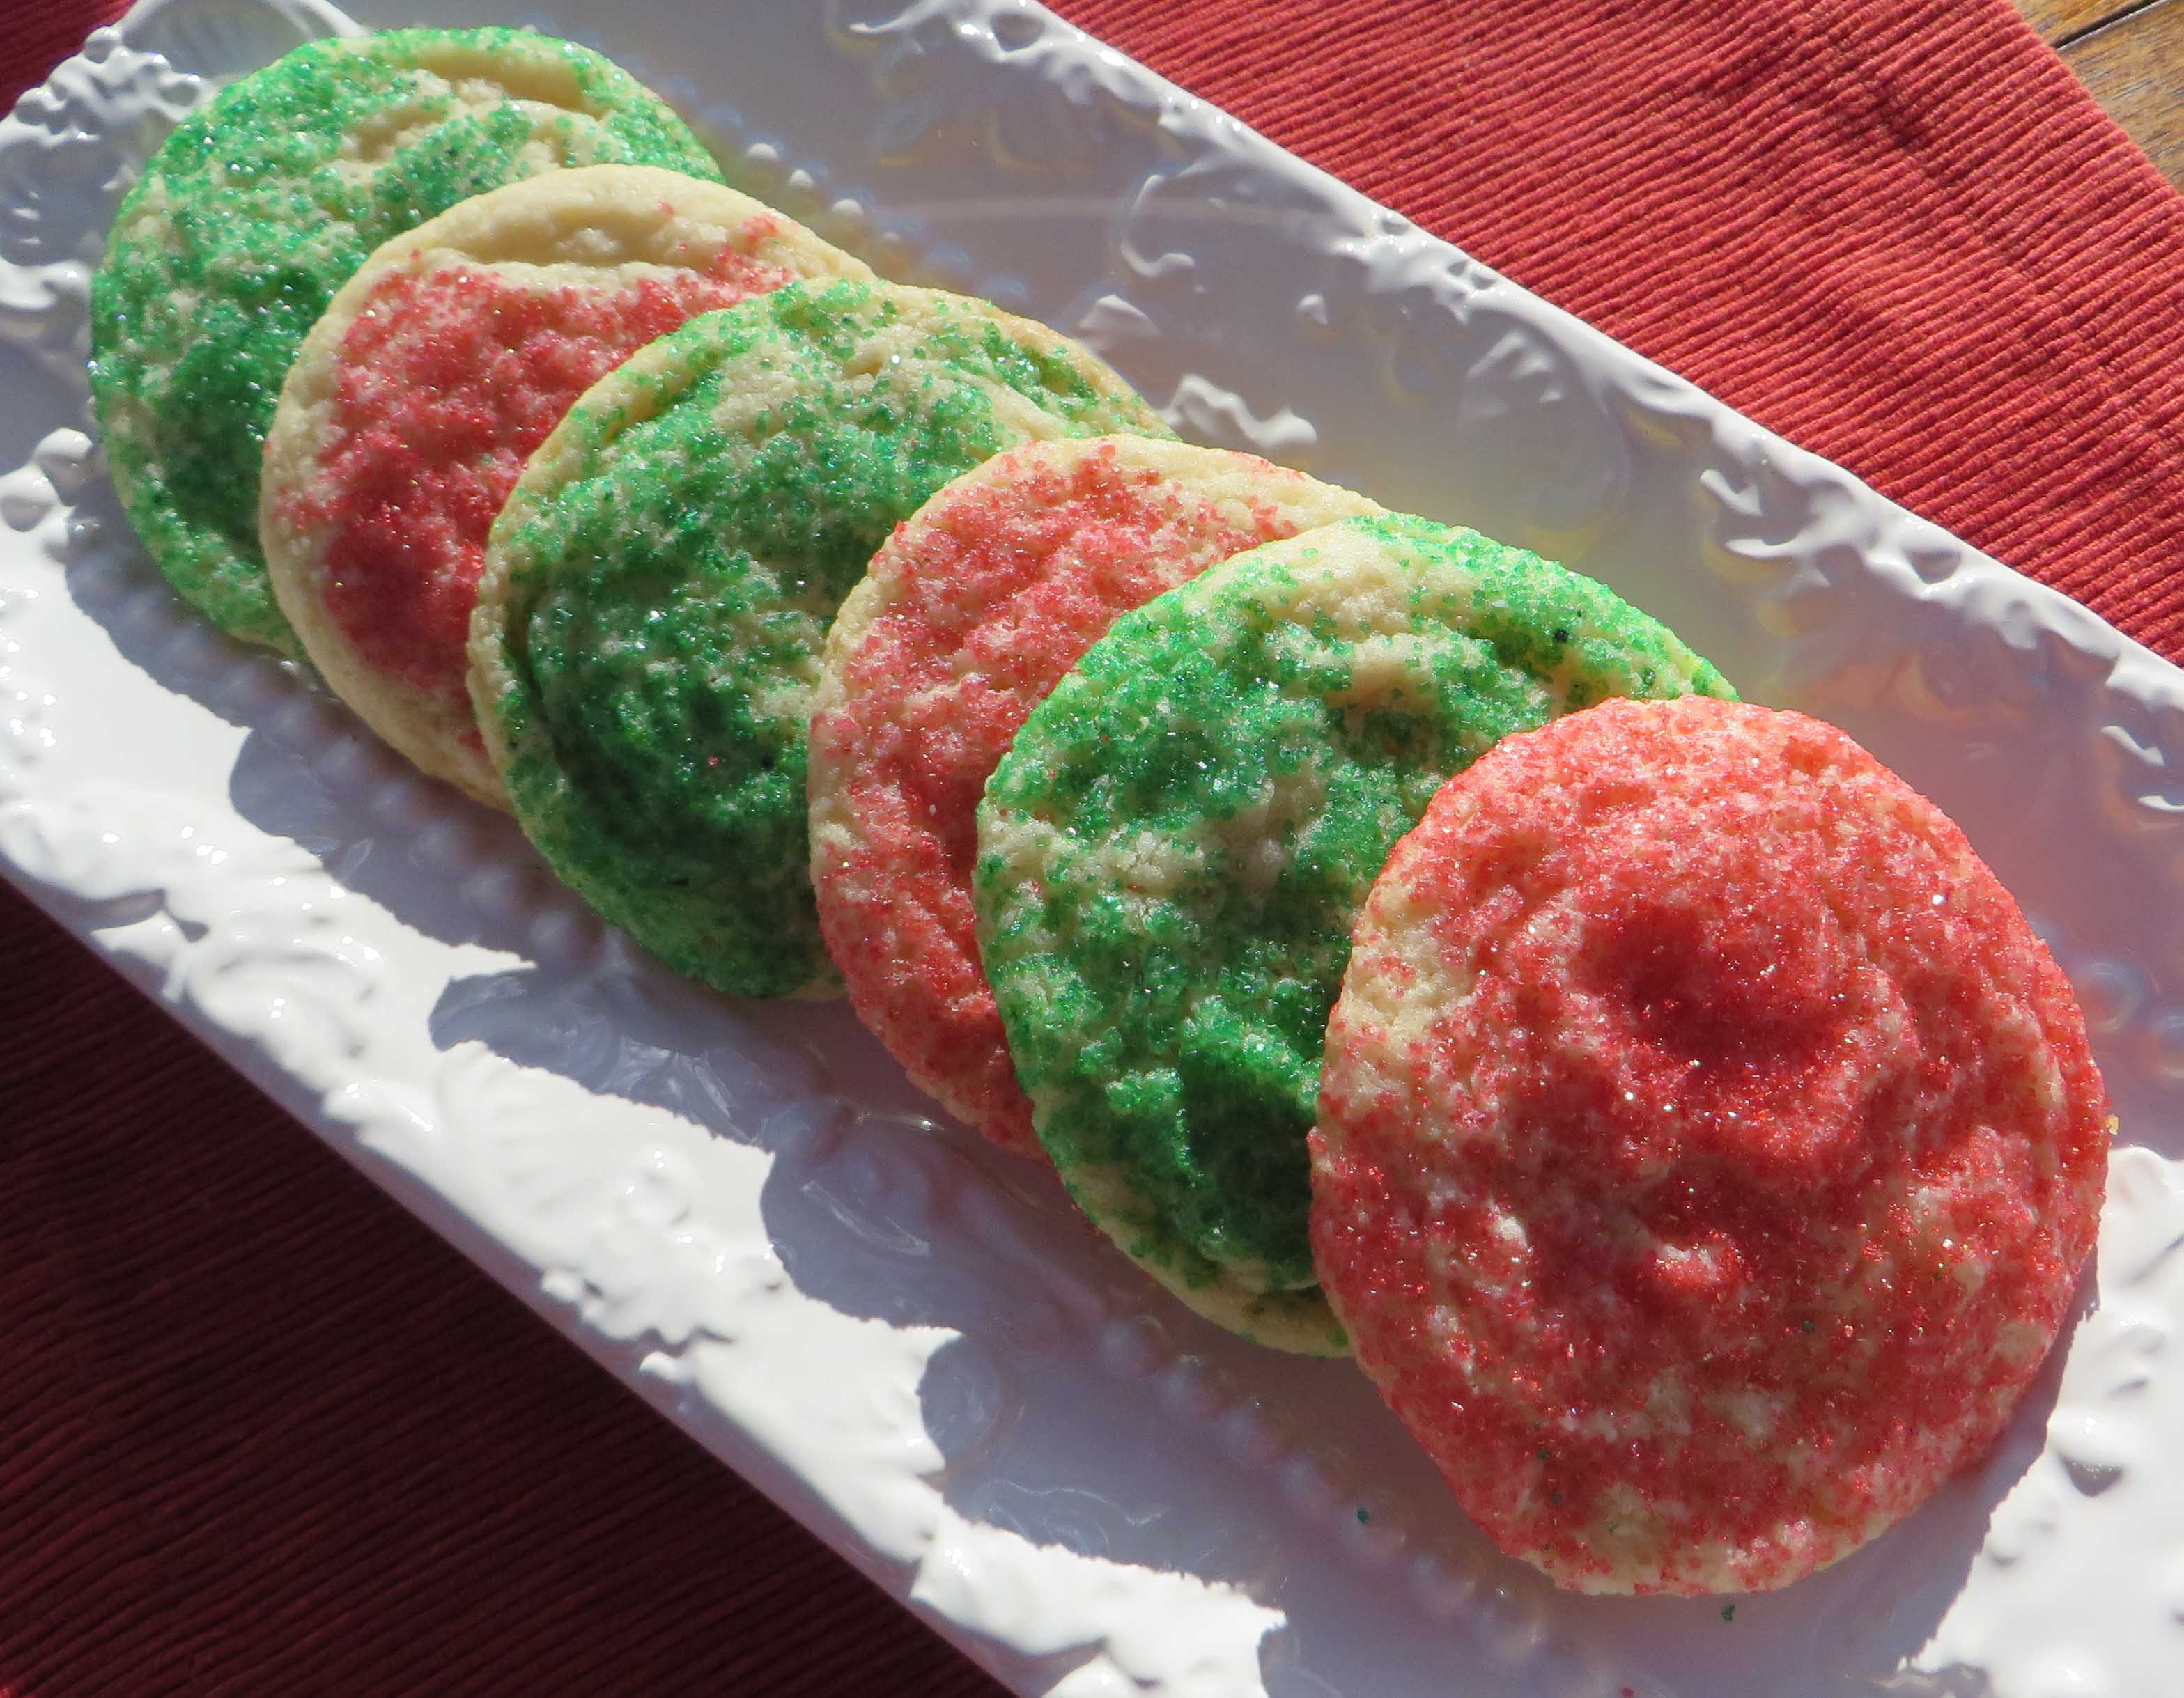
These rich, buttery cookies are slightly crisp on the outside with a chewy center. They have quickly become my favorite cookies; they’ll be yours, too.
Dip dough in colorful sanding sugar to turn them into beautiful holiday cookies. Top with chopped pecans or fold chopped, toasted nuts into the batter to create another variety. Perfect for cookie swaps and gifting, you’ll be making these cookies for occasions all year long.
1 cup (2 sticks) unsalted butter, room temperature
1½ cups granulated sugar
1 large egg
1½ teaspoons vanilla extract
2 cups cookie and cake flour blend (below)
1 teaspoon baking powder
1/4 teaspoon baking soda
1/4 cup sour cream
Sanding sugar or sprinkles (optional)
In a large bowl, cream together butter and sugar with an electric mixer until light and fluffy, about 3 minutes. Scrape down sides with spatula. Add egg and vanilla. Mix until combined.
In a separate bowl, whisk together flour blend, baking powder, and baking soda. Add half to wet ingredients, mixing on low speed. Then add sour cream and combine. Finally, add the rest of the dry ingredients. Mix until the dough is well blended. Cover with plastic wrap and chill for 30 minutes.
Preheat oven to 350F. Line cookie sheets with parchment paper. Roll dough into walnut-size balls. Dip one side in sugar (if using). Place sugar-side up on parchment-lined baking sheets, two inches apart as dough will spread.
Bake for 15 minutes, until edges start to brown slightly.
Cool for 10 minutes in pans before removing to wire racks to cool completely. Cooled cookies will keep in an air-tight container at room temperature for several days and can be frozen for up to 2 months.
TIP: Can’t have dairy products? Replace butter with dairy-free buttery sticks from Earth Balance and sour cream with dairy-free sour cream from Tofutti or Follow Your Heart. For lactose-free sour cream, check out Green Valley Organics.
Cake and Cookie Flour Blend
This makes enough flour blend for several batches of your favorite cookie recipes.
2 cup sweet white sorghum flour
2 cup white rice flour
1 ½ cups cornstarch
3 teaspoons xanthan gum (or guar gum)
1 teaspoon salt
Mix to combine. Store leftover blend in a zip-lock bag in the refrigerator.
Categories: Recipes | Tags: Cookies, dairy-free, dessert, dessert recipes, easy gluten free holiday cookies, easy gluten free recipes, gluten free baking | No Comments »
Recipe by Beth Hillson
Serves 4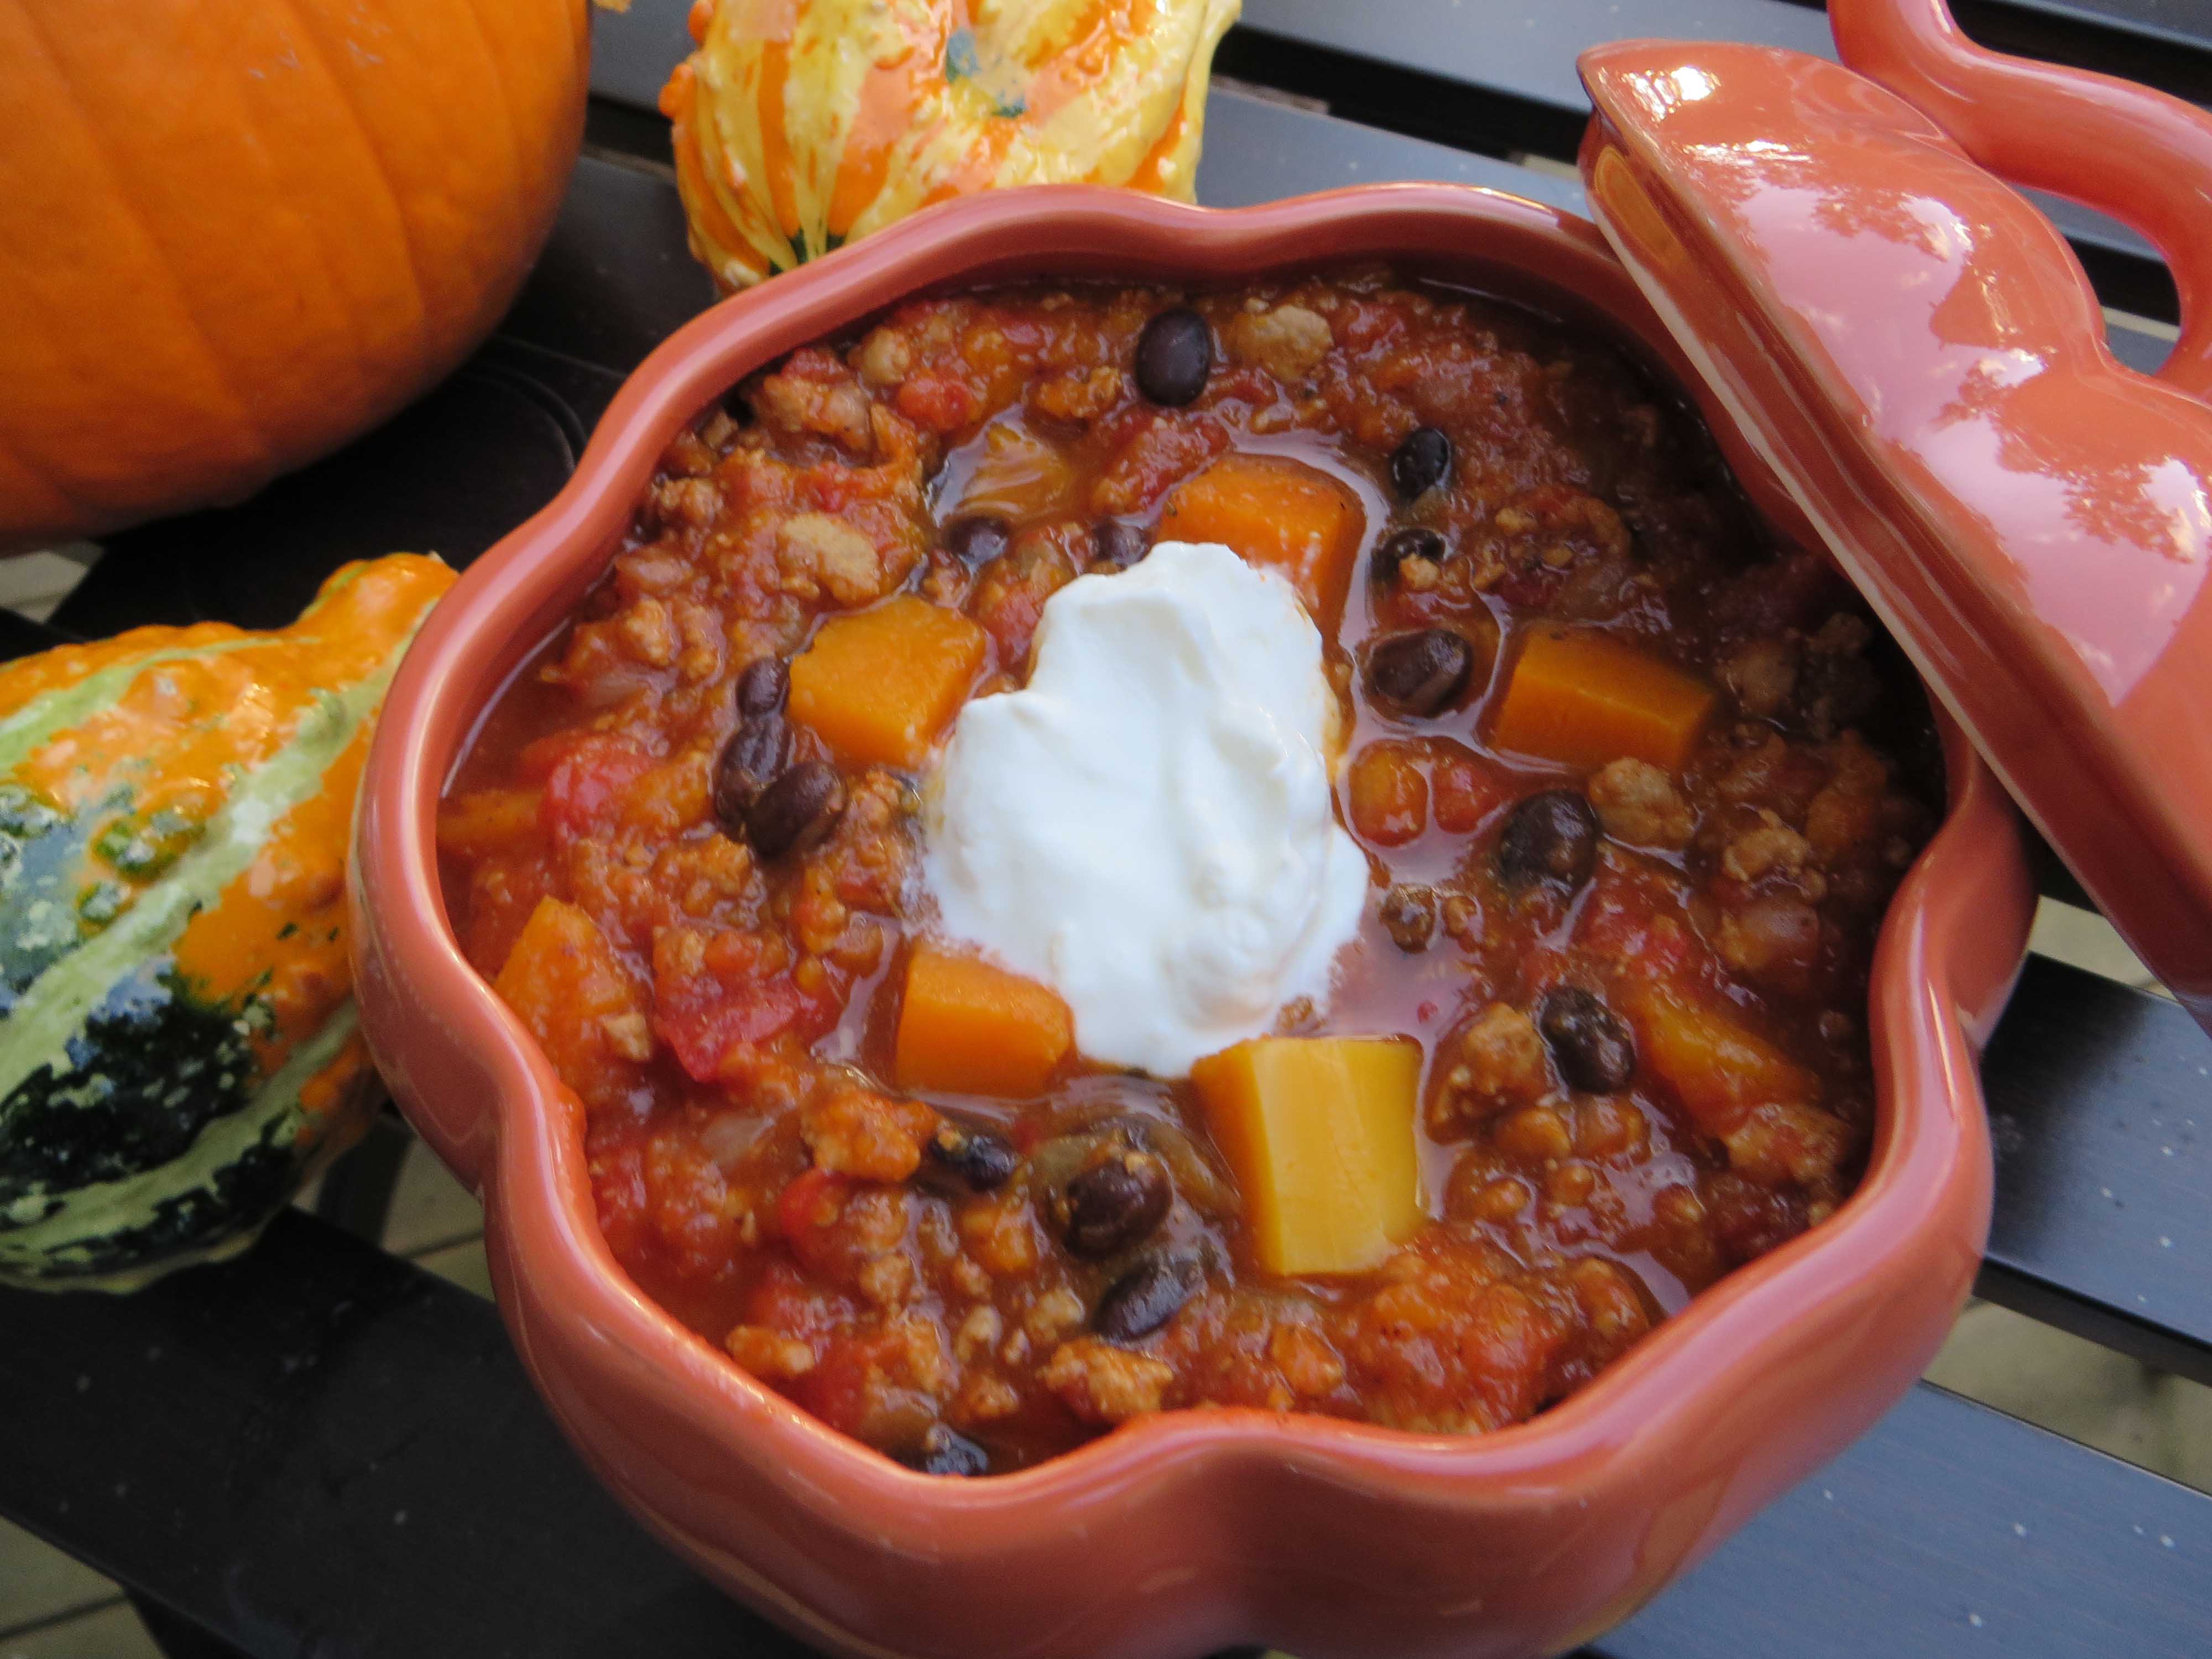
This is an easy chili that everyone will love. Don’t tell them it’s healthy, too. You can double or triple this to feed a crowd and up the spices if your guests like the heat. Try replacing pumpkin with butternut squash, too. However, do not add brown sugar as the squash is much sweeter than pumpkin. Top with sour cream or cheddar cheese.
2 tablespoons olive oil, divided
1 pound ground dark meat turkey
2 teaspoons fajita or taco seasoning
2 teaspoons chili powder
¼ to ½ teaspoon chipotle powder
1 large onion, chopped
2 cloves garlic, crushed
1 (28-ounce) can diced tomatoes, with juice
3 cups cubed fresh pumpkin or butternut squash
2 tablespoons brown sugar (omit if using butternut squash)
1 tablespoon cider vinegar
1 (15 ounce) can black beans, rinsed and drained
Cooked brown rice
Sour cream or grated cheddar cheese
Heat 1 tablespoon olive oil in a large saucepan over medium heat; brown turkey, stirring often, until crumbly and no longer, pink, about 10 minutes. Drain and discard any fat. Add the spices and use a slotted spoon to transfer to a plate.
Heat remaining olive oil in the pan and add onion and garlic. Sauté over low heat until the onion is translucent. Add back the turkey. Stir to combine. Add tomatoes, pumpkin, sugar and vinegar to the pan. Cook, covered, on low heat until pumpkin is tender and has started to break apart, about 30 to 40 minutes. Add the beans and cook an additional 15 minutes. Check seasonings and add salt and pepper if desired.
Serve with rice and sour cream.
Categories: Recipes | Tags: easy gluten free recipes, gluten free chili for a crowd, healthy gluten free recipes | No Comments »
Recipe from Beth Hillson
Makes 4 Go-Stick Treats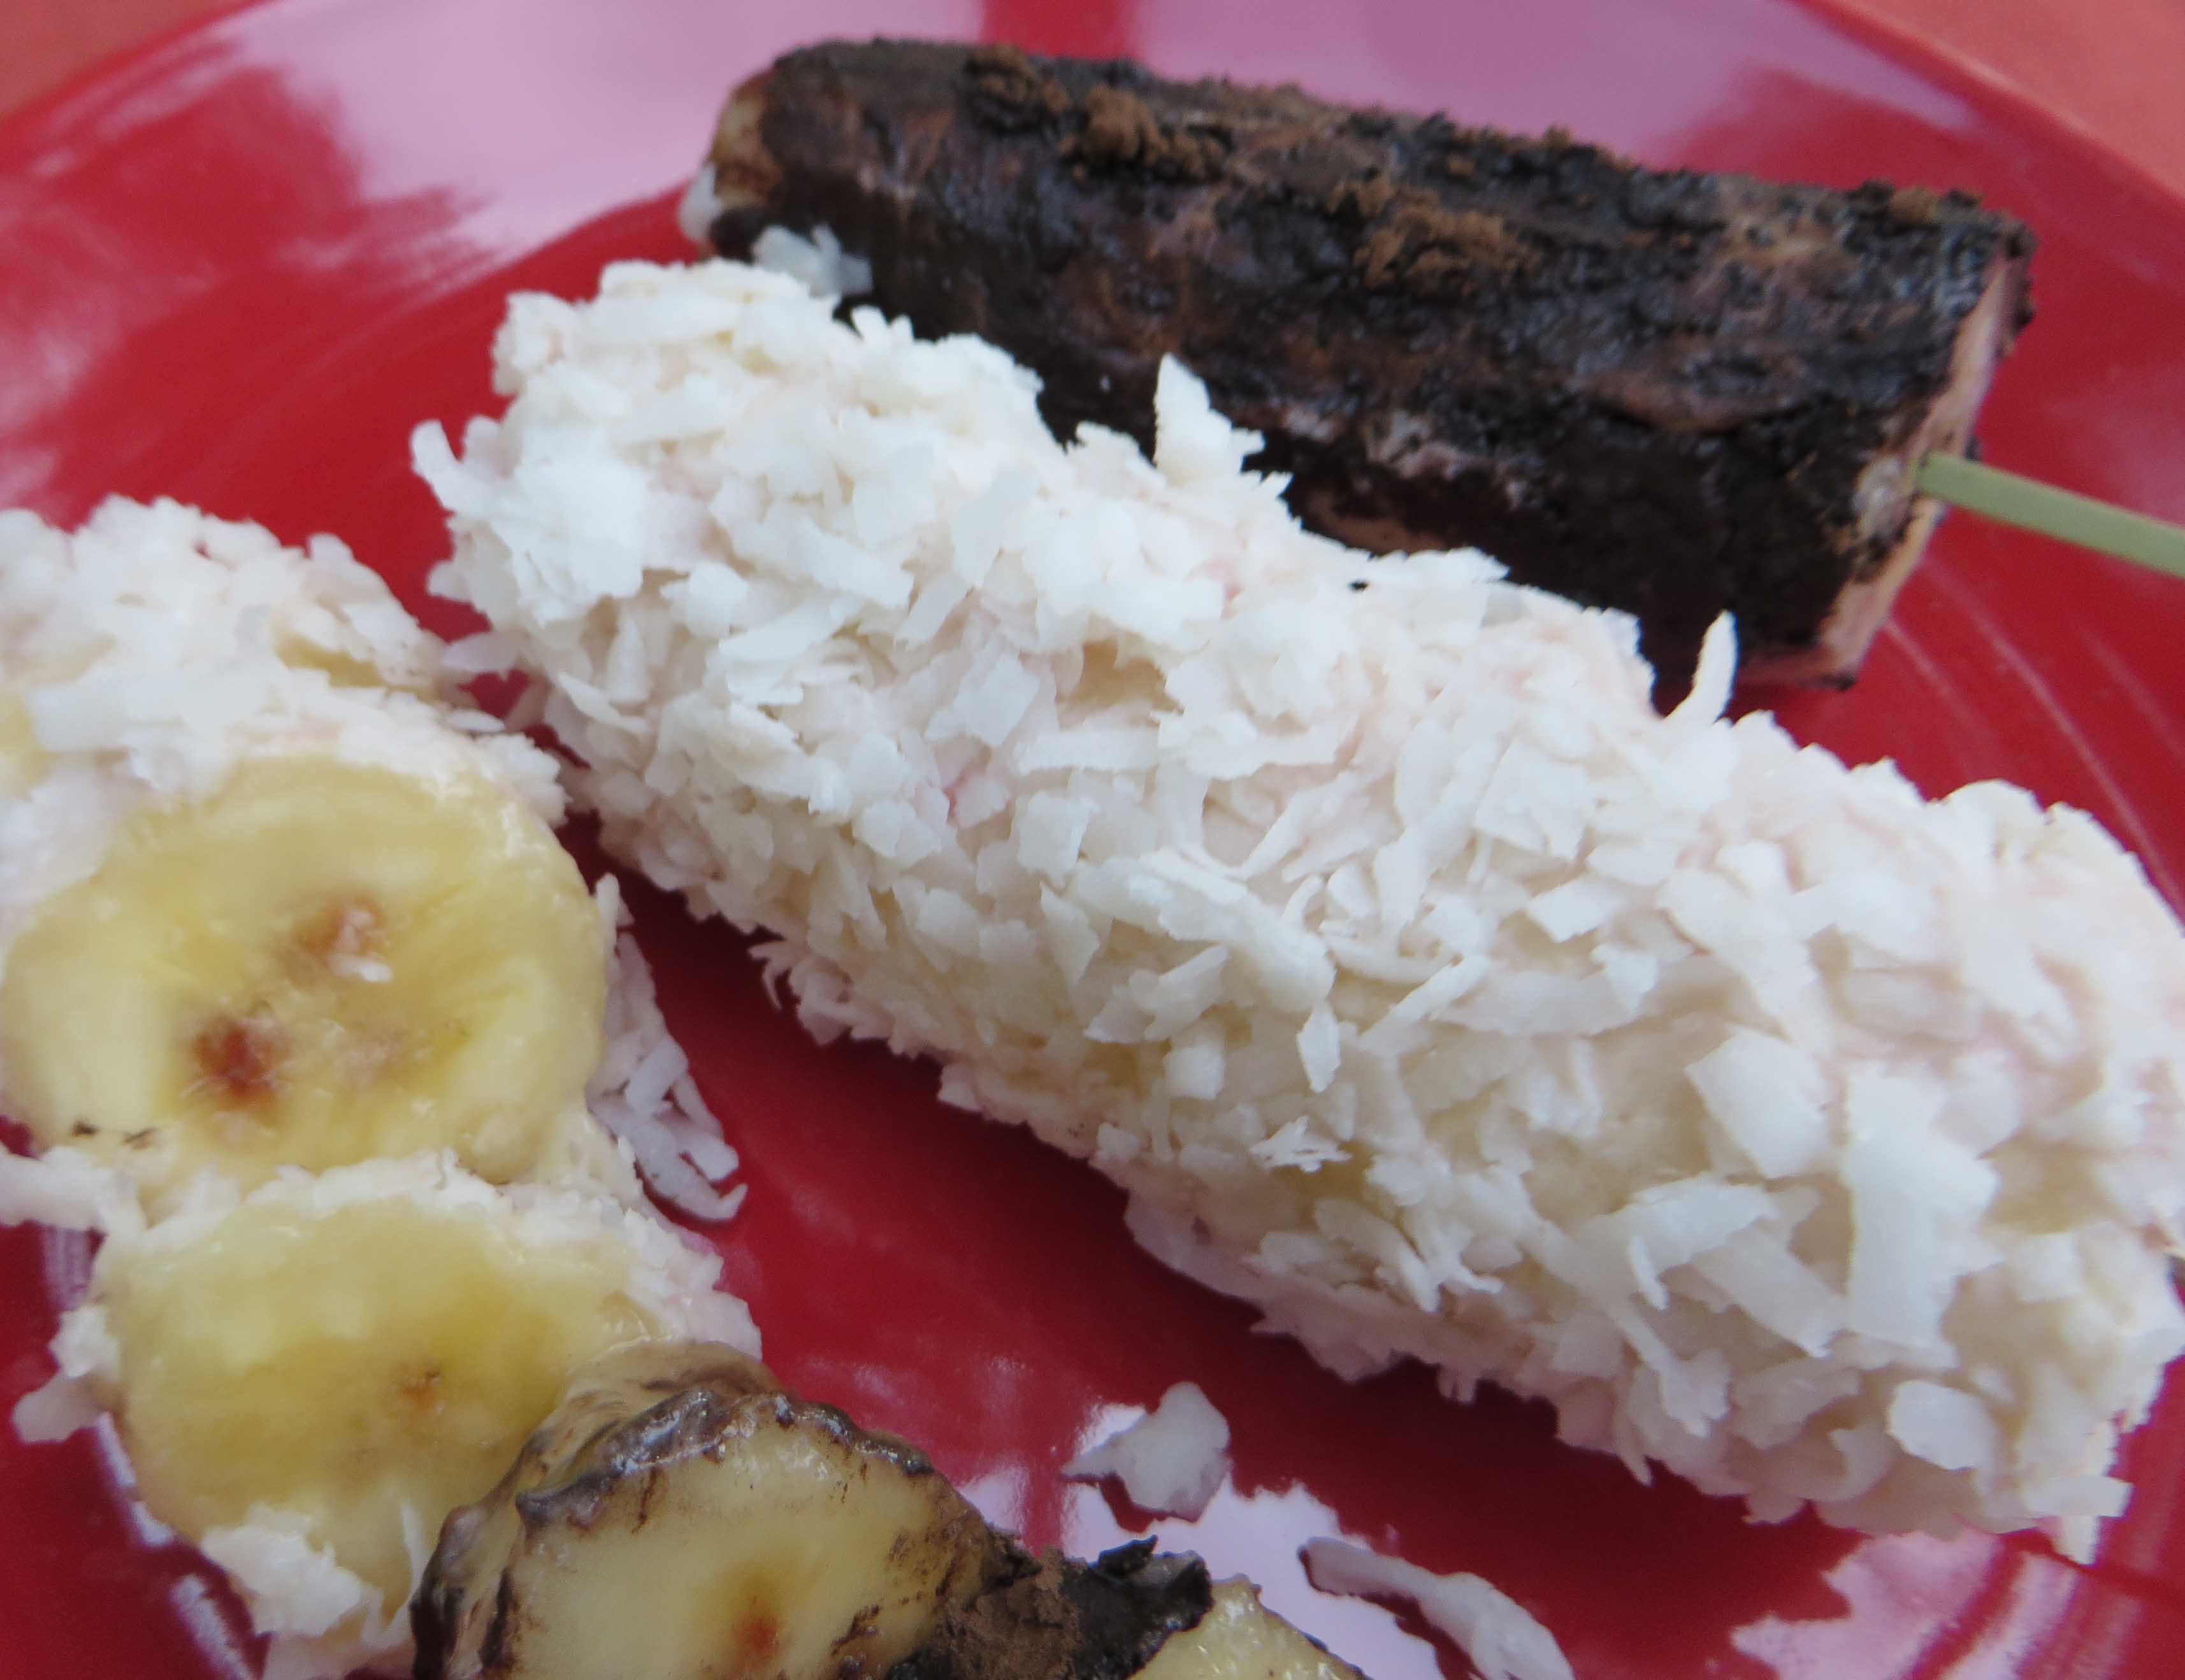
Here’s a great grab-and-go breakfast or snack that’s healthy and loaded with fiber and potassium, too. Whether you use unsweetened cocoa, coconut, or ground nuts, you’ll be getting lots of nutritional bennies in each treat.
Make a batch ahead of time so they are ready for school or breakfast on the run. You’ll swear you are biting into a chocolate bar when you try the bananas coated with unsweetened cocoa; the coconut variety tastes like coconut cream and the nuts will make you think you’ve bitten into a nutty ice cream treat. What could be better?
No need to add fruit preserves if using the nut or coconut coating. However, the preserves are a nice touch to cut the bitterness of unsweetened chocolate.
2 large organic bananas
¼ cup plain yogurt, preferably organic
2 teaspoons fruit preserves (no sugar added), optional
Toppings: (Choose your preference)
4 teaspoons unsweetened dark cocoa
¼ cup unsweetened coconut
¼ cup chopped unsalted almonds or peanuts
4 skewers or long toothpicks
Line a large plate with wax paper. Peel the bananas and cut in half through the center. Place a skewer through each banana half lengthwise.
In a small plate, combine yogurt and fruit preserves, if using.
In another plate, add cocoa, breaking up any clumps.
Spread the coconut over another plate, breaking it up with the back of a fork. Spread the nuts over another plate, if using.
Coat each banana half in the yogurt mixture then coat it in one of the addition toppings. Set on the wax paper lined plate and freeze for a minimum of 1 hour and up to 3 days.
When you need a Go-Stick, grab on out of the freezer and away you go!
Categories: Recipes | Tags: easy gluten free breakfast recipes, easy gluten free recipes, healthy gluten free breakfast | 2 Comments »
Recipe from Beth Hillson
Makes 12 pancakes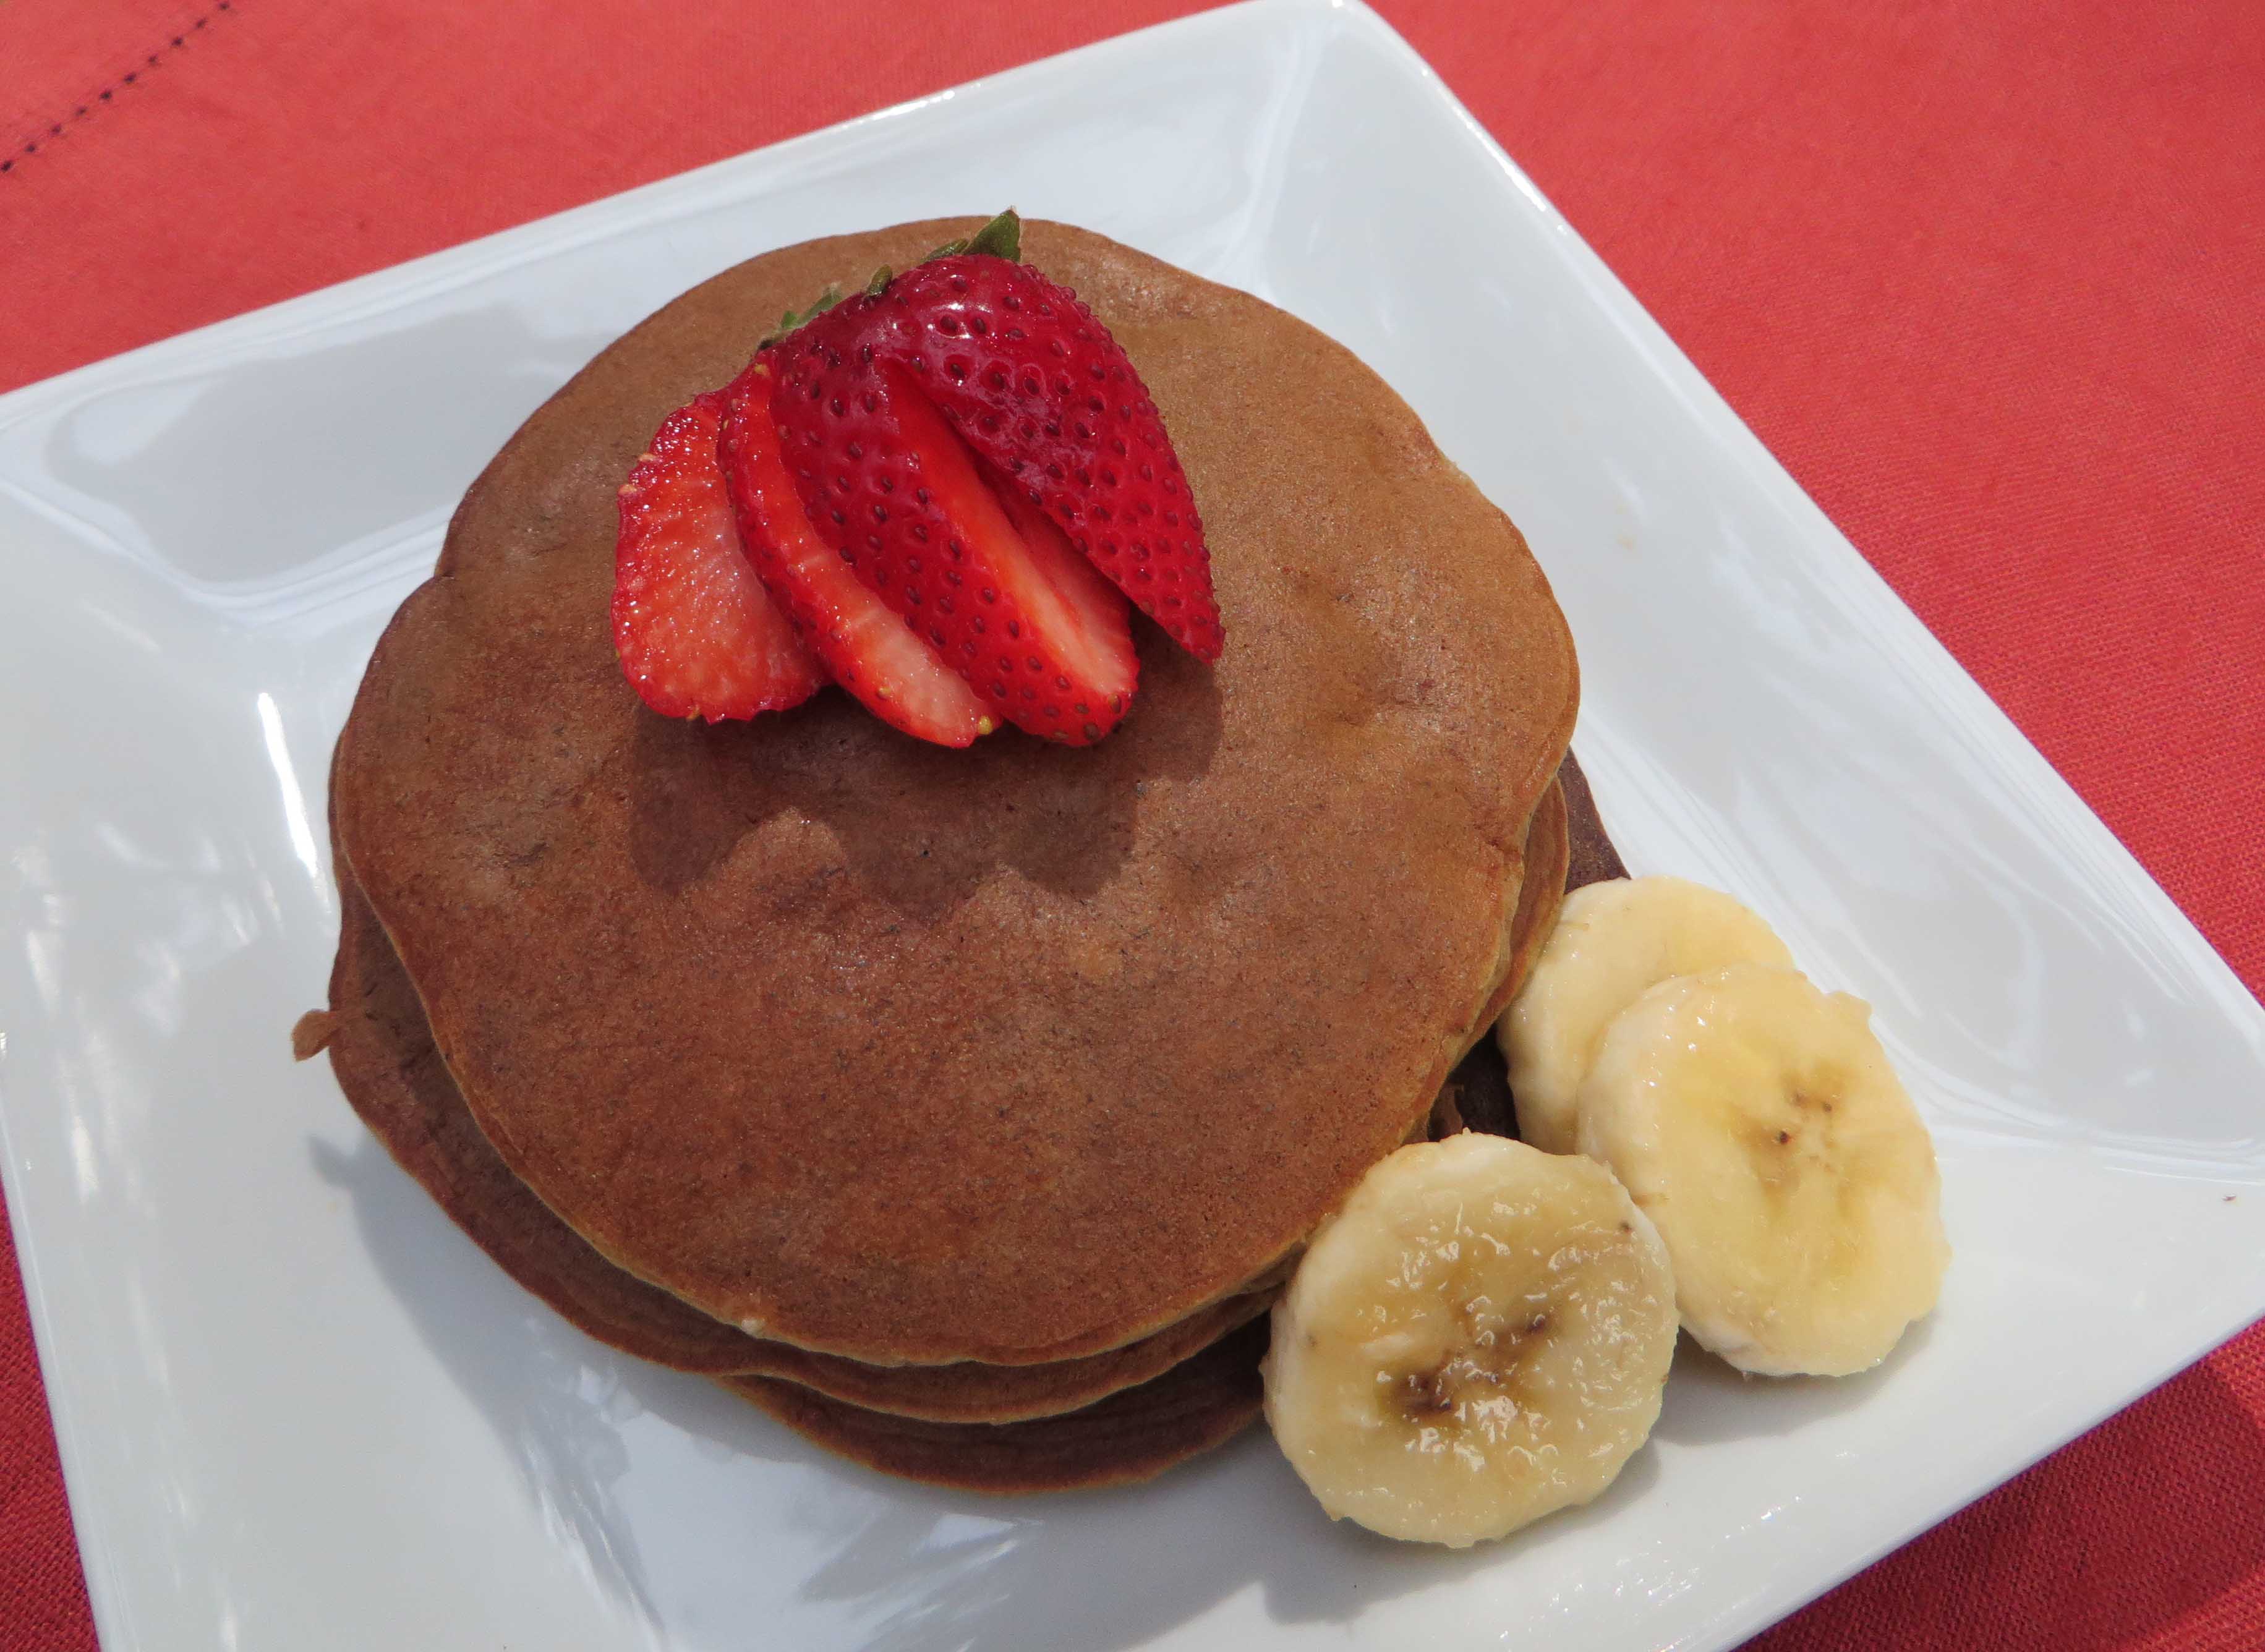
Most pancakes are, by definition, heavy in carbs and sugar. Add maple syrup and you increase that load of unfriendly calories. No wonder you’re sleepy by 10 a.m. Not these pancakes, however. They are light and filling and don’t use a speck of sugar. Using bananas as a substitute for fat makes them diet-friendly, too, and the small about of flour comes from nutritionally-dense flours like buckwheat, oat and flax meal.
Best yet, these can be made ahead and stored in the fridge or freezer for a healthy on-the-go breakfast. If you are home, enjoy them with additional sliced bananas or strawberries and just a smidge of maple syrup, if you must!
The most challenging part of this recipe is keeping two bananas on the counter long enough to turn very ripe. (Someone always swipes them off my counter!) Make sure to select flours that are labeled “gluten free.”
4 large eggs
2 very ripe bananas, preferably organic
½ teaspoon vanilla extract
5 tablespoons buckwheat flour
2 tablespoons oat flour
1 tablespoon golden flax meal
1 teaspoon baking soda
¼ teaspoon of salt
Olive or coconut oil, optional
In a medium size bowl, thoroughly whisk 4 eggs until frothy.
In a second bowl, mash the bananas and add to the eggs. With a fork, beat until any lumps are nearly gone. Add the vanilla and set aside.
Mix together buckwheat flour, oat flour, flax meal, baking soda and salt. Whisk into the egg and banana mixture.
Lightly oil a no-stick griddle or add a small amount of olive or coconut oil to a frying pan. Heat to medium or 350 degrees F.
Spoon the pancake batter onto the pan and fry until golden brown on both sides.
Top with additional sliced banana or other fruit.
On the go tip: Roll each pancake in chopped fruit.
Recipe By Beth Hillson
Serves 3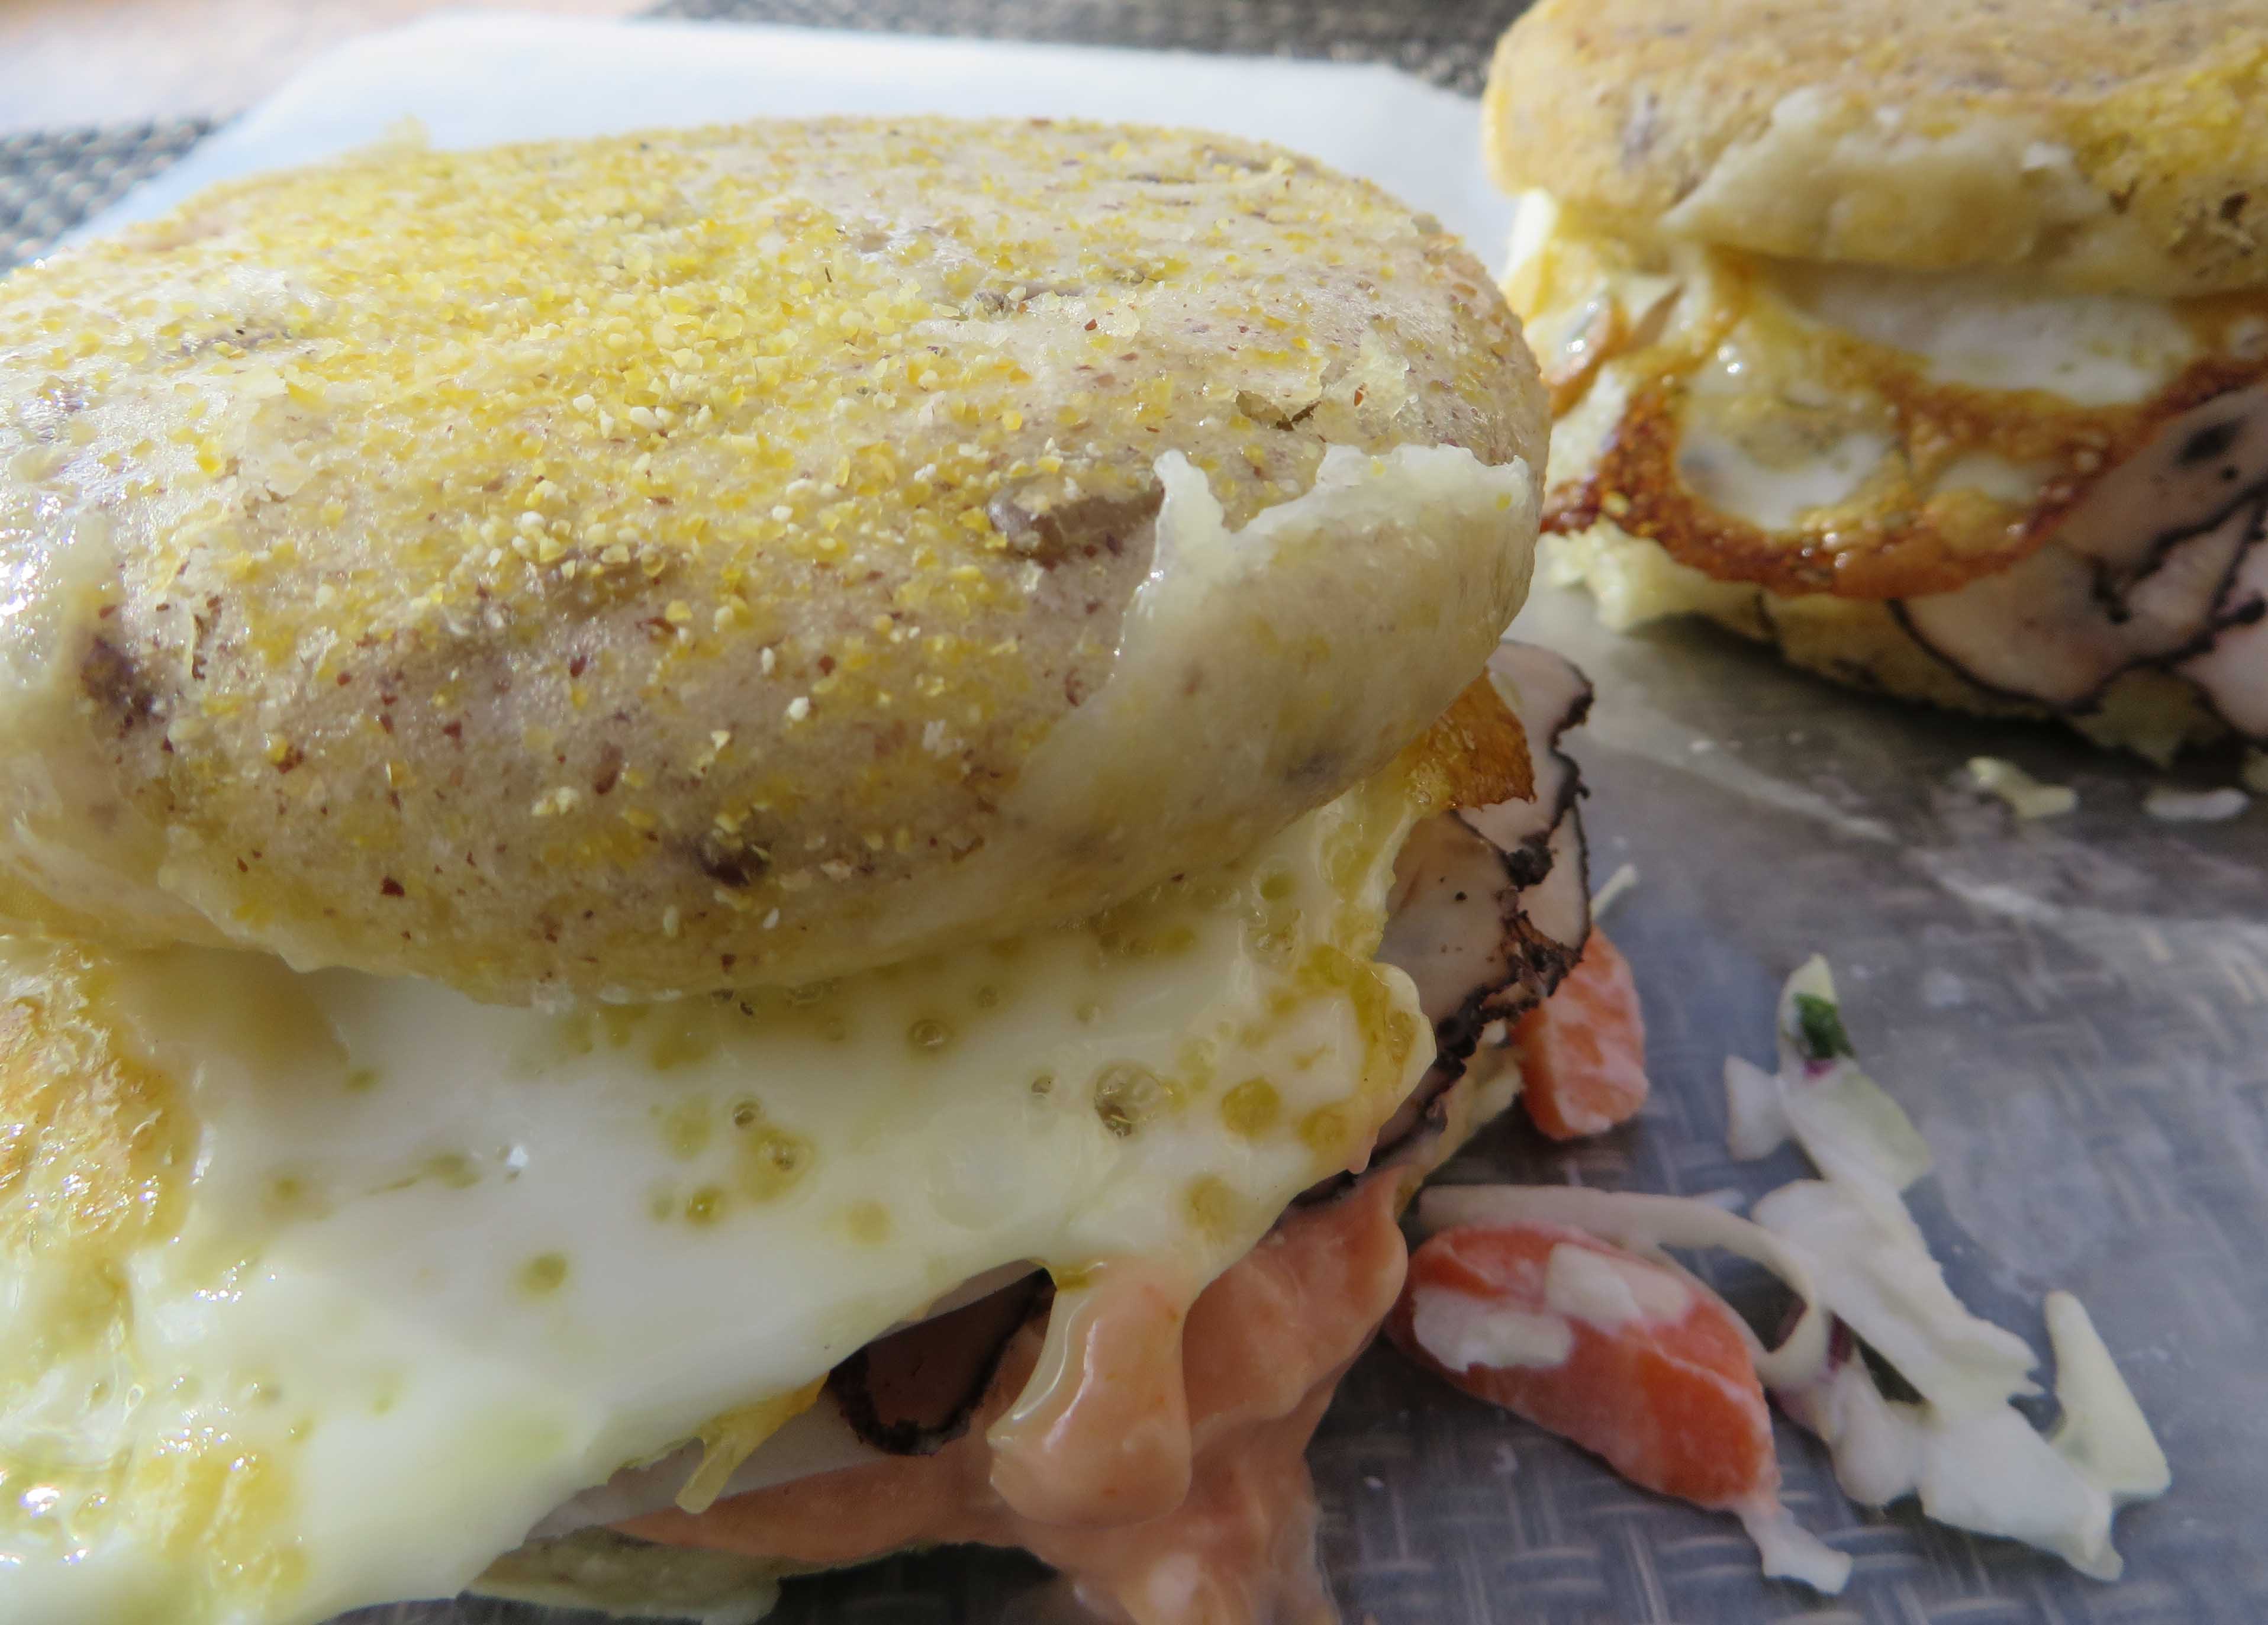
Breakfast can be a balancing act. Trying to find something that contains protein and nutrients and has a good amount of healthy carbs is not the first thing you want to deal with in the morning. But, let’s face it. You stand a better chance at handling all those little daily challenges if you are fortified from the get go. So, here’s a great twist on breakfast, a Balanced Sandwich, to help jumpstart the day. Besides, it’s a yummy meal that can be wrapped in waxed paper to eat on the way to work or school. Now go get your breakfast on. And have a great day!
3 tablespoons light mayonnaise
2 tablespoons Ketchup
1 teaspoon white horseradish (from the jar)
3 Glutino or other Multigrain English Muffins
6 slices cheddar cheese
1 tablespoon olive oil or butter
3 large eggs
¼ pound Boar’s Head or other gluten free Pastrami Turkey, thinly sliced
½ cup coleslaw (optional, but I love cole slaw any time of the day)
Mix together mayonnaise, ketchup and horseradish. Set aside.
Separate English muffins and toast the halves. When toasted, top each half with a slice of cheese. Let it melt slightly and set aside.
In large skillet, heat the oil or butter. Crack the eggs into the heated pan and fry just until the whites are set. Cover the pan and continue cooking for 3 minutes or until yolks are no longer runny. Remove the skillet from the heat.
Spread 1 to 2 teaspoons of the mayonnaise mixture over half the English muffins. Top with turkey pastrami, coleslaw, and fried egg. Cover with an English muffin half that does not have mayonnaise on it. Down it promptly or wrap in waxed paper and eat on the way to school or work. Don’t forget the napkins!
Categories: Recipes | Tags: easy gluten free recipes, gluten-free breakfast, healthy gluten free breakfast | No Comments »
Follow Us Online
More Cookbook Stuff
Gluten-Free Makeovers - - Nearly 200 recipe makeovers for everyone to enjoy. Buy it at glutenfreeandmore.com, Amazon.com and barnesandnoble.com.
About This Blog
 Baking guru, Beth Hillson, transforms favorite foods into recipes that are safe for your gluten-free diet.


