
Blog Archives
A Recipe From Beth
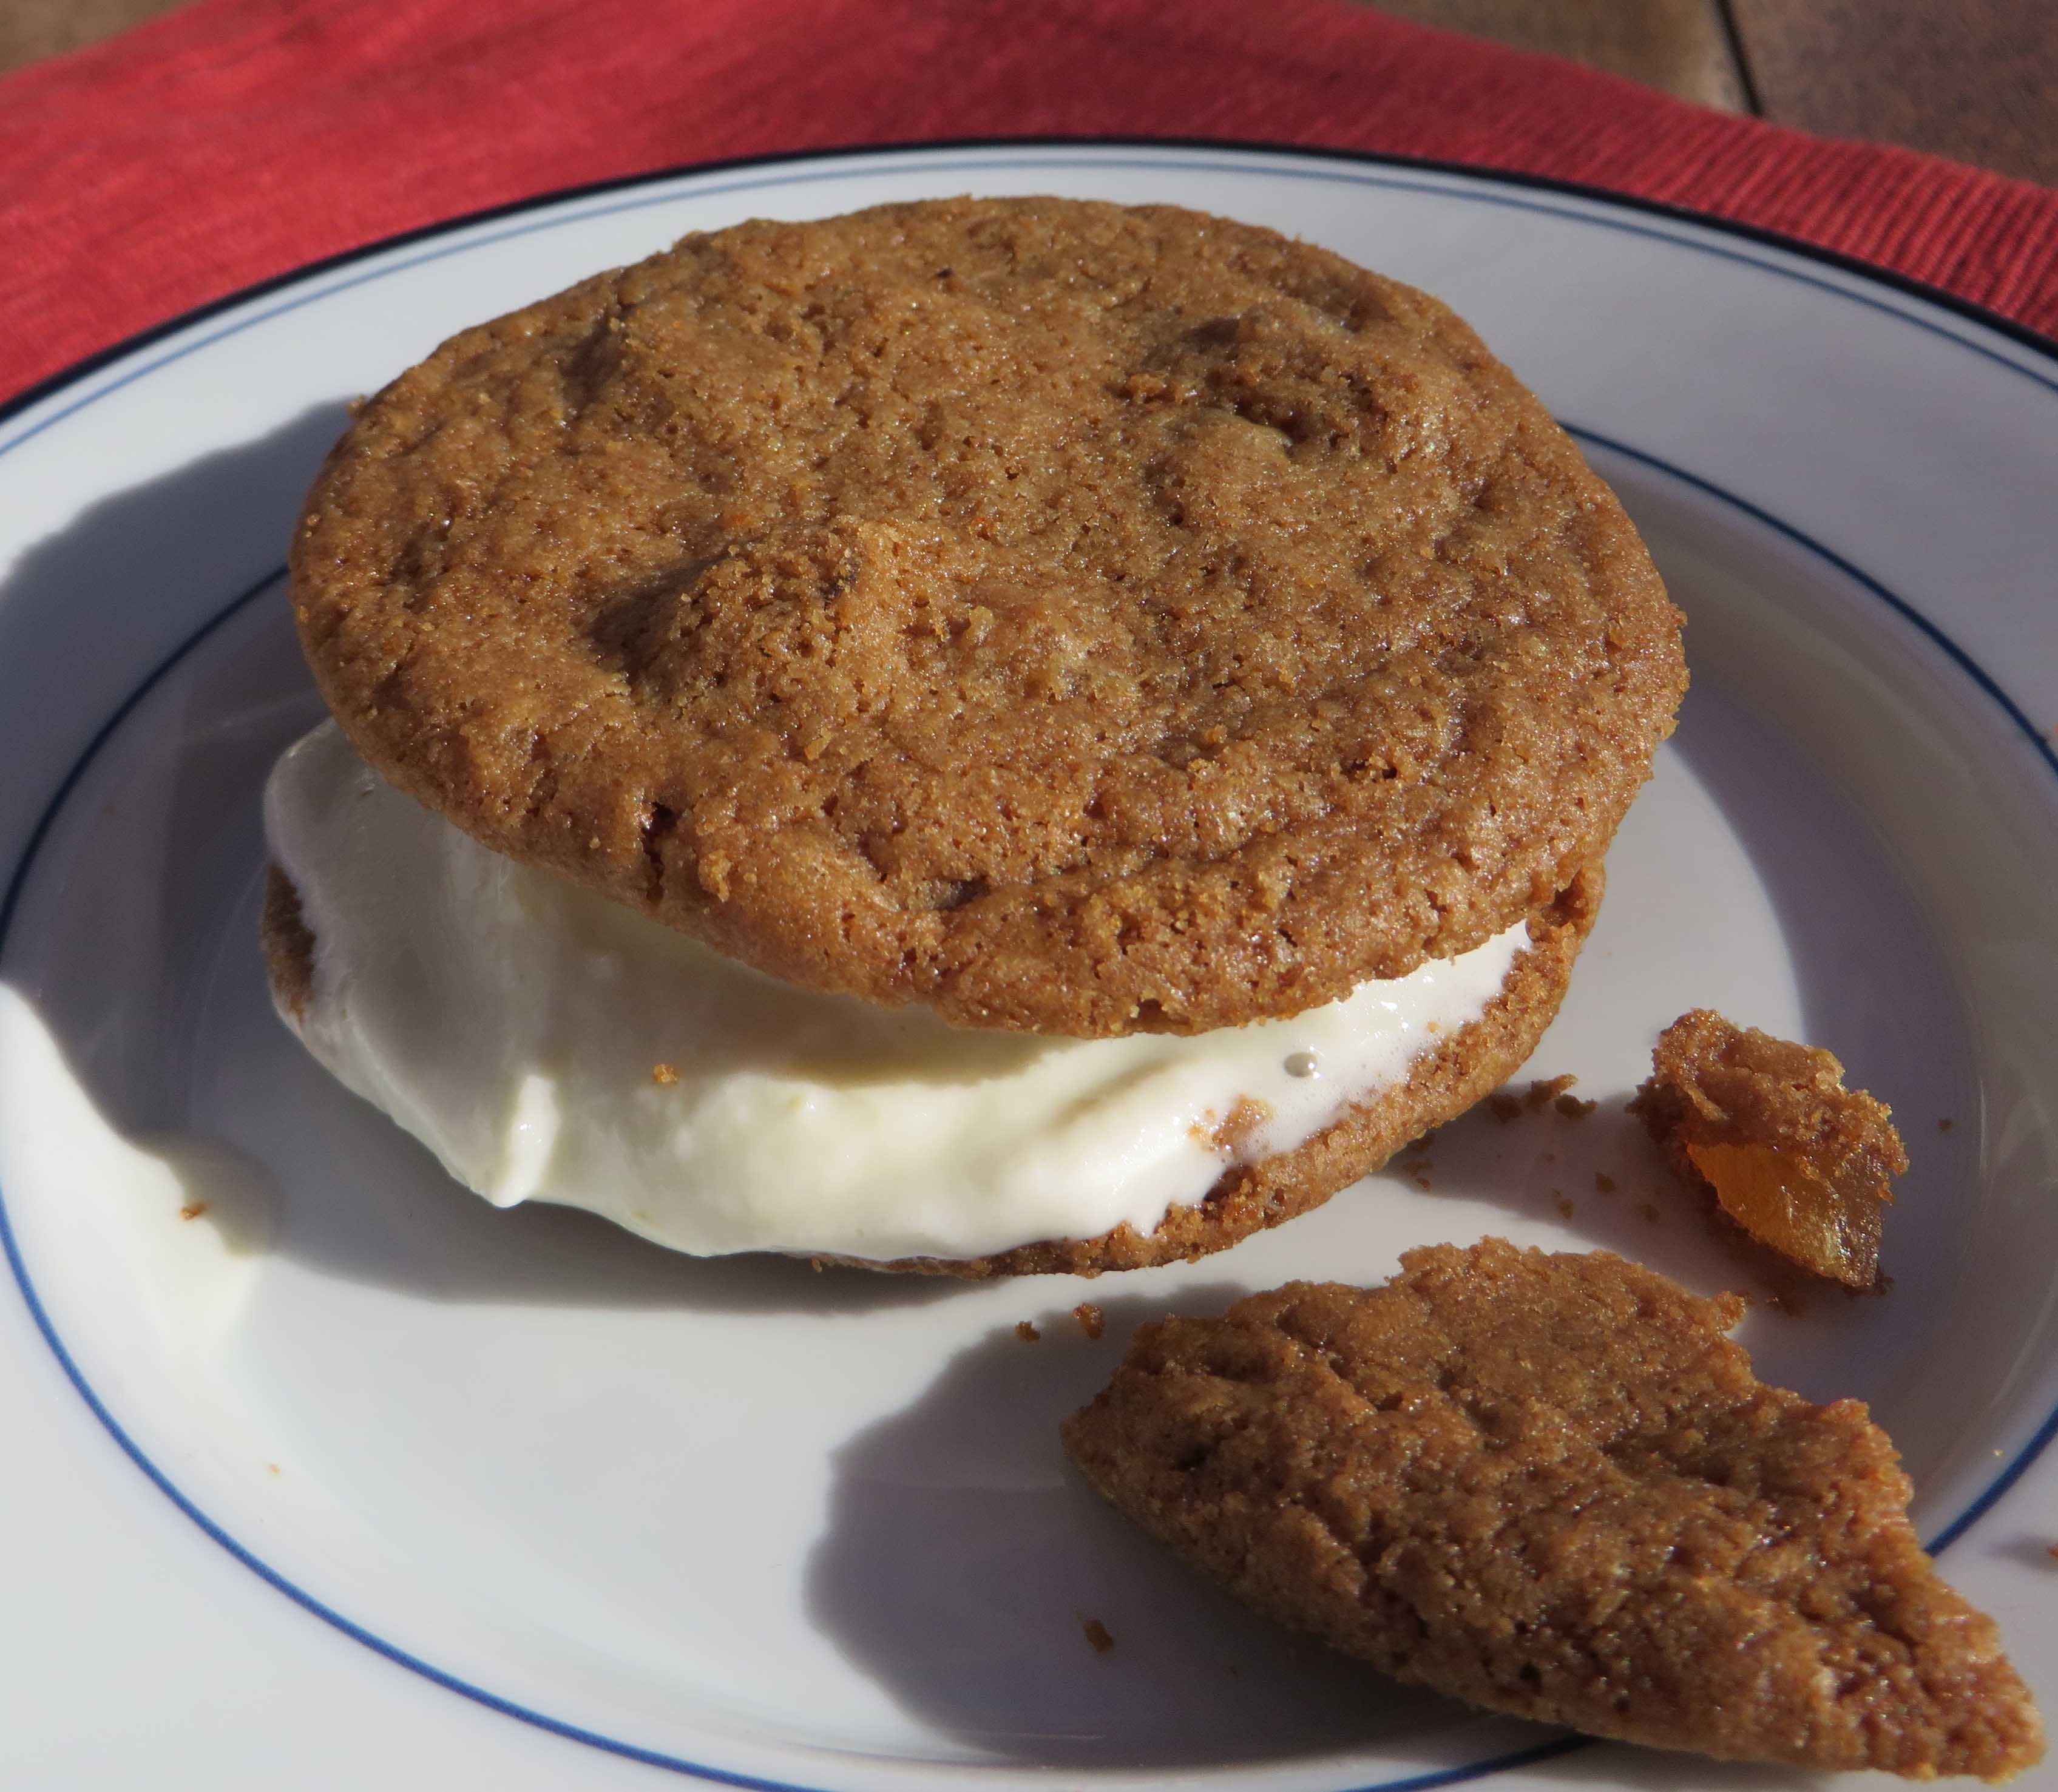
Tate’s Bake Shop GF Ginger Cookie Ice Cream Sandwiches
One Serving
I’m okay taking shortcuts when the results are delicious and impressive. And during the holiday season, I’m all about doing things the easy way. This fun dessert is exactly that — bursting with flavor and embarrassingly simple. I start with two top notch ingredients — yummy tasting Ginger Cookies from Tate’s Bake Shop and exquisitely rich ginger ice cream from Bart’s Homemade Ice Cream. My guests assemble their own ice cream sandwiches. I sit back and collect the ooh’s and ah’s.
First, let me tell you a little bit about the amazingly talented baker behind these cookies. If you visit Southampton, NY with its charming beach community and New York chicness, you’ll come upon a little bake shop called Tate’s. It’s legendary around the Hamptons. Creator, Kathleen King, has been baking here forever. Long before she decided to turn her amazing cookies into gluten free gems, I was making over recipes from her first cookbook so I could enjoy the gluten free versions.
Now Tate’s Bake Shop makes a gluten free line of cookies (in a dedicated facility) that will knock your socks off. I was beyond excited to receive a gift basket of their goodies. The butter, the crunch. Wow. My friend, Gail, had just served Tate’s Ginger Cookie Ice Cream Sandwiches with ginger ice cream at a dinner party. The cookies are peppered with bites of crystallized ginger. I was over the moon. I had to recreate that “recipe” for you here.
2 Tate’s Ginger Zinger Cookies
1 scoop (about ¼ cup) Bart’s Homemade Ginger Ice Cream (it says GF on the label) or another good quality ginger ice cream
Warm Hot Fudge Sauce, if desired
Soften the ice cream a bit then spread it over the flat side of one cookie. Top with the second cookie (flat side pressed onto the ice cream. Dip in warm hot fudge sauce if you wish. Eat every morsel! Ask for more!
A Giveaway 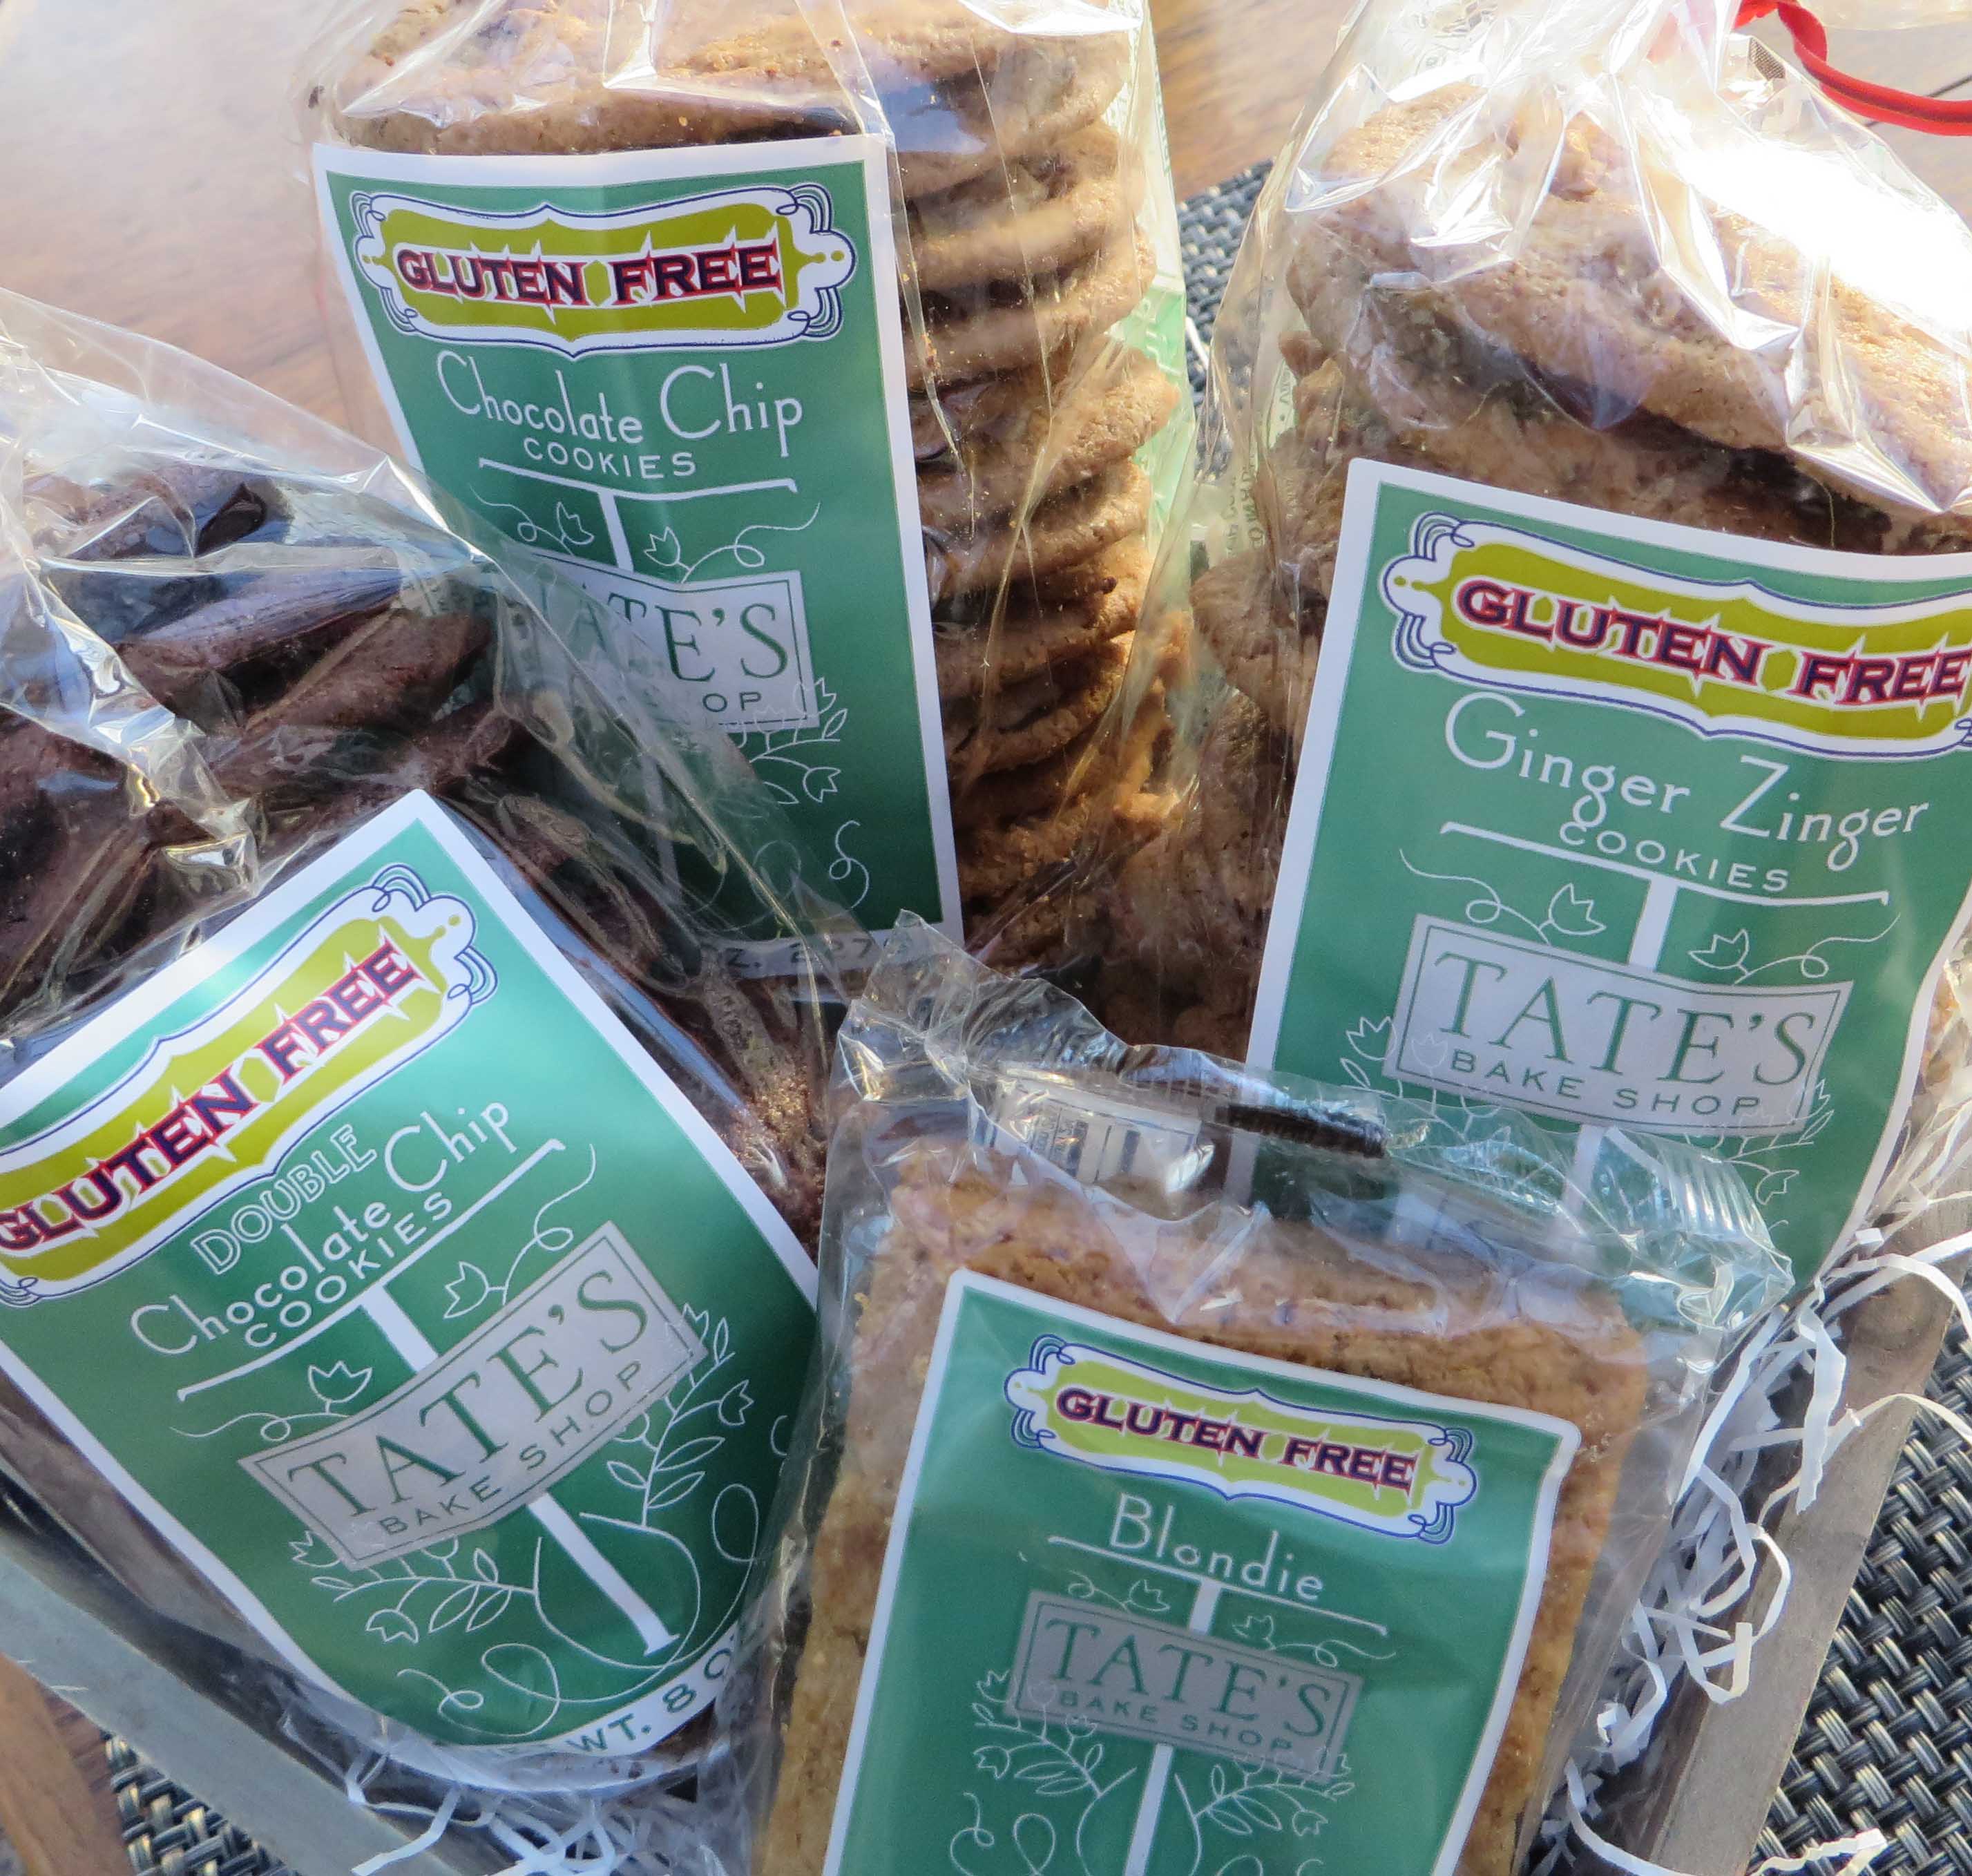
Tate’s has offered to send a gift basket of gluten free goodies to one lucky person reading my blog. Just send me an email at beth@glutenfreemakeovers.com to be entered in this giveaway. Hurry. You’ll have to reply by December 31, 2014.

Categories: Recipes | Tags: easy gluten free recipes, gluten free cookies, Gluten-Free. Desserts | No Comments »
A Recipe from Beth
Here’s a chance to play with your food and take some of the stress out of the hectic Thanksgiving holiday, too. Even young children can make these treats. Use them as favors and set one by each plate or fill a tray with these little birds and pass them out at dessert. Either way, these turkey favors are sure to become part of your Thanksgiving tradition from now on. 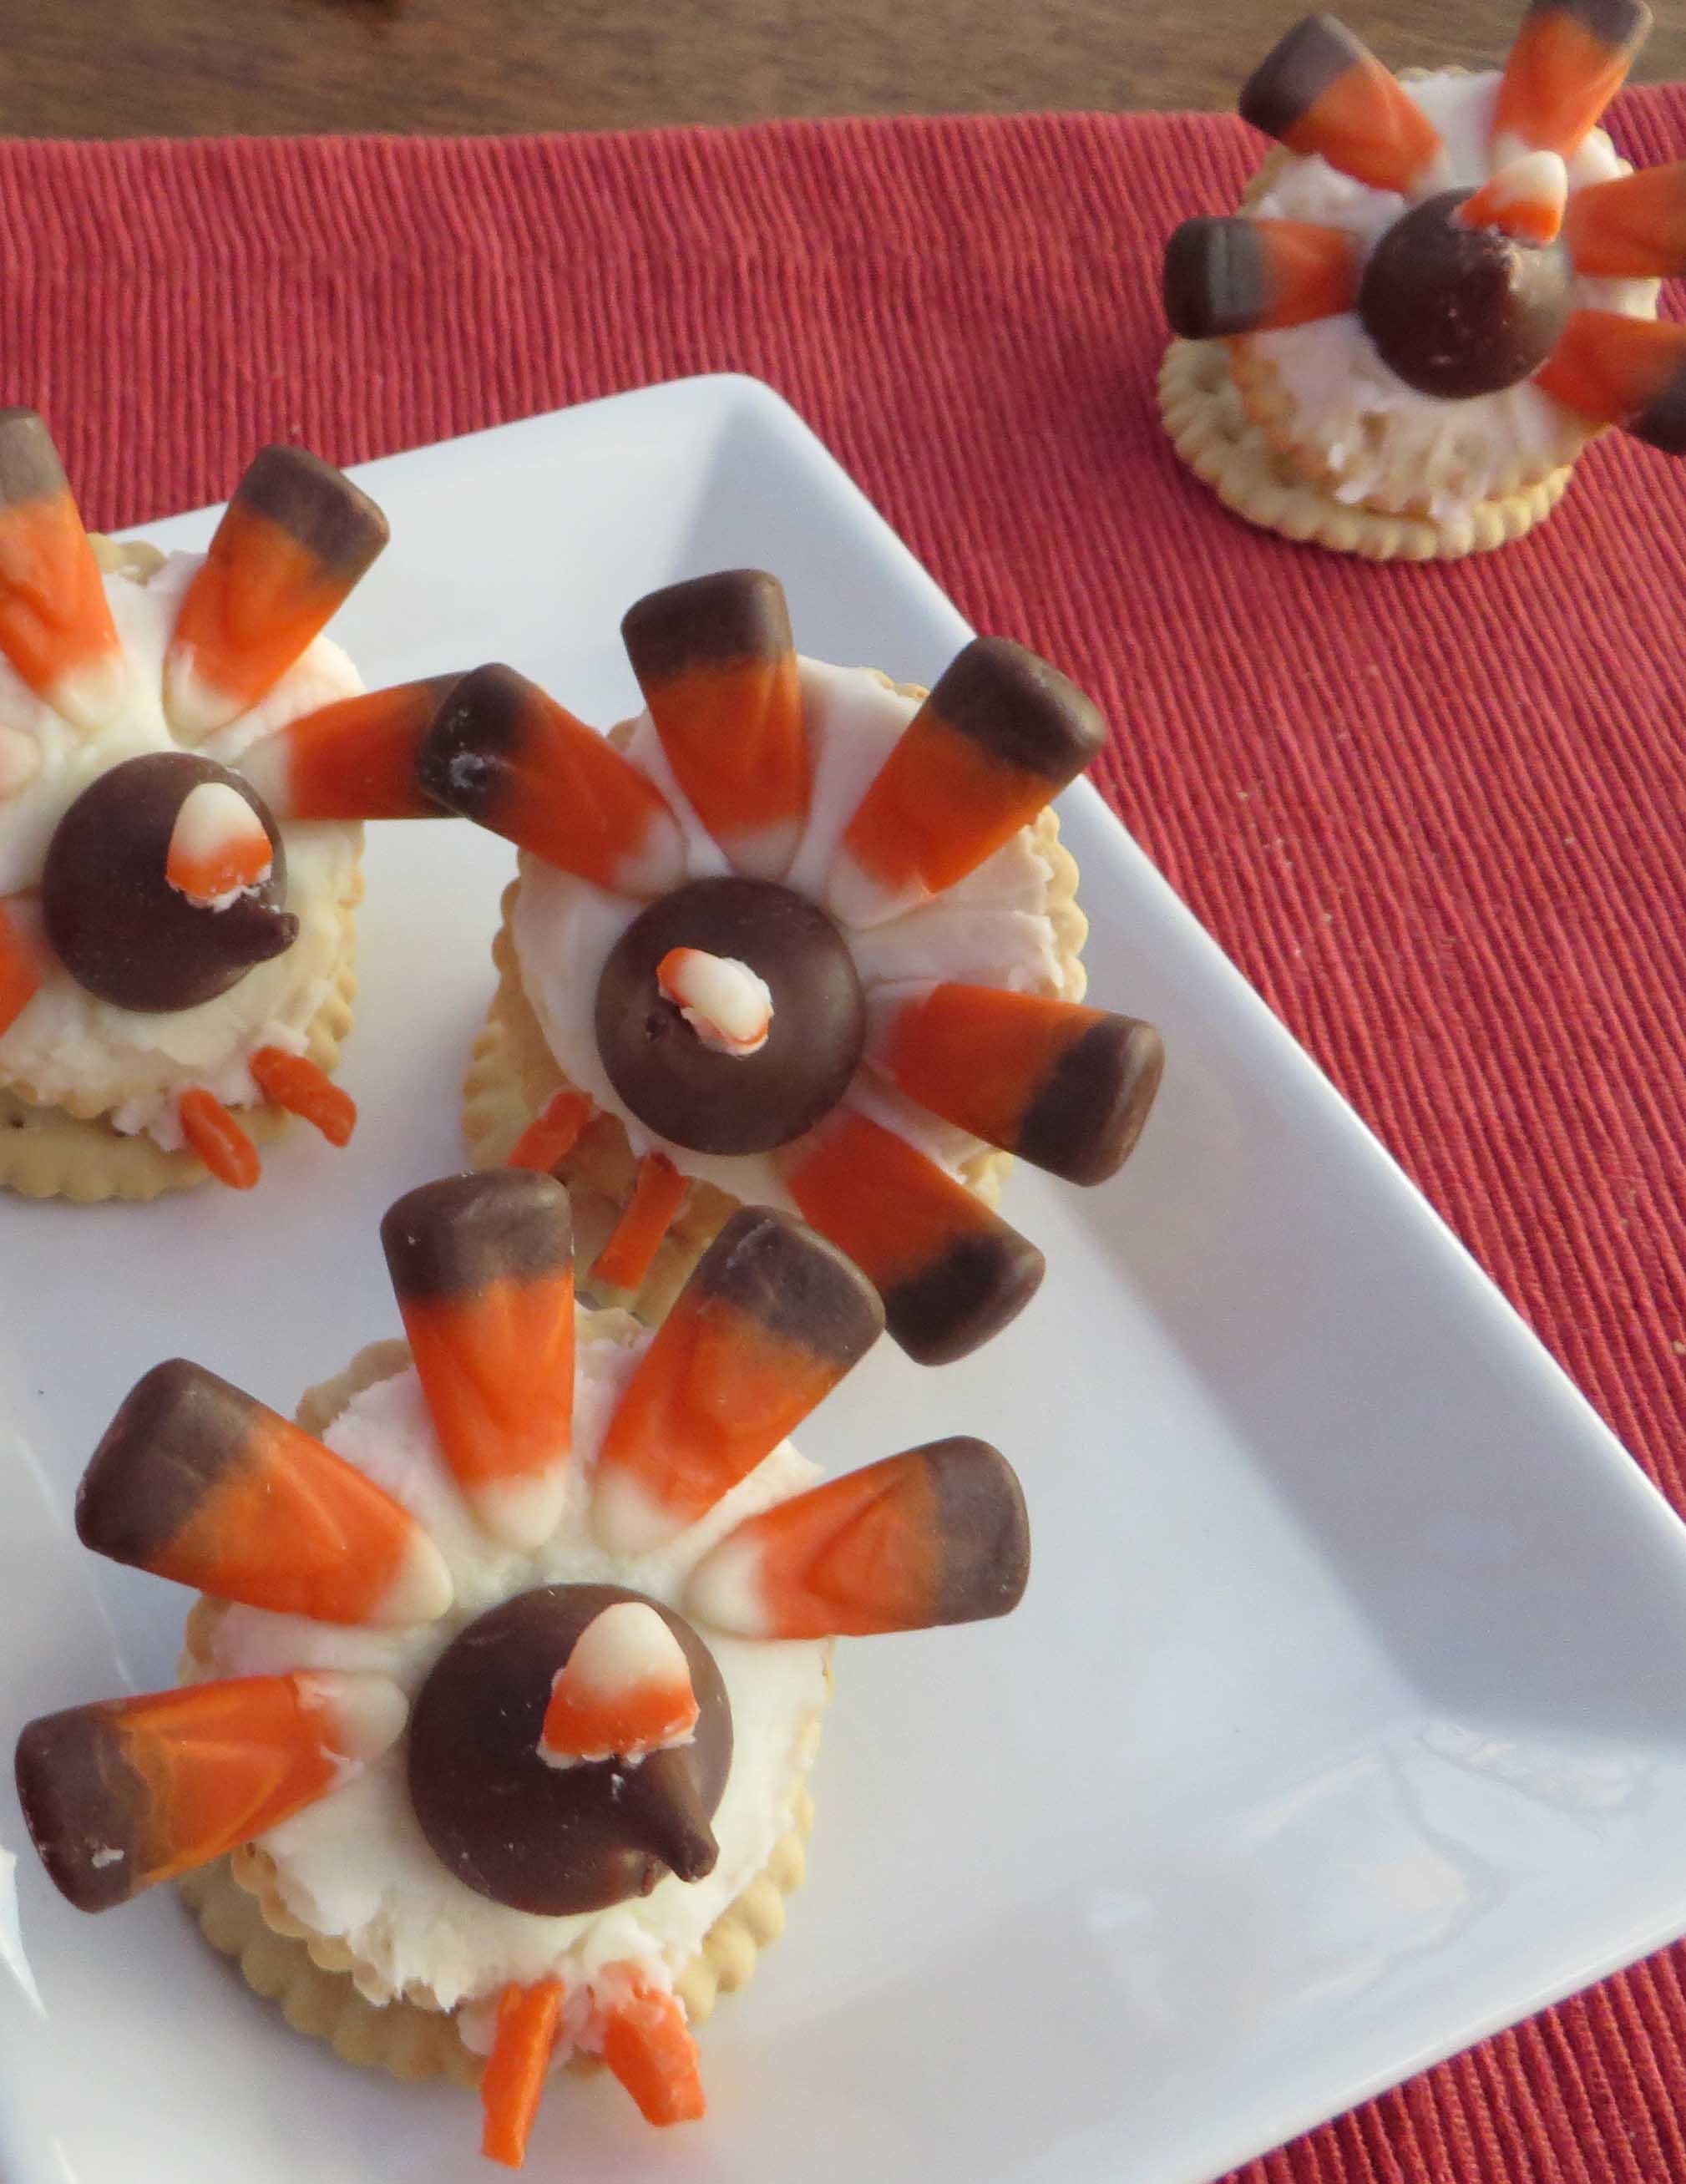
I used Glutino Original Crackers to make these and the recipe first appeared on Glutino’s blog. They are so darn cute, I had to share them with you.
You’ll Need:
1 box Glutino Original Flavor Crackers
1 bag Miniature Reese’s Peanut Butter Cups, 1 per turkey
1 bag Hershey’s Milk Chocolate Kisses, 1 per turkey
1 bag Indian Candy Corn, You’ll need 5 for tail feathers per turkey plus 1 for each beak and feet*
Frosting:
6 tablespoons softened unsalted butter
2 cups confectioners’ sugar
2 ½ tablespoons milk
To Make the Frosting: Beat the butter until fluffy. Add the sugar and beat until crumbly. Add the milk and beat until smooth. Add a little more milk, if necessary, to create a smooth frosting. However, remember, this is the spackle that holds everything together. It needs to be thick.
To Assemble:
Follow these steps to make assembly easier and prevent crackers from breaking.
Lay out the crackers on wax paper-lined cookie sheets.
Spread some frosting over the bottom of Reese’s Peanut Butter Cups. Set them slightly back from the center of a cracker and away from you. Put a small blob of frosting on the front of the peanut butter cup (facing you).
Spread a thick layer of frosting over the front of a second cracker and on the bottom edge of the cracker. This should be a fairly thick layer so the candy corn and kiss can adhere.
Press the frosted cracker against the blob of frosting on the peanut butter cup at a slight angle and press the bottom edge of frosting onto the first cracker. Hold it there for a minute to steady the cracker.
Now comes the fun part. Put a generous dollop of frosting on the bottom of a Hershey’s Kiss and set it in the center of the frosted cracker. This will be the beak. Press five candy corn in an arc around the cracker with the points toward the kiss. Start by placing one at the top of the cracker and two on each side so your turkey’s feathers will be even.
Note: It’s important to plant the kiss on the cracker first to stabilize it.
For the beak, cut the white and a little of the orange from a candy corn, smear a little frosting on the back, and smoosh it down above the pointy part of the kiss.
Cut two slices from the remaining orange part of this candy corn. Smear a little frosting on the narrow side of each and set them at the base of the cracker for feet. Voila. Your turkey favors are ready.
Put these in the fridge to harden or just leave them at room temperature, especially if your kitchen is cool. Don’t wrap them right away or the feathers may come loose.
Make these ahead if you are planning to use them for favors or set out all the ingredients and let the kids create decorations for the table on Thanksgiving Day.
* Indian Candy Corn is best because it is brown, orange and white (like turkey feathers). However, you can also use Candy Corn if you have it leftover from Halloween (It’s brighter orange, yellow, and white.) Brach’s, CVS and others state that their candy corn is free of gluten and the 8 top allergens. Brach’s does have a disclaimer that their products are made in a facility that also processes wheat. But CVS seems to go the extra mile to say their candy corn is gluten free. If you can’t find gluten free candy corn, you can use g-f pretzel sticks instead. Still cute and very safe
Categories: Recipes | Tags: easy gluten free recipes, gluten free Thanksgiving | 5 Comments »
For my birthday, I couldn’t decide between chocolate and vanilla. I solved the problem by making a marble cake. That way I didn’t have to choose! Orange juice and orange zest added a special brightness to this treat. Instead of a layer cake with lots of frosting and lots of extra calories, I made a Bundt cake and topped it with thin layer of orange glaze. The results were yummy.
Now, here’s the best part. I made this from chocolate and a vanilla gluten-free cake mixes. Quick, delicious and such a nice gift!
Orange Marble Birthday Cake 
Serves 10 to 12
1 box (15 ounces) Gluten-Free Yellow or White Cake Mix*
1 box (15 ounces) Gluten-Free Chocolate Cake Mix*
2 sticks unsalted butter or dairy-free alternative, softened, divided
4 large eggs, divided
3 teaspoons vanilla extract, divided
2 cups buttermilk, divided (a tad less than 2 cups, really)
Juice and zest of one orange
Preheat oven to 350 degrees. Lightly oil a 10-cup Bundt cake pan.
Make the Yellow Cake. Cream 1 stick of butter until light and fluffy. Add yellow cake mix and beat until crumbly. Add 2 large eggs and beat until smooth. Beat in 1 ½ teaspoons vanilla and 1 cup buttermilk. Beat until smooth. Set aside.
Make the Chocolate Cake. Cream 1 stick of butter until light and fluffy. Add chocolate cake mix and beat until crumbly. Add 2 large eggs and beat until smooth. Pour orange juice into a 1 cup measure. Add enough buttermilk to measure 1 cup. Add 1 ½ teaspoons vanilla and 1 cup buttermilk mixture to the cake mix. Fold in zest. Beat until smooth. Set aside.
To Assemble. Start with dollops of yellow cake batter, then chocolate cake batter and keep alternating until both batters are used up. Use a sharp knife, swirl the batter to create a marble effect. Set on middle rack in preheated oven. Bake 50-60 minutes or until toothpick comes out clean. Rest 10 minutes on rack then invert, remove pan, and cool completely.
Orange Glaze
3 tablespoons orange juice
¾ to 1 cup confectioners’ sugar
Grated peel of half an orange
Combine juice and sugar and blend until smooth. Add grated peel and mix to combine. Drizzle over the top of the cake before serving.
*Hodgson Mill, Betty Crocker, and Gluten-Free Pantry cake mixes are all good choices as they all weigh 15 ounces. Many other gluten-free cake mixes will work, too. Just weigh out 15 ounces of each mix before using.
Categories: Uncategorized | Tags: easy gluten free recipes, gluten free baking, gluten free birthday cake, gluten free diet | 7 Comments »
Follow Us Online
More Cookbook Stuff
Gluten-Free Makeovers - - Nearly 200 recipe makeovers for everyone to enjoy. Buy it at glutenfreeandmore.com, Amazon.com and barnesandnoble.com.
About This Blog
 Baking guru, Beth Hillson, transforms favorite foods into recipes that are safe for your gluten-free diet.


