
Blog Archives
A Recipe by Beth Hillson
Yield: 24 bars
This is my latest go-to dessert. I take it to pot luck dinners, bake sales, you name it! It’s easy, delicious and amazingly versatile. Use whatever fruit is in season. Vary the sweetness of this recipe by adding more or less sugar depending on your tastebuds and the natural sweetness of the fruit. The bars freeze well.
I made these using RYZE Blue Flour Blend. Instead of measuring out a bunch of flours, I use 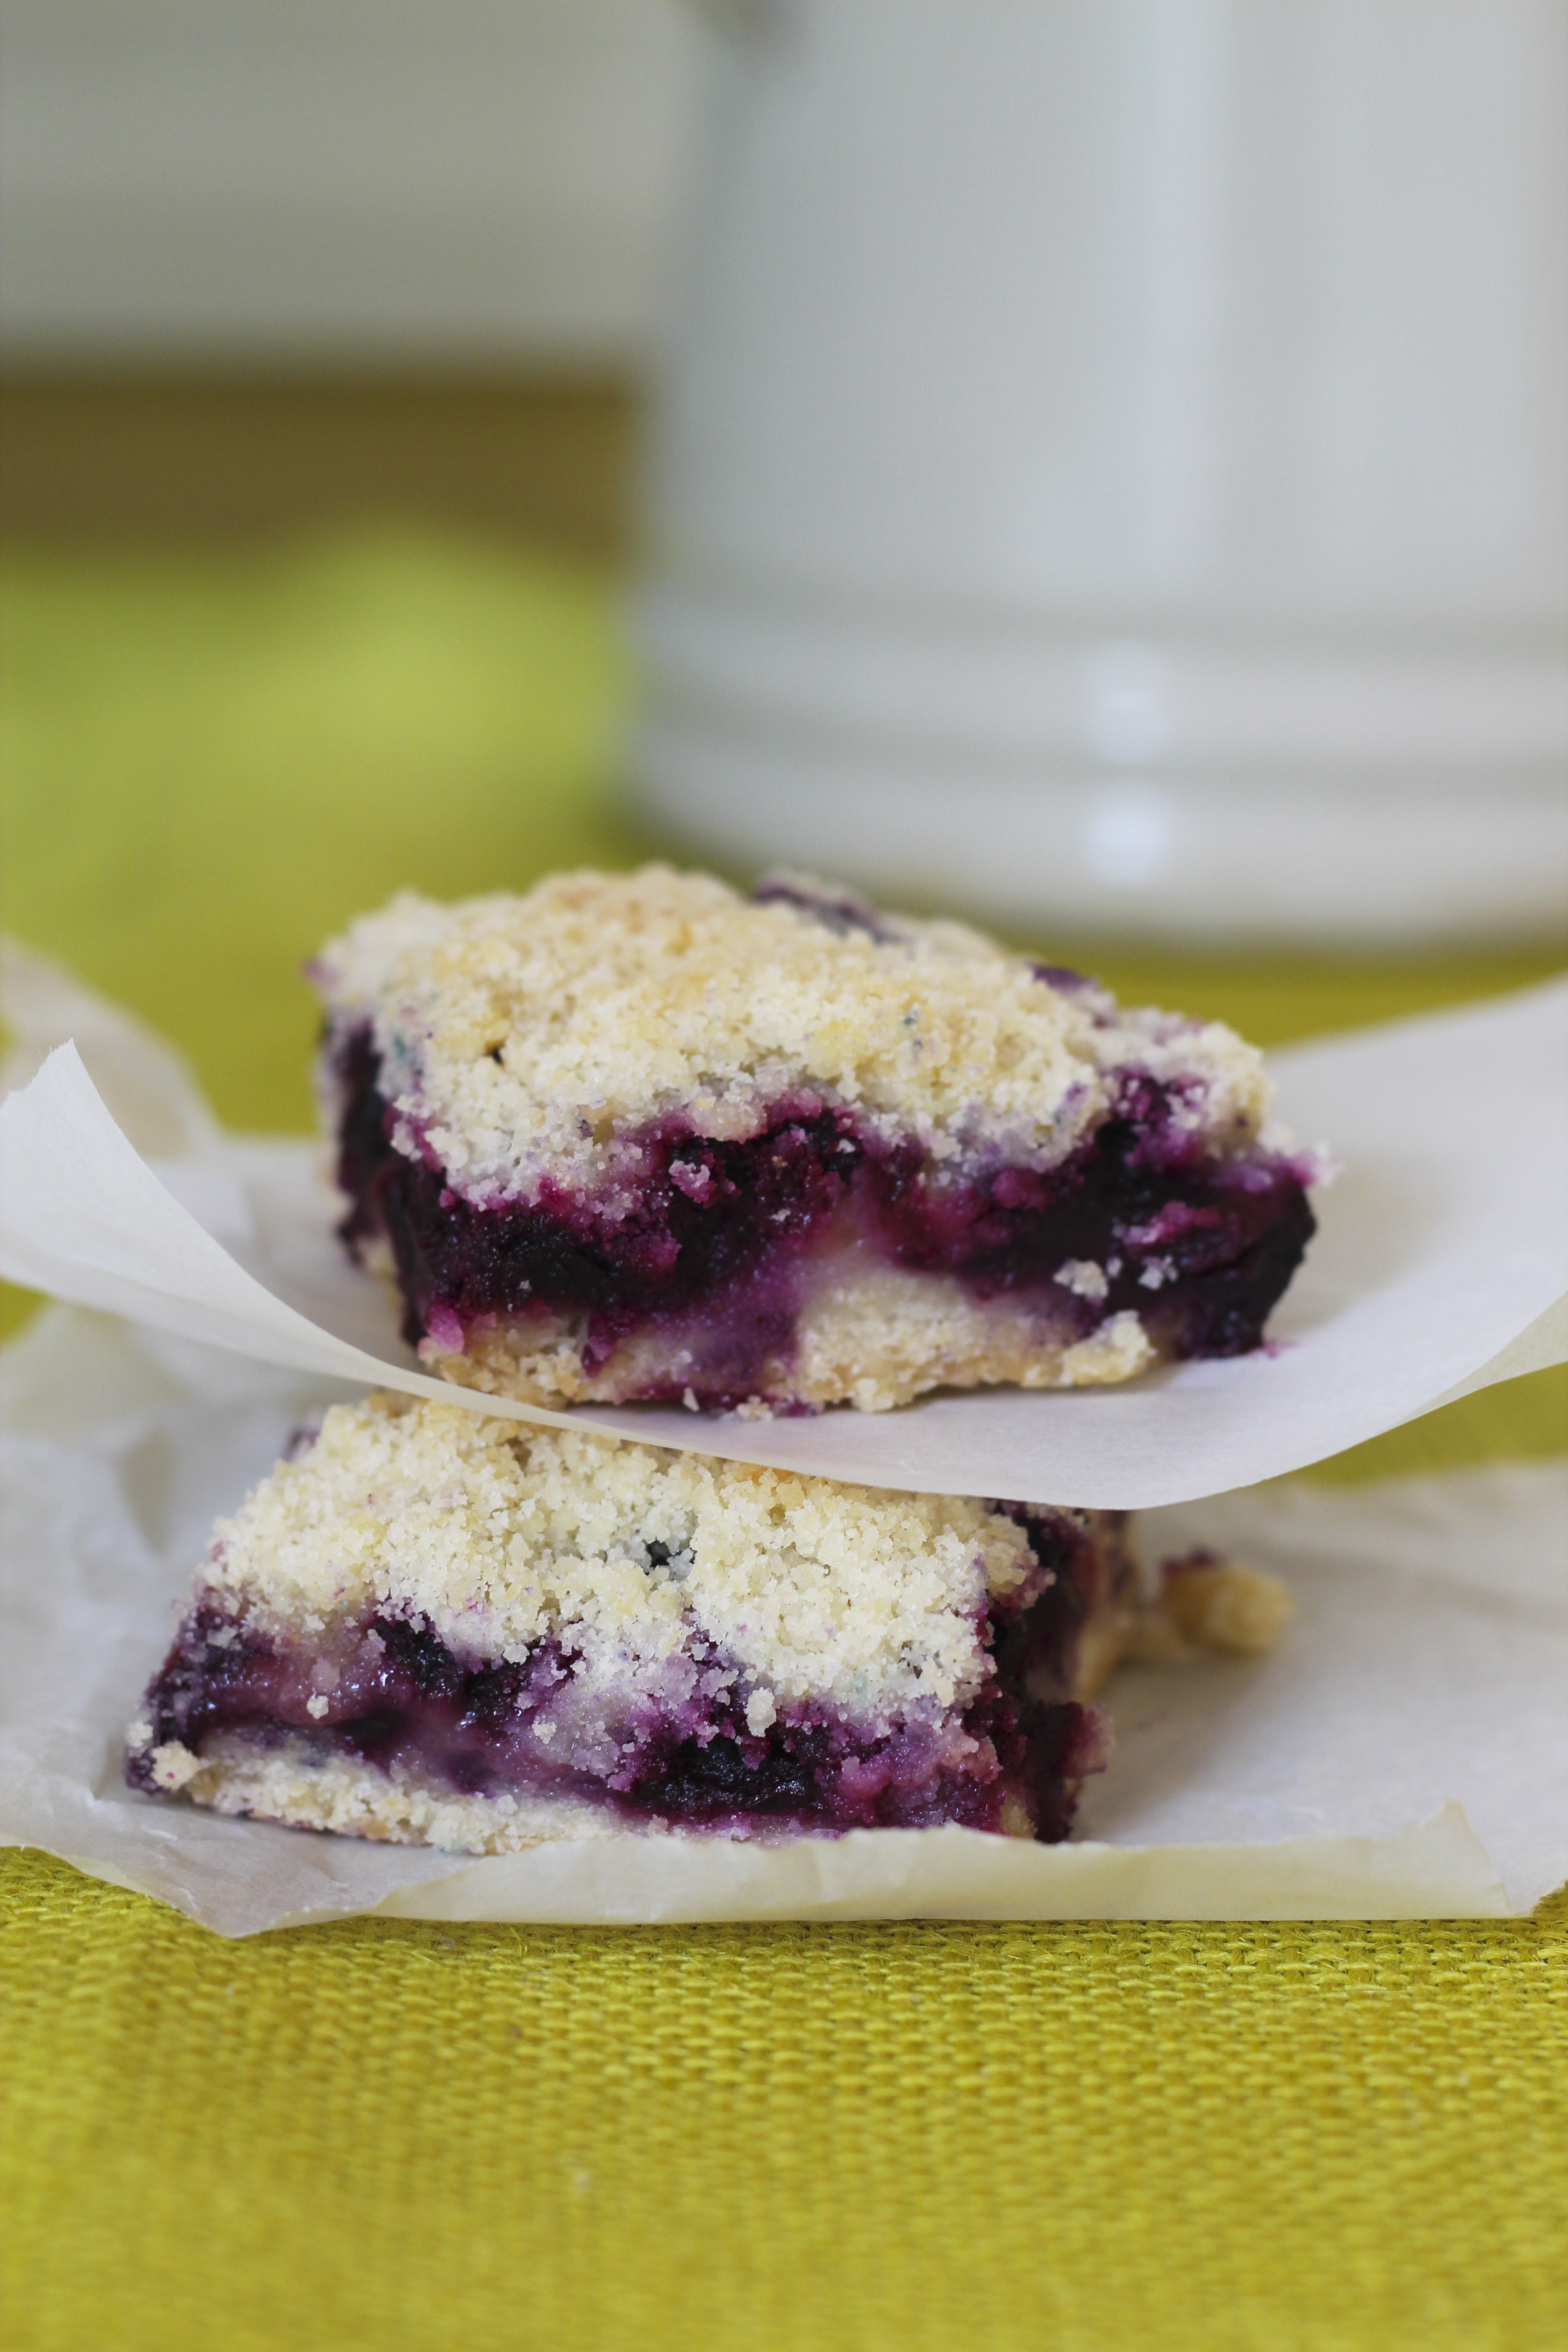 one ingredient. However, you could certainly make this with any A/P flour blend. Make sure it contains xanthan gum or add 1 teaspoon xanthan gum to the recipe.
For the Dough
3 cups RYZE Blue Flour Blend or an A/P Gluten-Free Flour Blend that contains xanthan gum
1 cup granulated sugar
1 teaspoon baking powder
¼ teaspoon salt
1 cup (2 sticks) unsalted butter, cold, cut into small pieces
1 large egg, lightly beaten
For the Filling
4 cups (2 pints) fresh blueberries of 5 cups peeled, sliced peaches or apples (about 6-7)
1 tablespoon lemon juice
1 teaspoon vanilla
½ cup RYZE Blue Flour Blend or an A/P Gluten-Free Flour Blend that contains xanthan gum
½ to ¾ cup granulated sugar
¼ teaspoon salt
½ teaspoon ground cinnamon
¼ teaspoon ground nutmeg
Preheat the oven to 375 degrees F. Line a 9×13-inch baking pan with aluminum foil and coat with vegetable spray.
Make the Dough: In the bowl of a food processor fitted with the knife blade, add the flour, sugar, baking powder and salt. Pulse several times to combine. Add butter and pulse until mixture resembles coarse meal (about 10 pulses). Add the egg and pulse briefly. Empty contents into a large bowl. With a fork, mix the dough until egg is distributed evenly. Dough will be crumbly. Or combine dry ingredients in a medium bowl. Use a pastry blender to cut in the butter, and then the egg.
Pat half of the dough into the prepared pan. Place the pan and the remainder of the dough in the refrigerator to stay cold while preparing the filling.
Make the Filling: Place the washed and drained blueberries in a large bowl and sprinkle with lemon juice and vanilla. Mix gently. In a separate bowl, whisk together the flour, sugar, salt, cinnamon and nutmeg. Sprinkle over the fruit and toss gently with a wooden spoon.
Spread the fruit mixture evenly over the crust. Crumble the remaining dough over the blueberries.
Bake in the preheated oven for 45 minutes, or until the top is slightly brown. Cool completely before cutting into squares.

Categories: Recipes | Tags: baking, blueberries, dessert recipes, easy quick gluten-free dessert, gluten free baking, gluten-free recipes, Sweets | No Comments »
Recipe from Beth Hillson
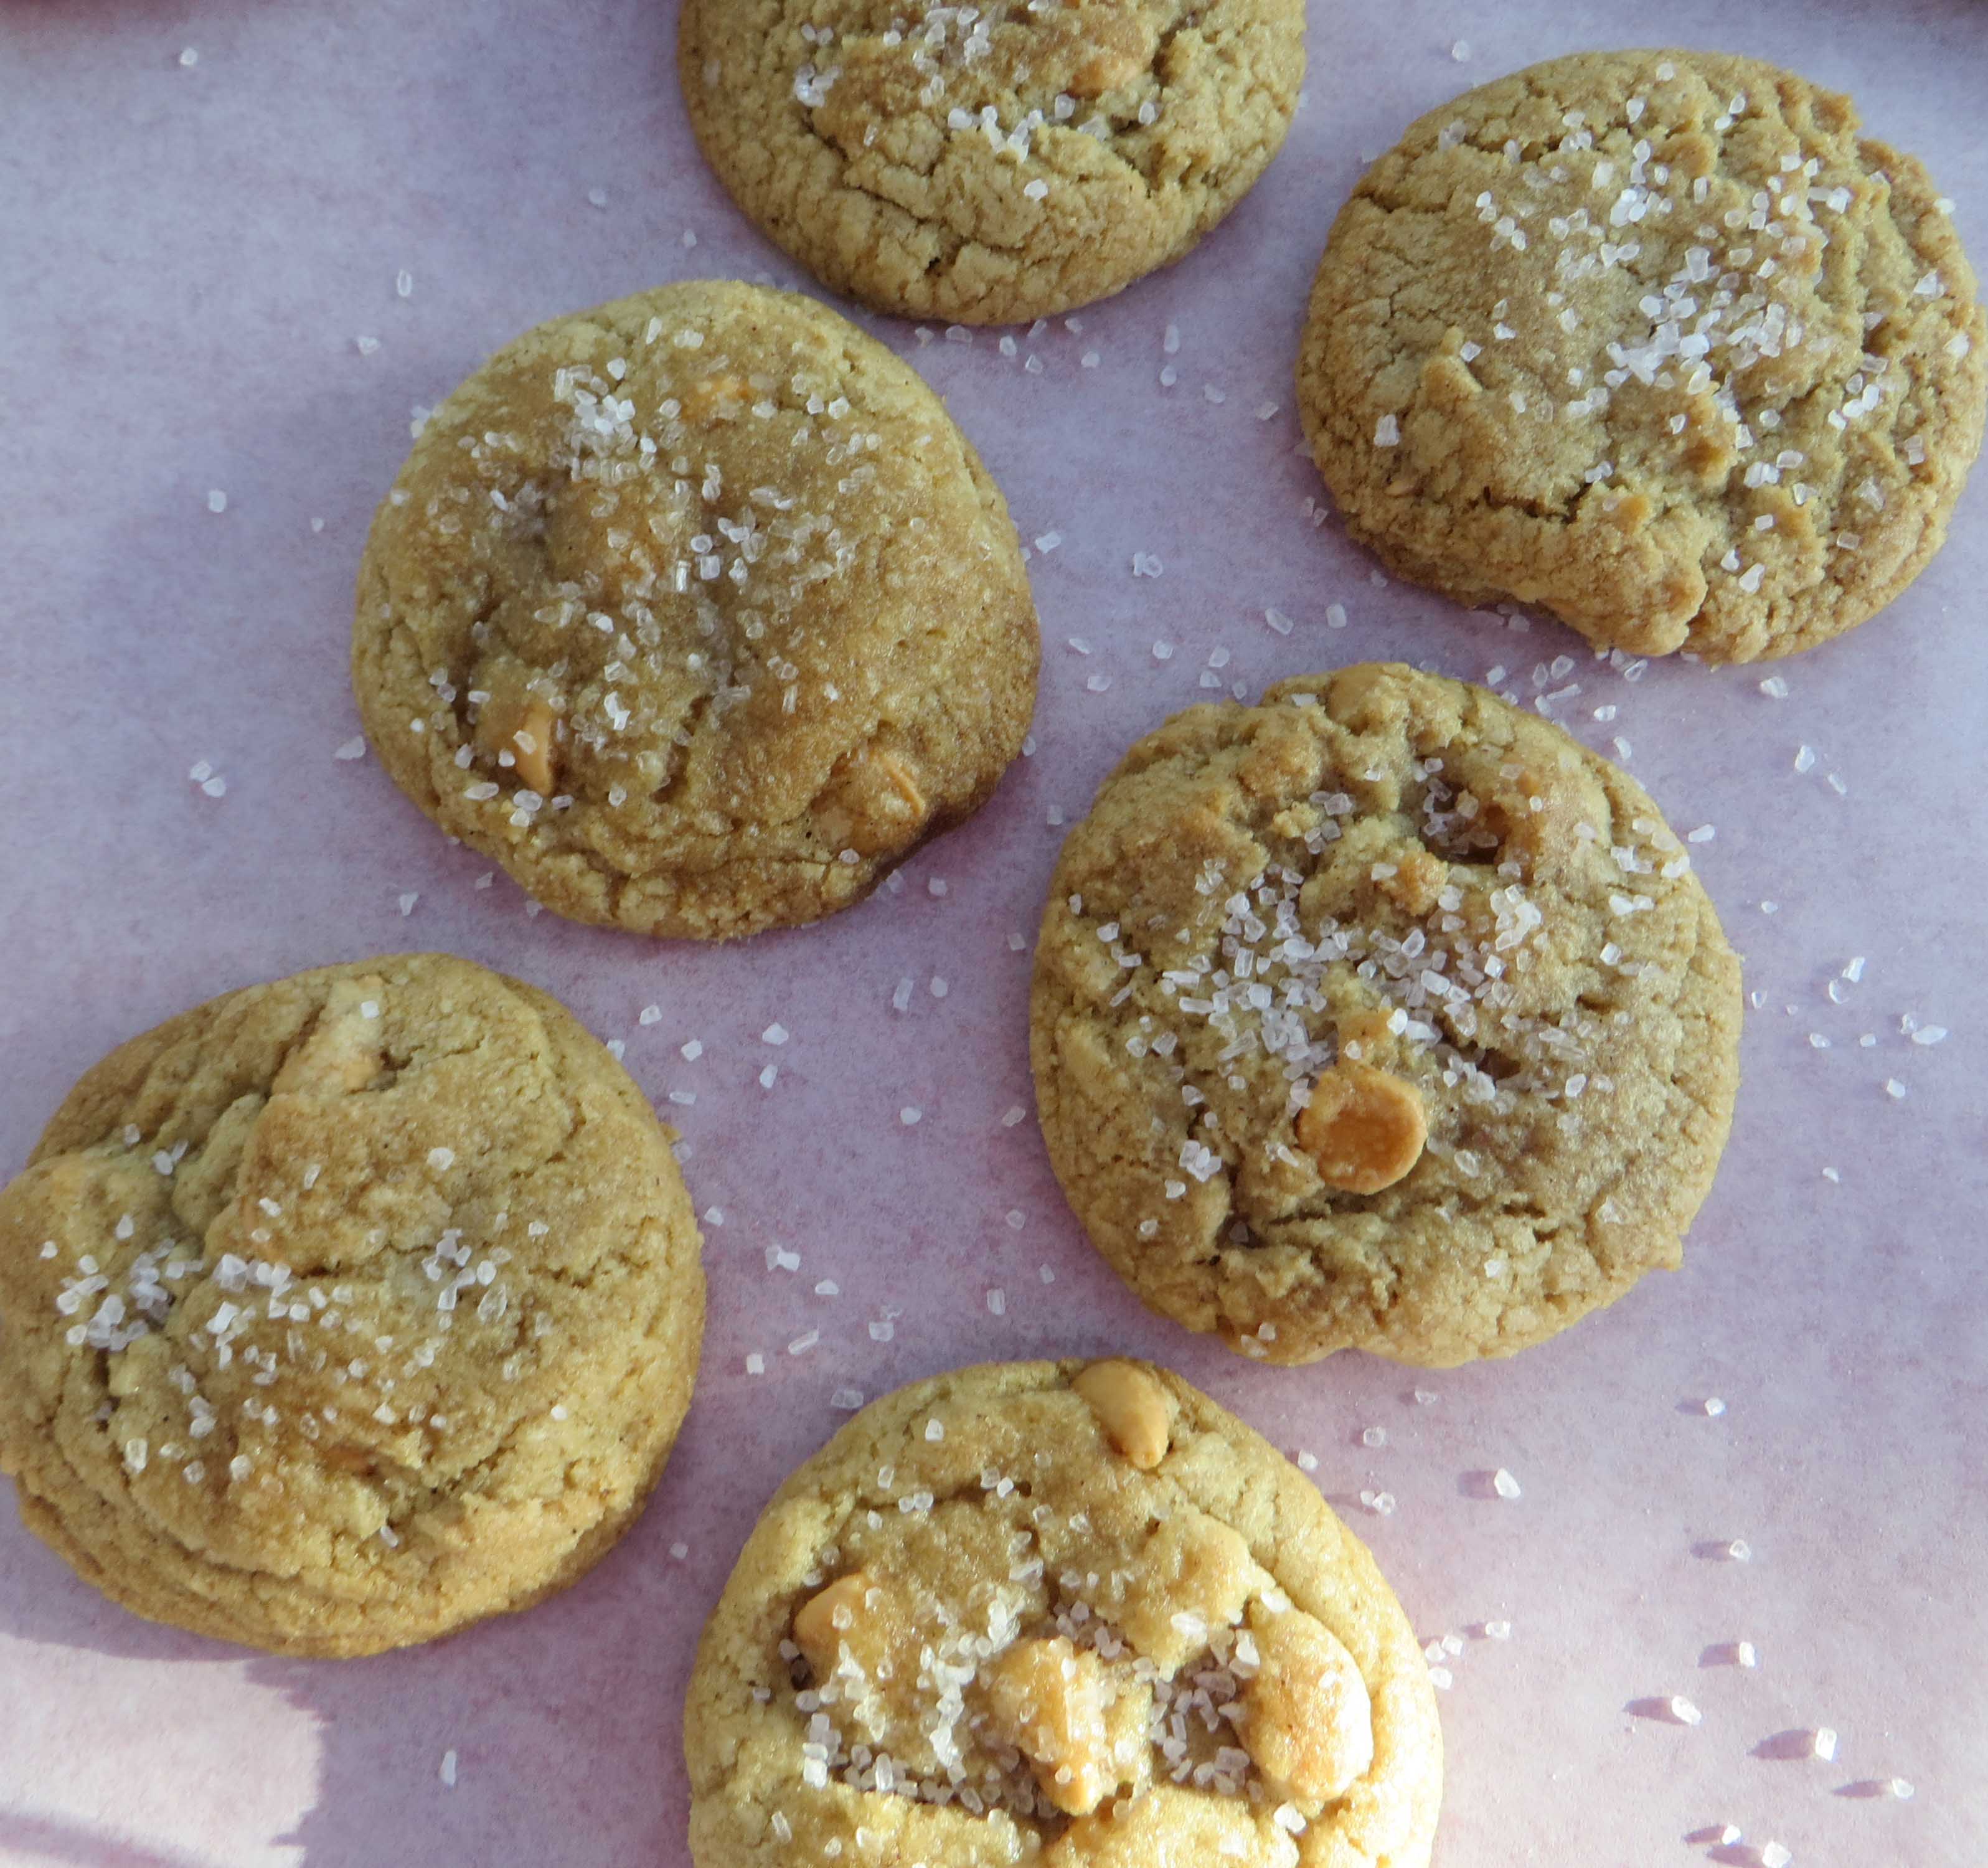
Makes 36 cookies
These chewy cookies are laced with brown sugar and sweet butterscotch chips. Adding a sea salt topping creates an explosion of flavors. Easy to make, these are perfect for holiday cookie swaps and gifting but you’ll want these on your table for every occasion.
2 cups gluten free cake and cookie blend (below)
2 teaspoons baking soda
1/2 teaspoon ground cinnamon
3/4 cup unsalted butter, at room temperature
1 1/4 cups light brown sugar
1 large egg
1 teaspoon vanilla extract
3/4 cup gluten free butterscotch chips such as Hershey or Guittard brand
Sea salt, for garnish, optional
Preheat oven to 350 degrees F. Line 2 cookie sheets with parchment paper. Set aside.
In a medium bowl, whisk together flour blend, baking soda, and cinnamon. Set aside.
Place butter and brown sugar in the large mixing bowl. Beat on medium speed until light and fluffy, about 3 minutes. Scrape down the sides of the bowl with a spatula. Add the egg and vanilla. Beat on medium speed until combined.
Add the dry ingredients. Mix until the just combined. Stir in the butterscotch chips.
Using a spoon or cookie scoop, form tablespoons size balls of cookie dough. Top with a sprinkle of sea salt. Press into the dough. Place on balls on prepared baking sheet, about 2 inches apart. Bake cookies for 10 to 12 minutes, or until lightly browned around the edges. Do not over bake. Cool on the pan for 5 minutes. Transfer cookies to a wire cooling rack and cool completely. Store in an air-tight container for up to 4 days or freeze for up to 3 months.
Cake and Cookie Flour Blend
This makes enough flour blend for several of your favorite holiday cookie recipes.
2 cup sweet white sorghum flour
2 cup white rice flour
1 ½ cups cornstarch
3 teaspoons xanthan gum (or guar gum)
1 teaspoon salt
Mix to combine. Store leftover blend in a zip-lock bag in the refrigerator.
No one has ever mistaken me for a shrinking violet. I’m not subdued and I’ve never been one to turn my back on a challenge. You get the picture.
So when a friend who was recently diagnosed with celiac disease asked me if I had done a spritz cookie makeover, I said, “yes.” Truthfully, I hadn’t made spritz cookies in years. I wasn’t even sure I could find my cookie press, the one I inherited from my grandmother a while back. What was I thinking?
But my friend, who I will call Debbie, is still in the pity phase of the gluten-free diet, a place I rarely go. I don’t recall feeling badly even when I was diagnosed with celiac disease more than thirty years ago. Frankly, I didn’t know another soul with this disease back then. So who would have listened, if I did complain?
But Debbie was diagnosed this year. “I miss pizza. I can’t find a beer I like. “And I wish I could bake up a batch of the spritz cookies my family makes for the holidays,” she said.
After thirty-something years of living and baking gluten-free, I have a hard time accepting her glass-nearly-empty outlook. “Look what you can have,” I countered. This is when the stubborn in me goes from simmer to full boil. There is no need to miss out. Today, we have so many choices. And after writing my cookbook, Gluten-Free Makeovers, I am convinced that everything can be made over.
So, when Debbie asked if I had a gluten-free spritz cookie recipe, I didn’t tell her I had no idea what I had done with the recipe or if I ever had one. Nor did I mention that my cookie press had disappeared. I was out to prove a point – – we can eat everything, just gluten free. So what if I had no idea what I was doing? I’d figure it out. After all, isn’t that part of a no-shrinking-violet philosophy? I went to the basement where I store all the gadgets I rarely use. I rummaged in storage closets where they are well wrapped and piled in a heap. Under the back-up coffee maker, the spice grinder, the antique food mill, I found the gold metallic cylinder of a cookie press. I dug deeper and found the levered top. Two piles over, were the discs and finally, in with an old food processor, was the ring that holds the discs in place. I was ready to try my hand at making press cookies.
I did not realize there was more of a challenge ahead. On the surface, spritz cookies look pretty simple – – flour, butter, eggs and sugar. I could replace the flour and create my own cookie press cookies, I reasoned. And, at first, that’s exactly what I did. Little did I realize that these delicate cookies hold their shapes because of the wheat and gluten. Every shape I pushed through the metal cylinder produced the same non-descript blob of dough. I was ready to throw in the kitchen towel, give up the whisk, put my grandma’s cookie press in the tag sale box.
A one-for-one conversion was not doing the trick. How was I going to create a dough that would hold its shape when pressed through the cookie press but still tasted delicate with a pleasant crumb? Little by little I increased the flour, adjusted the xanthan gum. And soon I had reached the exact balance, the ratio of butter to flour that produced the right amount of texture but preserved the delicate crumb. So dust off your cookie press and enjoy!
Spritz Cookies
Makes 60 cookies
These rich, buttery treats are fun to make and decorate.
1 cup white rice flour + 2 tablespoons
¾ cup sorghum flour
½ cup cornstarch
1/3 cup tapioca starch
1 ½ teaspoons xanthan gum
½ teaspoon salt
1 cup (2 sticks) unsalted butter, softened
1 ¾ cups confectioners’ sugar
2 egg yolks
½ teaspoon almond extract
1 teaspoon vanilla extract
Preheat the oven to 400 degrees F. Line 3 to 4 cookie sheets with parchment paper and set aside. In a medium bowl, combine rice flour, sorghum flour, cornstarch, tapioca starch, xanthan gum, and salt. Whisk to combine. Sift and set aside.
In a medium bowl, cream the butter until light yellow. Add the sugar and beat about 3 minutes or until fluffy. Add the egg yolks and extracts and beat to combine. Add the
flour ingredients, a little at a time, beating briefly after each addition. Chill 30 minutes. Scoop into a cookie press and press out cookies, one at a time. If they do not release from the tube, loosen with a dull kitchen knife. Set 1 ½ inches apart.
Decorate with sprinkles or colored sugar and chill on trays for at least 10 and up to 30 minutes so that cookies hold their shape. Bake 8 to 10 minutes. Cool completely before storing.
TIP: Add food color to the dough and beat or divide dough and color each portion with a different color.
For best luck, use cookie press forms with the widest openings and avoid those with small holes in the designs.
Categories: Recipes | Tags: baking, Cookies, Gluten-Free. Desserts, holidays, Makeovers, Sweets | 7 Comments »
As a child, my biggest worries this time of year were whether Mrs. Lord was making caramel corn balls for Halloween and if Mrs. Oakes would have any candy coated apples left by the time I came to her house to trick or treat.
I spent the entire month of October anticipating the Candy Corn, the Tootsie Rolls, and the Mars Bars that would fill my shopping bag – several bags, if I was lucky. As I counted the days until the end of the month, I brooded about the ever cooling weather pattern. Would there be snow in the tiny Maine town I called home? Would I need mittens – something that made it very difficult to eat Mrs. Oakes’ sticky candy apples. Most of all, I wondered how many layers of clothing I would need to wear under my costume. Would the ubiquitous black cat costume still fit or would I have to opt for my brother’s red devil number?
In school, I sketched faces I might want to carve into my jack-’o-lantern. I practiced drawing angry faces, funny ones, sad ones. In the end, the pumpkin always looked the same, owing to my lack of dexterity and the ever-dull knife that was the only one my mother allowed me to use. Each year I promised myself that next year’s pumpkin would be much better. It never
was.
But not once did I realize that all the pumpkins I carved or stole from people’s porches and smashed in the middle of the road were edible, that pumpkin was food. I missed the connection, that these orange orbs were essential to my grandmother’s Thanksgiving pumpkin pie and my mother’s pumpkin quick breads. Pumpkin – – duh?!
I can’t say when the light went off, when I began using pumpkin in baking rather than carving. But one day, it did. And, now it’s the orange flesh that pleases me. Low in calories and high in fiber and vitamins, pumpkin is my friend. And it’s particularly great for gluten-free baking, adding moisture and texture to muffins and quick breads. Warm spices – – cinnamon, ginger, cardamom, cloves, and nutmeg – – pair nicely with pumpkin puree. Although you can bake a pumpkin and remove the flesh, you can also buy canned pumpkin puree. It’s so much easier and just as good.
So, say “Hello” to pumpkin and its many uses, and to this flavorful, moist pumpkin bread with crumb topping I made in honor of the season .
Pumpkin Bread with Crumb Topping
Makes 2 Medium Loaves
½ cup white rice flour
1 cup sorghum flour
1/3 cup cornstarch
2 ½ tablespoons tapioca starch
1 tablespoon baking powder
1 teaspoon xanthan gum
¾ teaspoon salt
½ teaspoon baking soda
½ teaspoon
ground cinnamon
¹⁄8 teaspoon
ground nutmeg
2 large eggs, at room temperature
1½ cups pumpkin puree (most of a 15-ounce can)
1 cup sugar
½ cup vegetable oil
¼ cup chopped pecans or other nuts, optional
1 cup Crumb Topping (below)
Preheat the oven to 350°F. Lightly oil two 8½ x 4½-inch loaf pans.
Combine the flours, cornstarch, tapioca starch, baking powder, xanthan gum, salt, baking soda, cinnamon, and nutmeg in a bowl. In a separate bowl, whisk together the eggs, pumpkin, sugar, and oil. Add to the dry ingredients and whisk to combine. Fold in the pecans, if using.
Divide the batter evenly between the two pans. Sprinkle ½ cup of the crumb topping over each loaf. Bake for 40 to 45 minutes, until toothpick inserted in the center comes away clean. Set on a wire rack and let cool for 10 minutes. Turn the breads out onto the rack and let cool completely. Wrap with plastic and let sit overnight before slicing.
Crumb Topping
Makes 3½ Cups or 3 Cups If Nuts Are Omitted
Store remaining topping in the refrigerator for 3 weeks or freezer for 3 months.
¾ cup rice flour
1 cup packed brown sugar
1 tablespoon ground cinnamon
¼ teaspoon ground nutmeg
¼ teaspoon ground cloves
½ teaspoon salt
½ cup ground pecans, walnuts, or almonds, optional
6 tablespoons unsalted butter or non-dairy buttery spread, at room temperature, cut into pieces
Combine the flour, brown sugar, cinnamon, nutmeg, cloves, salt, and pecans, if using, in a large bowl. Mix well. Add the butter and use your fingertips to mix just until crumbly.
Categories: Recipes | Tags: baking, gluten free, gluten-free makeover, holidays, pumpkin, quick breads | 3 Comments »
Follow Us Online
More Cookbook Stuff
Gluten-Free Makeovers - - Nearly 200 recipe makeovers for everyone to enjoy. Buy it at glutenfreeandmore.com, Amazon.com and barnesandnoble.com.
About This Blog
 Baking guru, Beth Hillson, transforms favorite foods into recipes that are safe for your gluten-free diet.


